
How to disassemble a single lever mixer yourself at home
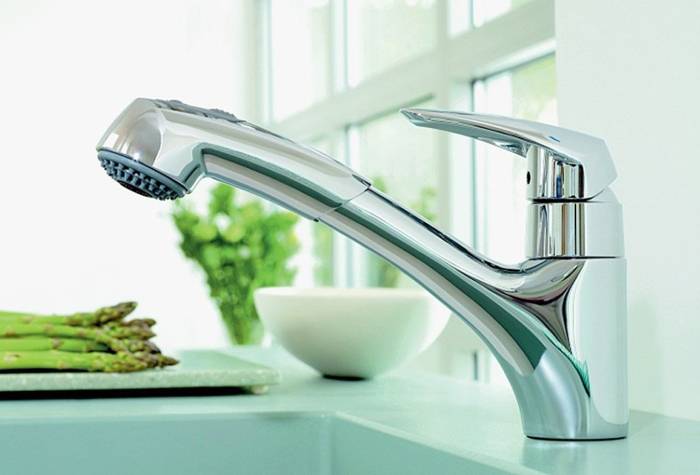
Today, such mixers as, for example, herringbone taps or wall taps are irrelevant, the old one has been replaced by a new one - single-lever mixers. Such devices fit perfectly into the modern design of kitchens or bathrooms. Every day, gaining its popularity, single-lever mixers are displacing conventional taps from the forefront, because innovations in plumbing equipment have a universal body with a plate that serves as a lever, the process of mixing hot and cold water takes place in the body itself. These products are made from metal, ceramics, sometimes from plastic. But, despite the good quality, such cranes also break. We will take a closer look at how to disassemble a single-lever mixer and repair it in this review.
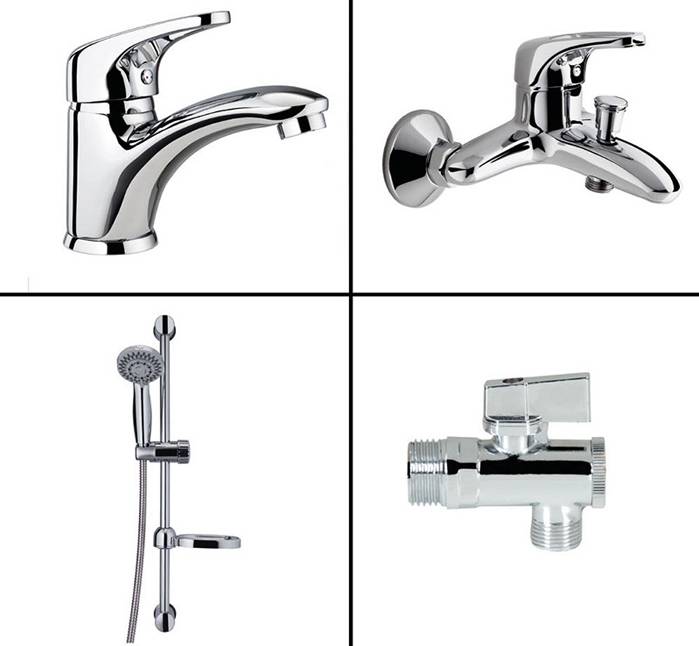
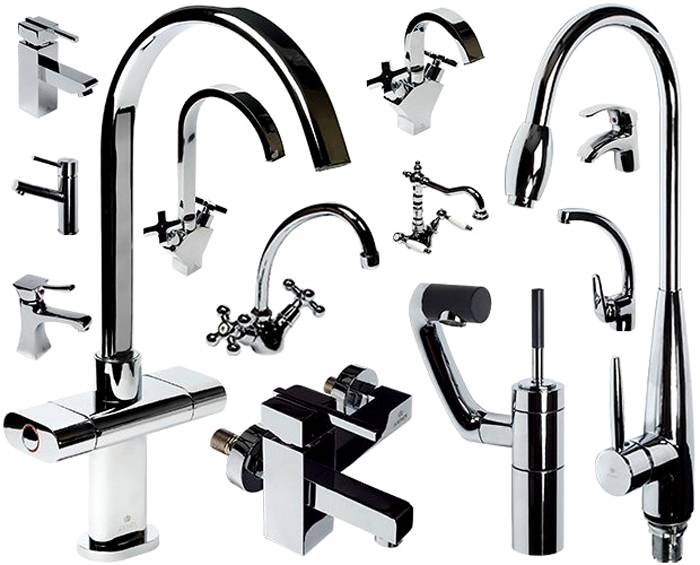
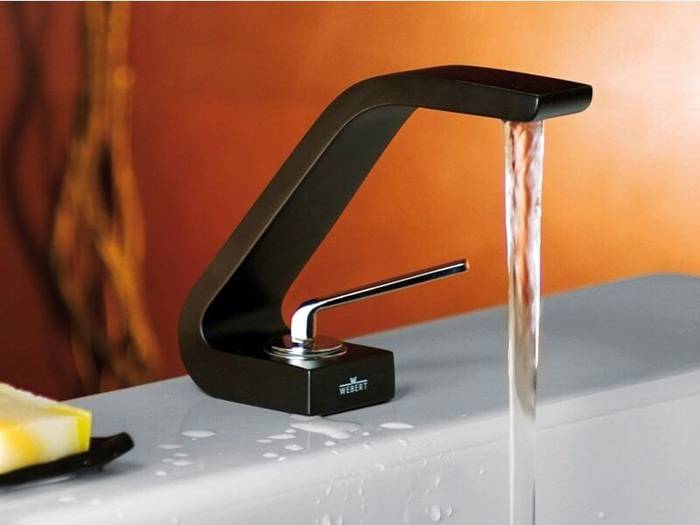
Variety of products
The content of the article [Hide]
What does the mixer consist of?
Single-lever faucets are a novelty in the plumbing industry, versatile taps for the modern kitchen or bath.
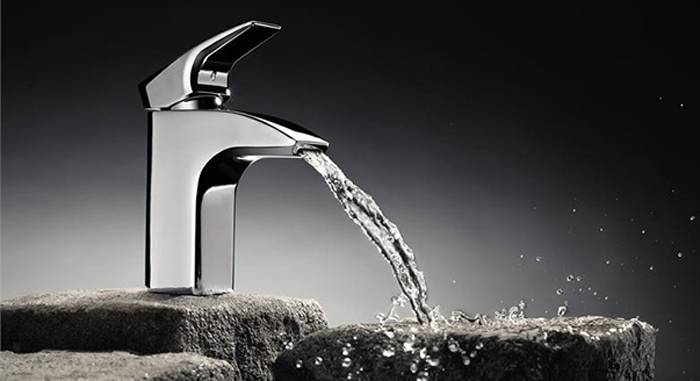
Single lever mixers
Each device has the properties of breaking, failing, therefore, in order to know exactly how to fix a broken tap, it is necessary to understand the types of the mixer itself.
Views
Two types of single-lever mixers have been developed.
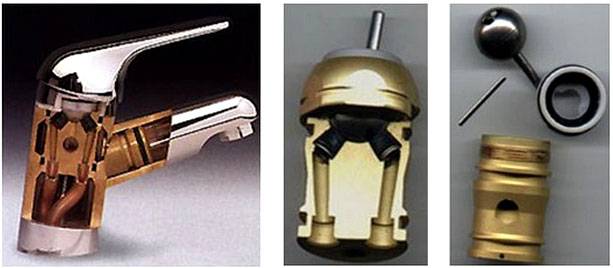
Ball type device
In order to turn on the valve, an adjustment rod is used. This part regulates the flow of water flowing through the holes of the metal ball, which is also responsible for the pressure. For example, in the event that the area of the contacting holes expands, the water flow will decrease, in the opposite process, with a decrease in the area, the pressure will increase.The ball mixer, due to its precise and thoughtful design, rarely disappoints its owners with breakage or inconsistencies. This type is the most popular.
Ball type design
Faucet with cartridge design
Related article:

How to disassemble a single-lever mixer: sequence of actions
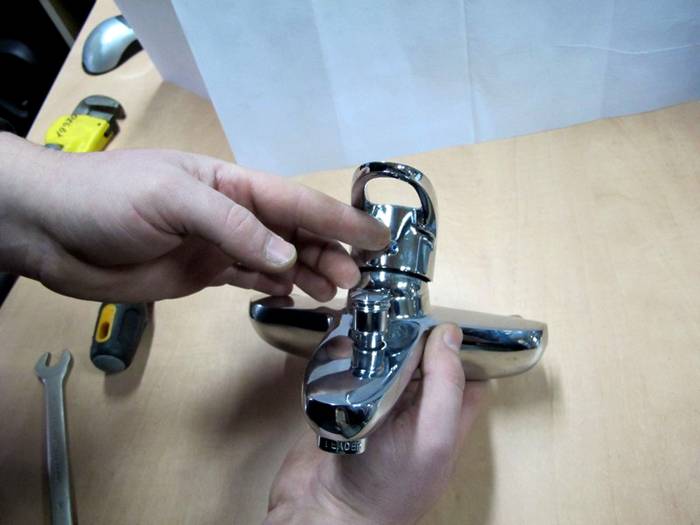
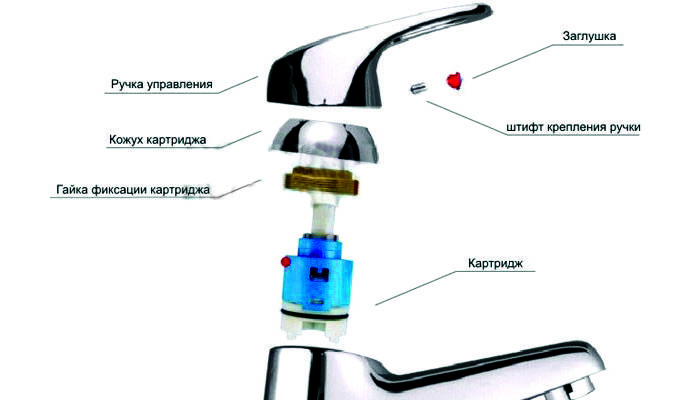
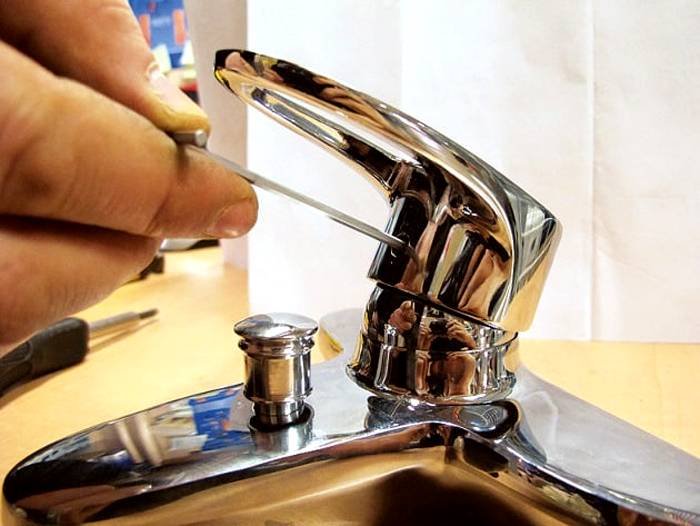
So how does a single lever mixer disassemble? A similar question is asked by many who do not know what a bathroom faucet consists of. We will analyze the crane device in detail with a specific example.
How to disassemble a single lever mixer
The disk-type device consists of:
Disk crane
Table 1. How to disassemble a single-lever mixer: sequence of actions
| Picture | Work stages |
|---|---|
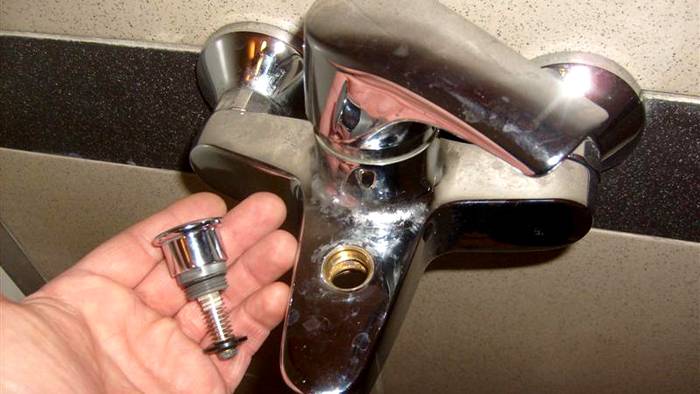
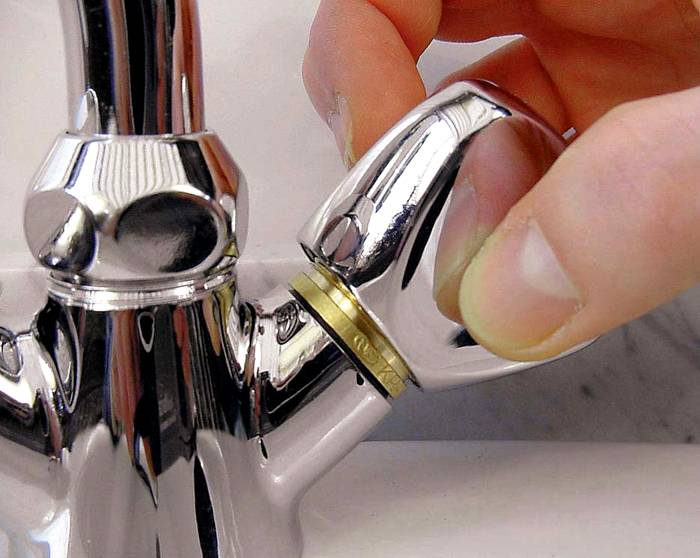
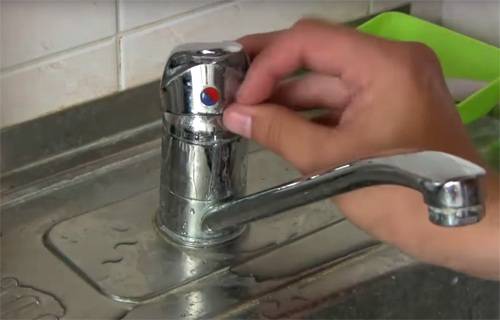 | First, let's grab the plugs. They must be removed using a screwdriver. Each is color coded to help you determine the correct water temperature adjustment. |
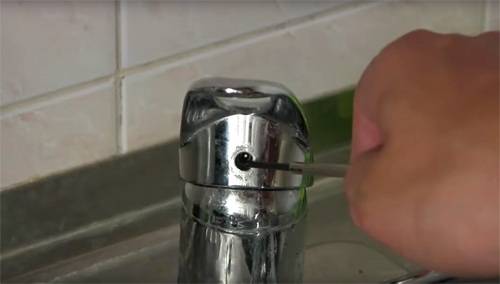 | We release the joystick and the rod responsible for adjustment from each other, take a small Phillips screwdriver and carefully unscrew the screw. |
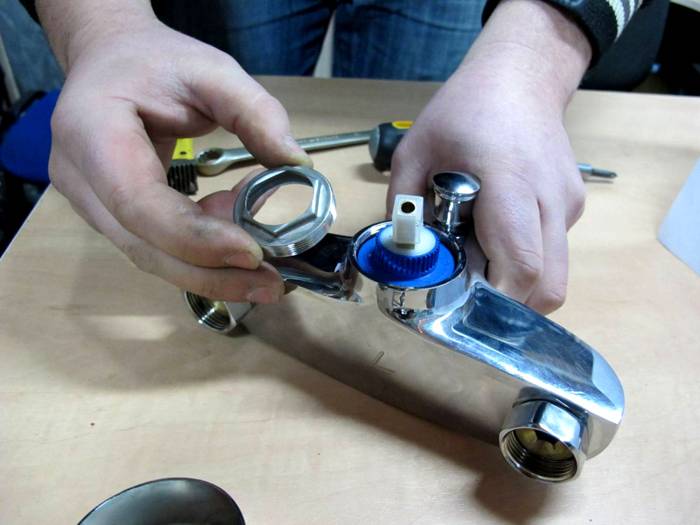
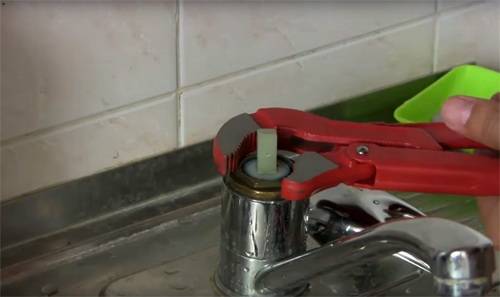 | Next, we proceed to twisting the parts. The first step is to remove the handle attached to the tap. Remove the nuts from the top plate of the joystick. The first ceramic, and then clamping. The latter can be made with small funnels, in this case, in order not to damage the part, it is necessary to act as carefully as possible. As for the ceramic, in any case, it can be unscrewed easily, without any difficulties by hand. |
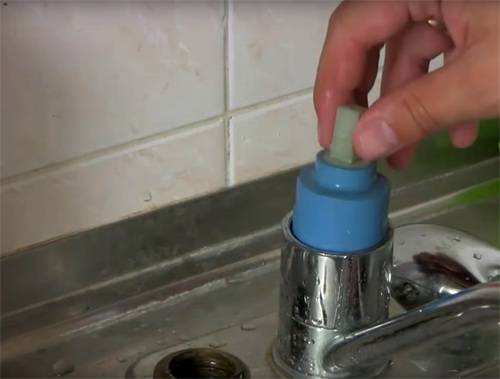 | Finally, we take out the mixing disc. Replacement of the cartridge occurs only if there is a leak or other various reasons. |
 | We install the intact cartridge in the place from where the old worn structure was taken out. Then we assemble in the reverse order. We tighten the nuts, hold the disk, use the lever, install the screw and at the end we supplement all the work with newly dressed caps. |
Repaired crane
When buying a new cartridge, grab the old disk in order to accurately select the desired element, not to make mistakes during the disassembly and subsequent repair. Choose a design made of silicone material, as it is more reliable.
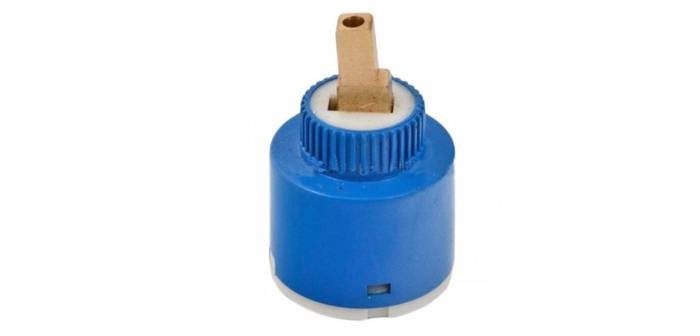
Old disc cartridge device
Next, let's talk about how to disassemble a ball mixer. Dismantling the ball product is no more difficult than the previous valve. What is worth considering is that in case of serious problems or errors, a complete replacement of the mixer will become necessary. For example, if you notice that the water jet is insignificant and weak when you turn on the tap, then there is nothing to worry about - this is a common problem, so you can fix the breakdown yourself by disassembling the mixer. The most common cause of the problem described above is a common blockage on the tap.
Parsing the ball mixer
How to disassemble a single-lever ball mixer, see below.
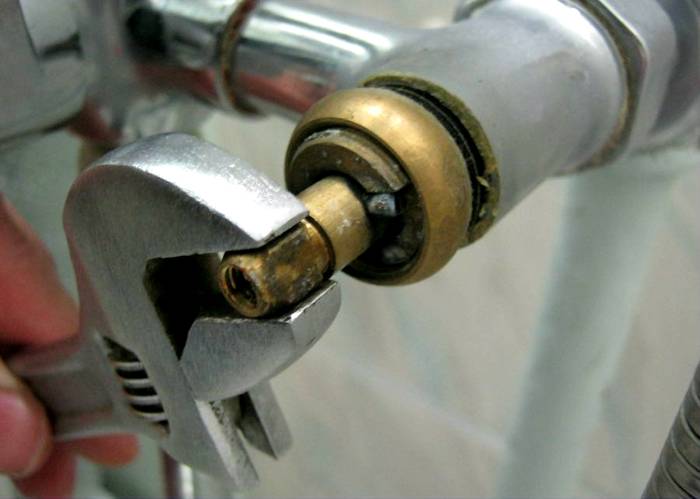
Remove the valve nut at the drain
Rubber seals can be another problem in the ball valve. They should be replaced using the (already known) screwdriver and hex wrench.
Rubber seals

Sequence of work:
Removing the screw
Tips, recommendations
New parts
conclusions
Single Lever Valve Quality
How to disassemble a single-lever faucet in the bathroom: video tutorial
This video on step-by-step instructions for disassembling and assembling the structure of a single-lever mixer in the bathroom can explain the process most accurately and specifically. Seeing with my own eyes, the repair will go much faster and more correctly. On many video resources, you will receive a large number of useful video instructions, including how to disassemble a mixer in a two-valve type bathroom. Happy viewing.


See also:
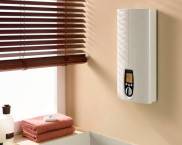 Storage water heater: which company is better and selection criteria
 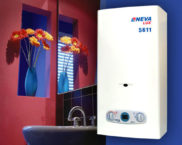 Gas water heater "Neva": affordable and high-quality water heater for home
 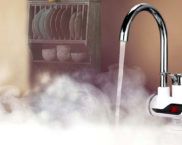 Electric instantaneous water heater tap: device, selection criteria, model overview
  We solve the problem of a crooked floor: dry screed. Pros and cons, reviews, cost of materials
  Self-adhesive furniture film - the ideal solution for inexpensive interior renovation
 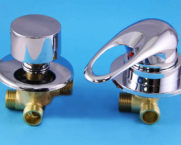 Faucet for a shower cabin: the choice of a device according to the main operational characteristics


