
Do-it-yourself loggia insulation: step-by-step photo instructions with recommendations
The process of warming the room itself is very important, since with the help of such a repair, drafts, cold are removed, and the space of the connected room also expands. But it is not enough just to install double-glazed windows and cover up cracks and holes with polyurethane foam. It is necessary to insulate it. In order to save money in your wallet, it is better to insulate the loggia with your own hands, the step-by-step photo-instructions presented in the article will help you do the job.
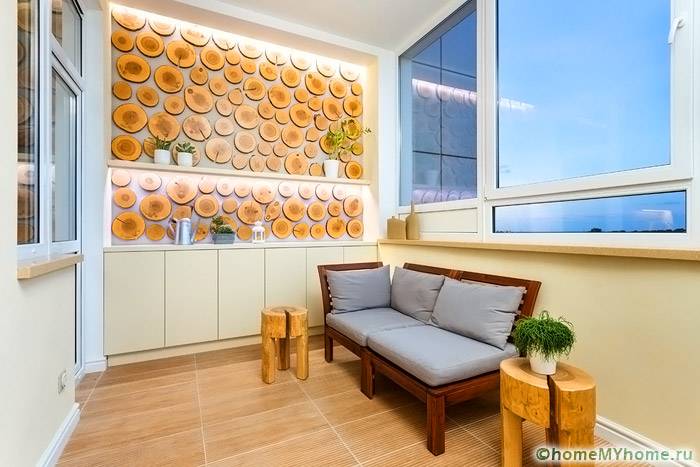
Amazing balcony with ecological materials
The content of the article [Hide]
- 1 The choice of material or the better to insulate the loggia from the inside?
- 2 Calculator for calculating the required insulation of a loggia or balcony
- 3 Calculator for calculating the thickness of the insulation of a loggia or balcony
- 4 Do-it-yourself preparatory work and insulation of the loggia: step-by-step photo instruction
- 5 Thermal insulation methods for a panoramic loggia
- 6 Video: secrets of competent insulation of a loggia
The choice of material or the better to insulate the loggia from the inside?
Initially, you need to select a building material. It is important to remember that not only thermal performance can depend on the selected components, but also room area... If the building material is too thick, it will steal the usable area.
The room can be insulated with the following materials:
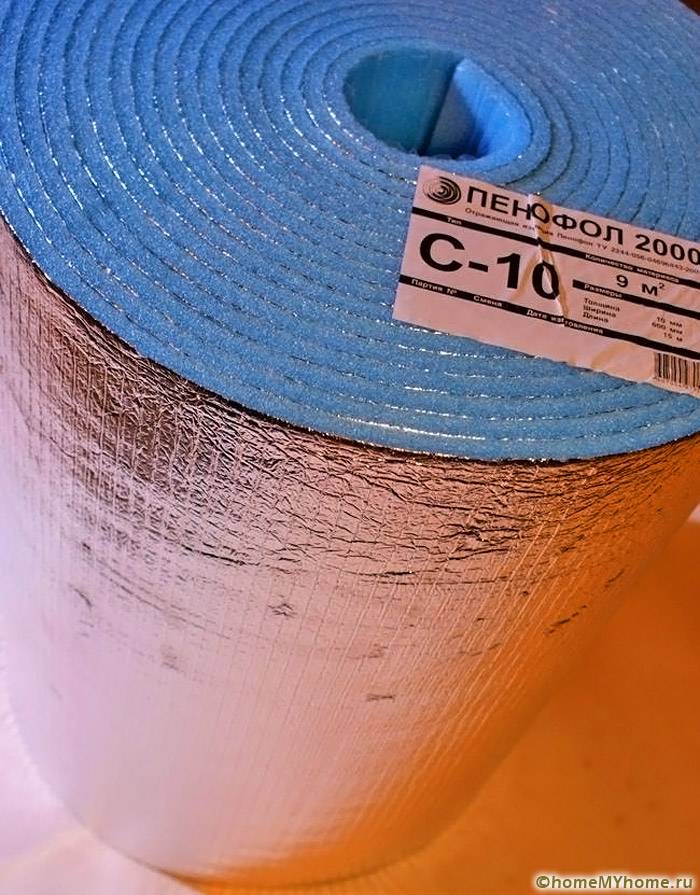
Penofol - a material for warming a new time
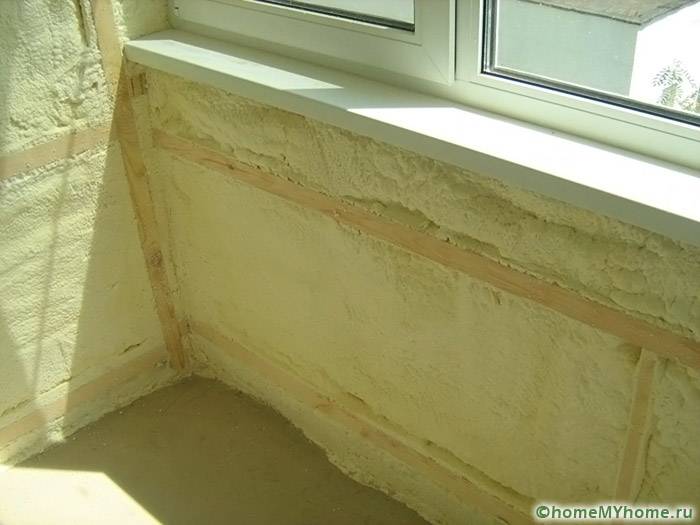
Cured polyurethane foam

Using penoplex as insulation

Styrofoam is often called polystyrene foam
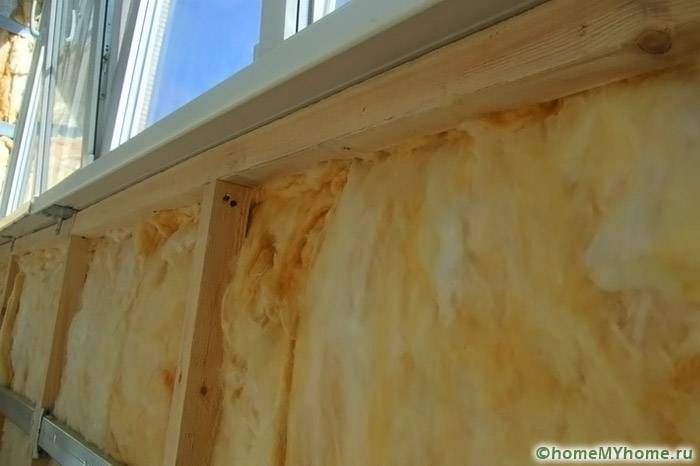
A very common material for insulation
As a rule, expanded polystyrene is mounted on the walls and ceiling. It is good to use it, because its properties have a high thermal conductivity coefficient, as well as a small thickness. It can be cut perfectly with a kitchen knife. Styrofoam can be considered an alternative option. For cold winters, sheets 10 cm thick are suitable, for mild weather it is better to use 5 cm.
Related article:
Calculator for calculating the required insulation of a loggia or balcony
Do-it-yourself preparatory work and insulation of the loggia: step-by-step photo instruction
Before the main process, preparatory work should be done. Only then will it be possible to do the insulation of the loggia with your own hands, and a step-by-step photo instruction will help with this. This will require:
Fastening for thermal insulation can be both an adhesive composition and a dowel. If an adhesive is used, then in the process of work it will be necessary to glue the gluing area and the material itself.
It is recommended to choose a building material that is connected using the thorn-groove method. Thanks to such a connection, seams will not appear.

Scheme of complex insulation of the loggia
Penoplex and how to insulate a loggia with it
Many people dream of converting a balcony into a full-fledged room. But in order for the use of such a room to be comfortable, it will need to be insulated. As a rule, parapets in apartments have thin walls. In this regard, at the initial stage, it will be necessary to demolish partition and put it out again. Thus, the wall will be thicker, and therefore warmer. It is recommended to use a brick that is placed on the adhesive with an edge. For such masonry, silicate brick is ideal.

Parapet from foam blocks
After the fresh masonry has shrunk, you can start installing the windows. For this, it is recommended to use the services of professionals. Next, you can move on to insulation. Penoplex plates will be installed on ceilings, walls and floors. Following the instructions, you can get to work:
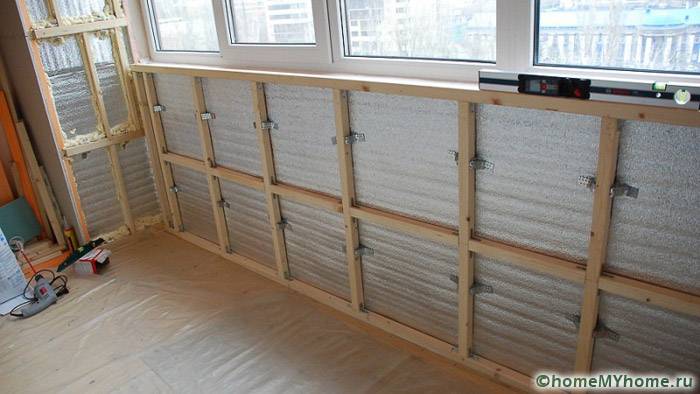
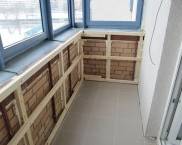
Wooden frame lathing
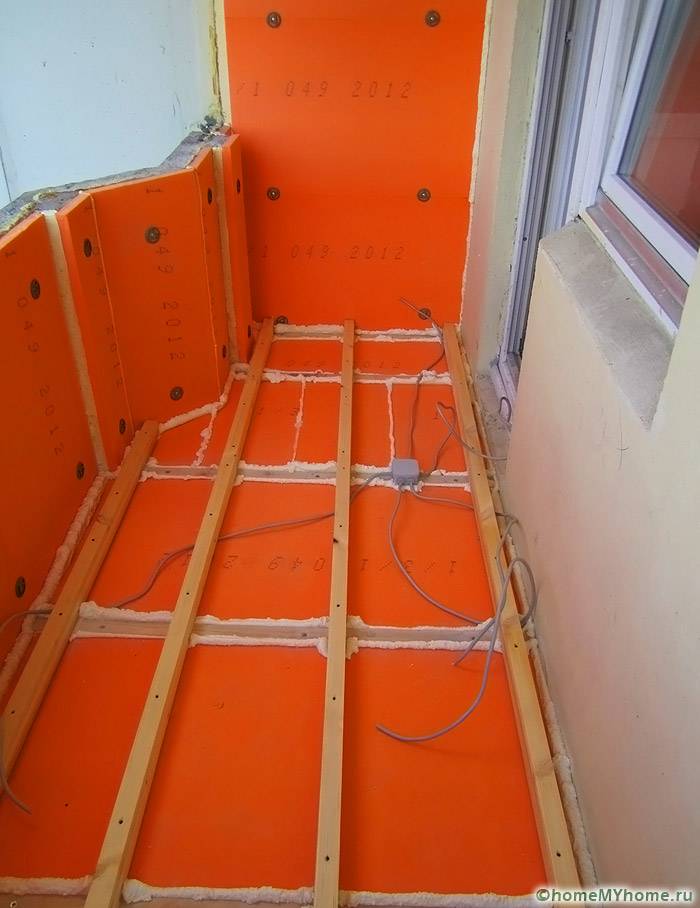
Insulated walls and floors with seams and seams coated with foam

Penofol installation
Do it yourself. How to insulate the floor on the loggia?
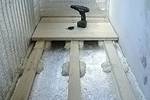
The floor should be treated first, and then all other surfaces. The work process is as follows:

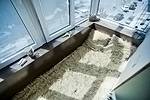
Thermal insulation of the floor with polystyrene foam on the prepared frame

Balcony floor made of wooden planks
Alternatively, the floor can be installed underfloor heating or made floor insulation loggias with penoplex.

Laying underfloor heating with subsequent pouring with self-leveling mixture
Insulation of the ceiling and walls of the loggia
For almost all types of premises, walls and ceilings are insulated in the same way. Thus, the walls are insulated like this:
For ceiling insulation, Styrofoam works best. The process is carried out by analogy with the walls and floor.

Installation of battens on the ceiling
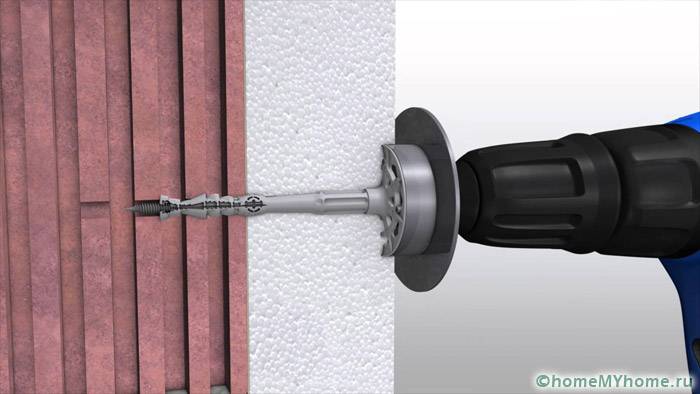
It is most convenient to fix the insulation on disc dowels.
Insulation of the loggia from the inside: what is better to do?
To find the right material, there are some important factors to consider:
The choice directly depends on the factors described and the tastes of the owner of the room.
Finishing work
Finishing work is needed. This is due not only to the aesthetic appearance, but also affects the protective factors. If we are talking about outdoor decoration, then the parapet can be covered with corrugated board or siding.

Plain siding trim
Internal work can be anything you like. It all depends on preferences and imagination. But it is worth noting that finishing the loggia inside with your own hands will bring more pleasure and joy. Often the work is done with PVC panels. You can also glue the wallpaper or just paint the walls. The loggia looks very good in wood trim. It will be not only beautiful, but also environmentally friendly.
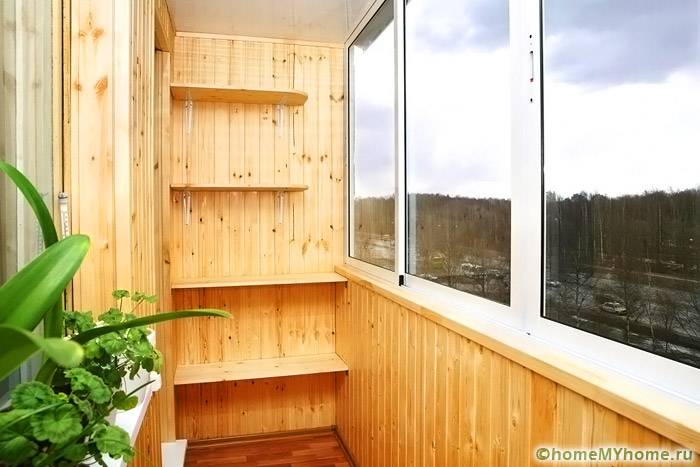
Loggias decorated with clapboard look good
Related article:
Thermal insulation methods for a panoramic loggia
Insulation of a panoramic loggia is slightly different from standard work. In a panoramic room, it is very important that the windows are correctly and efficiently installed, and the requirements for windows are also very high. You should familiarize yourself with two options for solving the problem of insulation:
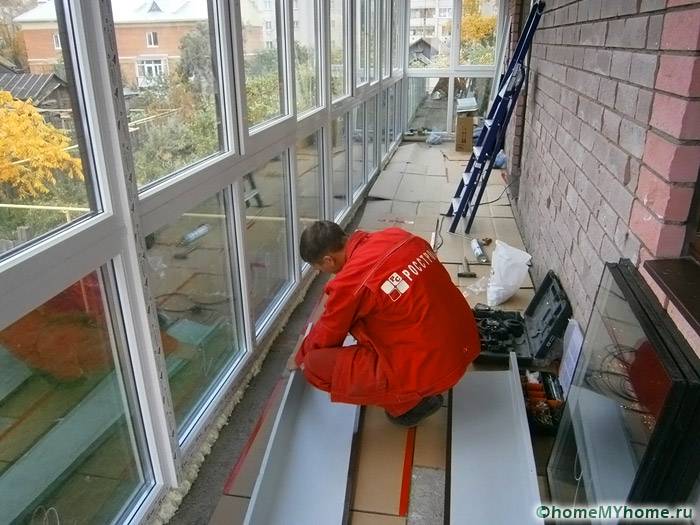
Insulation of a panoramic loggia needs to be approached more carefully due to increased heat loss through window blocks
In general, the insulation of a panoramic loggia should begin with the removal of all cracks that can create a draft.

It will not be superfluous to install radiators and warm floors
In order to create comfort and warmth, the landlord will have to spend not only a certain amount of money, but also make a lot of effort, as well as time. Do-it-yourself insulation of the loggia according to our step-by-step photo instructions is performed for a period of 3 days to 1 week. By insulating according to the instructions presented in the article, you can get a sufficient level of comfort, regardless of what the weather is outside the window.
Video: secrets of competent insulation of a loggia


See also:
 Decorating the balcony with your own hands: step by step instructions and tips
 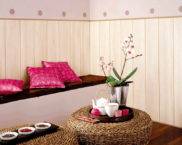 How to fix PVC panels to the wall and ceiling: installation features
  How to insulate a balcony with your own hands: a step-by-step photo and expert advice
 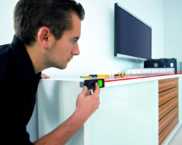 How to calculate the area of a room: professional advice and basic rules
 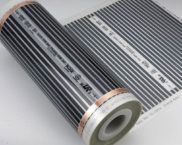 PLEN: heating without unnecessary losses and costs
 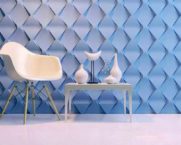 3D panels for walls in the interior: original and embossed design


