
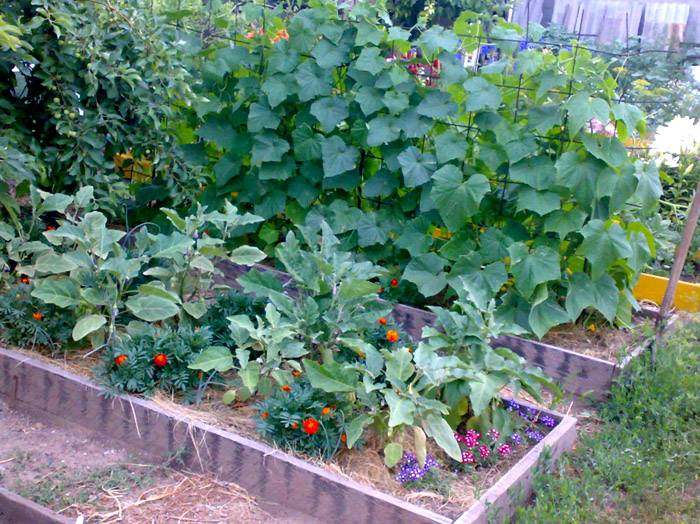
How to make beds with your own hands, not like everyone else? Interesting ideas and photo examples
City dwellers love to spend time at dachas, where someone organizes only a recreation area, while someone plants flowers, vegetables and grows fertile trees. Spending several hours a day or a week in the process of cultivating the land, the question arises of how to make the beds with your own hands, not like everyone else. Interesting ideas come to mind of many summer residents and owners of private houses. Consider original photo examples and a few instructions for creating such beauty.
Beautiful flower garden without unnecessary hassle
The content of the article [Hide]
- 1 How to create beds with your own hands is not like everyone else: interesting ideas of ready-made options
- 1.1 Examples of garden design with beds
- 1.2 How to make a garden bed in the country with your own hands with a suitable size
- 1.3 How to equip the beds in the country with your own hands with photo examples
- 1.4 How to make a fence for the beds with your own hands
- 1.5 Diy photos of unusual beds in the country
- 2 Diy photo of strawberry beds: features and examples of creation
- 3 The advantages of do-it-yourself slate beds with photo examples
- 4 How to make beds in a greenhouse: photos of interesting works
- 5 Autumn and spring preparation of the beds: how to make the yield higher
- 6 Few recommendations
How to create beds with your own hands is not like everyone else: interesting ideas of ready-made options
While decorating their garden, many people think about how to create beds with their own hands, not like everyone else. Interesting ideas come to mind, but the process from implementation becomes difficult and not everyone succeeds.
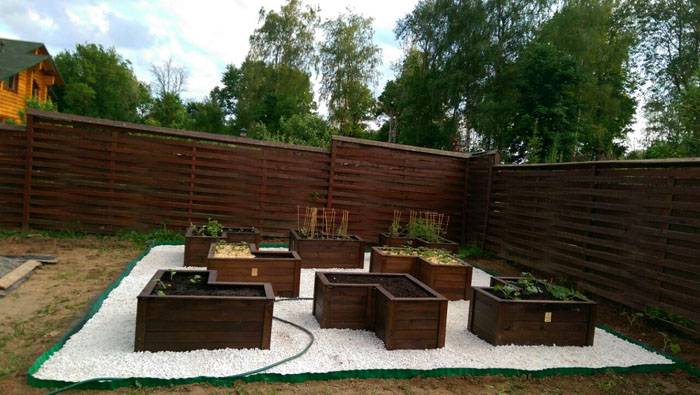
You can separate each bed with a wooden fence
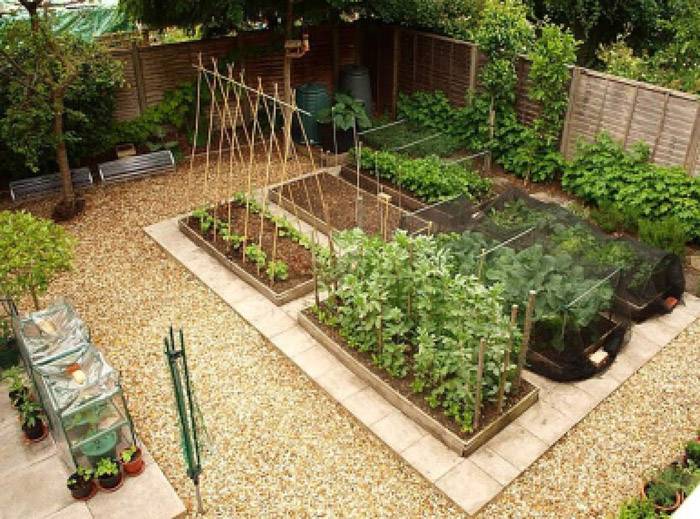
You should not despair at the same time, you can take a ready-made version as a basis, and on its drawings to bring your own original creation to life. Keep in mind that not only the structures themselves will decorate the site, but also the combination of garden paths and the grown crops themselves will be included in the overall landscape design.
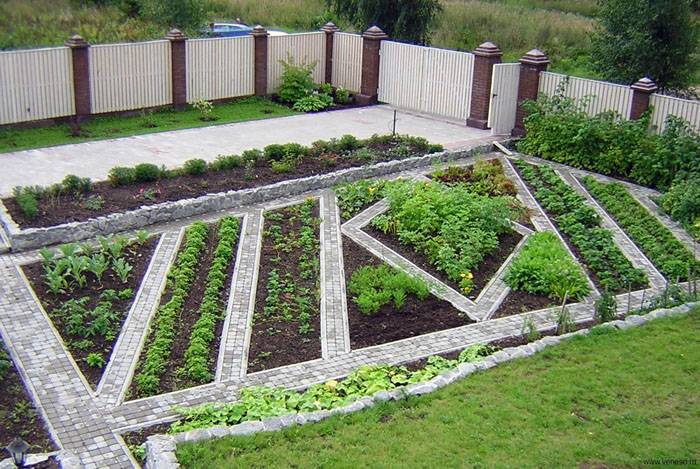
Here are some interesting photos of decorating the beds in the garden:
With such an area, there will never be dirt on the shoes.
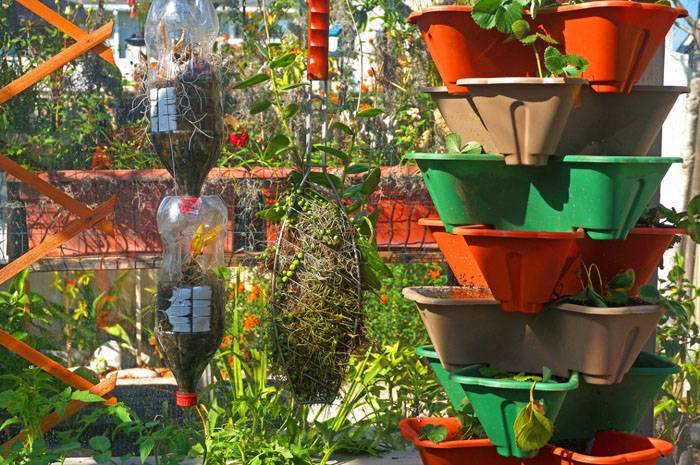
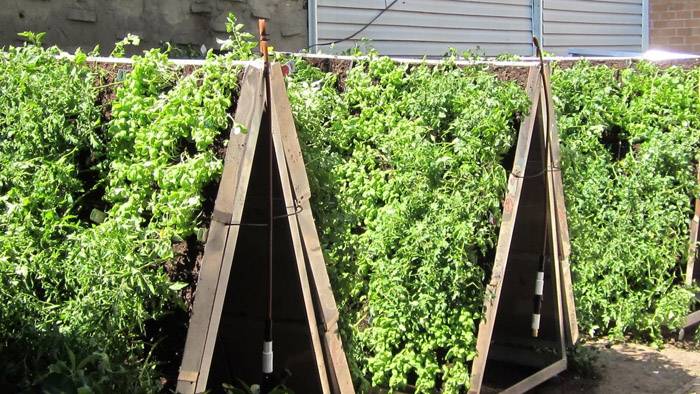
Vertical beds - original and unusual
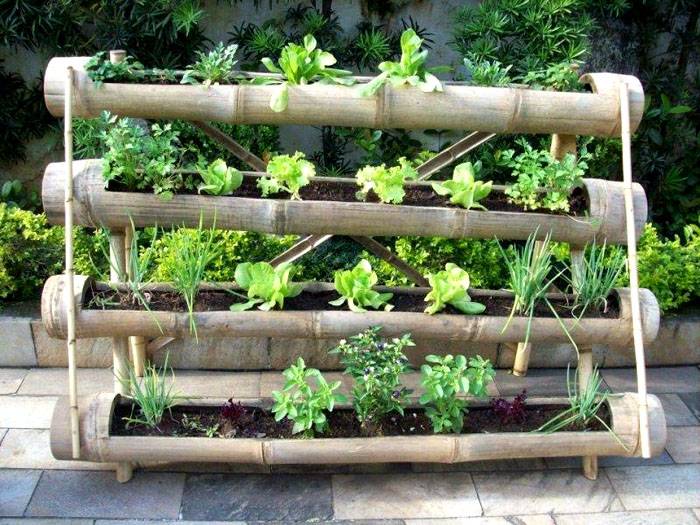
Rack for seedlings and small vegetables
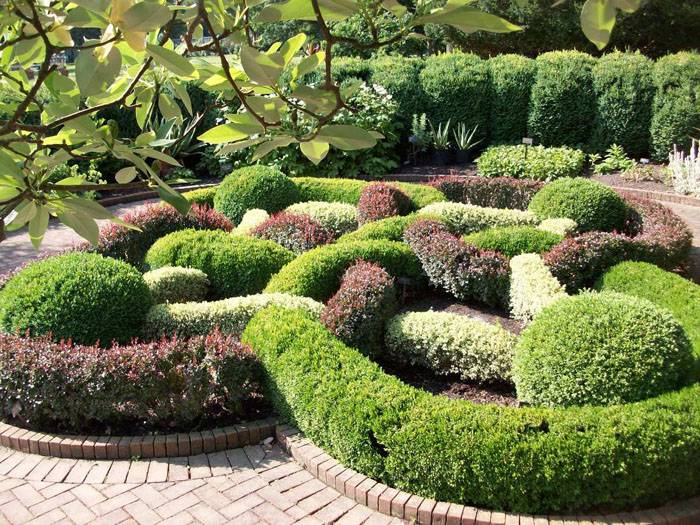
Try to untangle the cobweb
Examples of garden design with beds
Many interesting ideas for do-it-yourself beds are not like everyone else's can be found in the vastness of the global network. Despite the fact that people still associate a vegetable garden with land and small long mounds for planting edible crops, the process of creating a unique vegetable garden can be a fascinating experience.
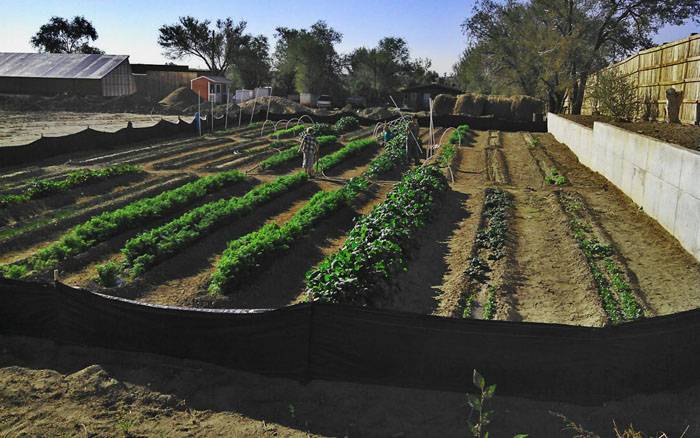
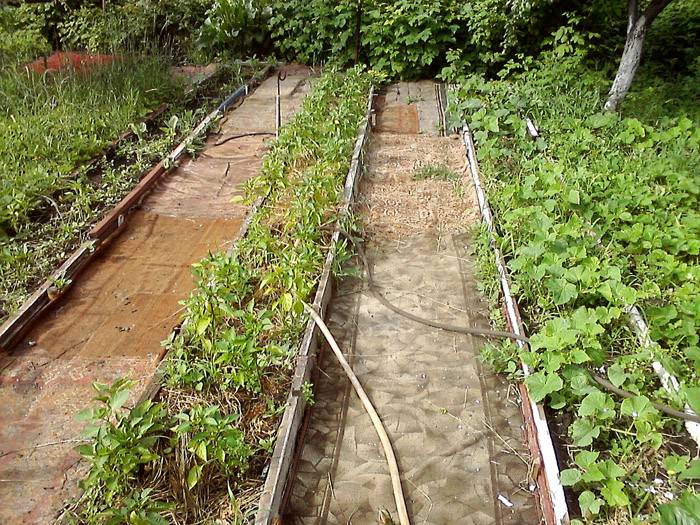
Uncomplicated fences and embankments on the paths make the site interesting and clean
Making beautiful beds with your own hands using a photo with instructions is not as difficult as it seems at first glance. The main thing is to decide on the selection criteria. For example, for a small plot, vertical structures that take up minimal floor space are a good idea.

Vertical landing option
When choosing the shape of the planting site, also take into account the dimensions of the entire area that you will set aside for the beds. Avoid choosing round shapes for narrow and long areas. For best seedlings, try to arrange the planting from north to south in din. And if you got land with a slope, it is better to plant vegetables across it to avoid washing off the crop with heavy rains.
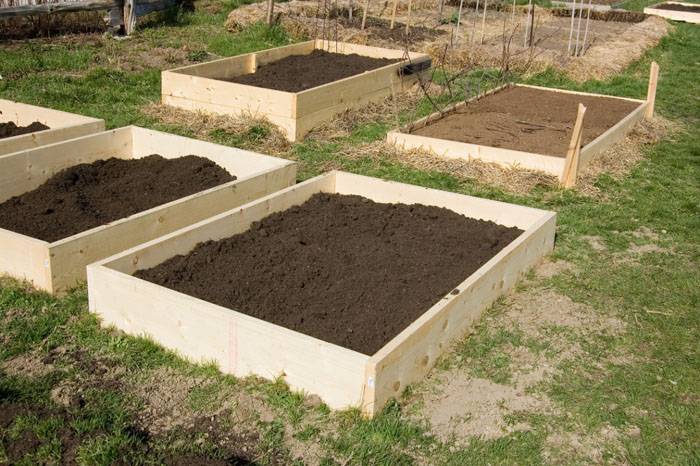
How to make a garden bed in the country with your own hands with a suitable size
If you are going to arrange a garden bed in your garden, you should decide on the size in order to plant the maximum number of crops, using the entire area rationally. There are no exact criteria for dimensions, however, it is necessary to make such a place for planting so that it is easy to weed from the path.

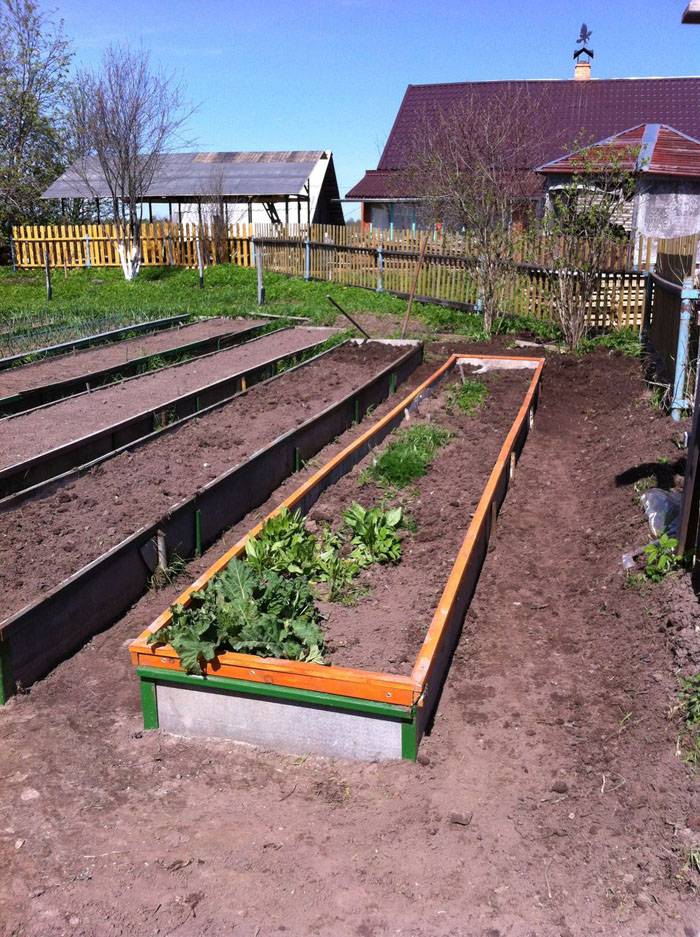
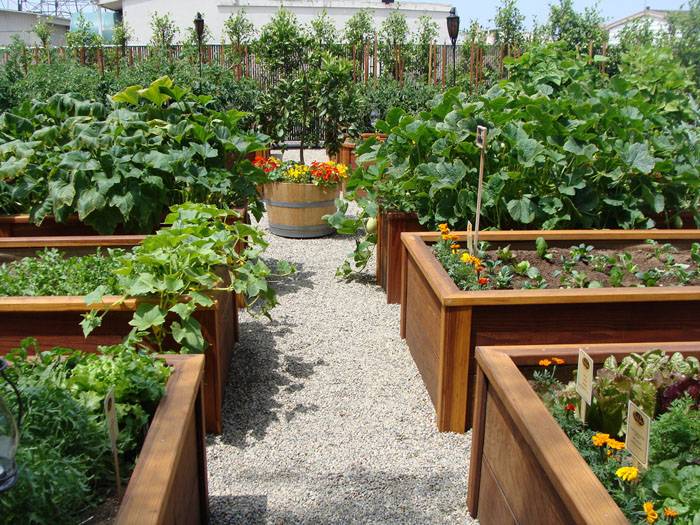
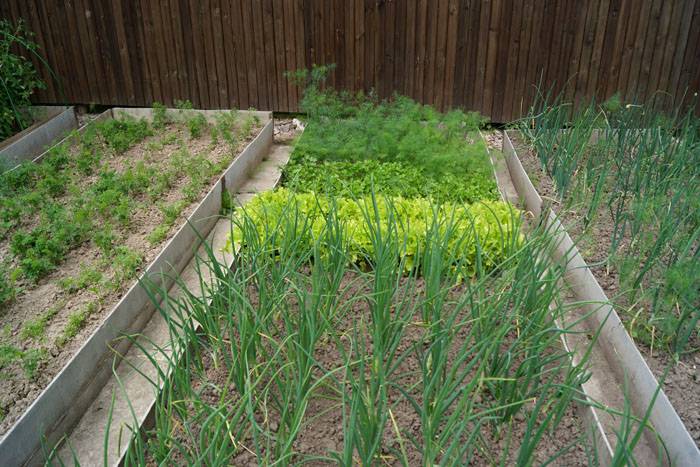
A neat classic version
The standard size is considered to be 1 m in width, from 1.5 m in length or up to 50 cm in depth. The distance between landings is up to 40 cm, it is quite enough for free passage. In this case, the path is made 30-50 cm below the upper level of the ridge.
There are several types of beds that differ from standard dimensions:
Standard size
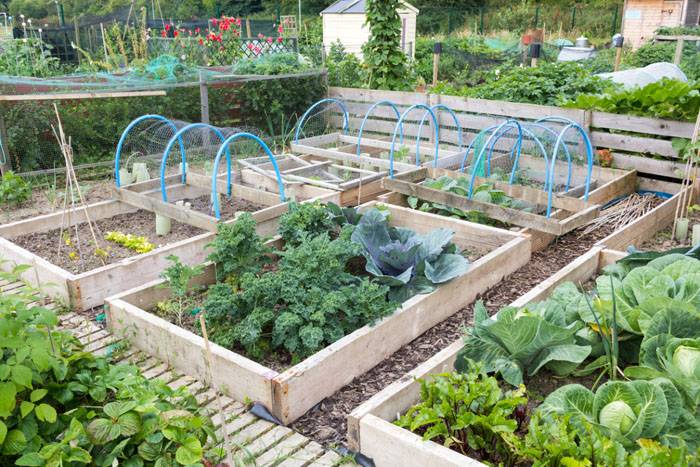
Organization of high beds
A site with narrow ridges
When choosing a garden bed option, it is worth considering the characteristics of the crops that you plan to plant. Some plants prefer moist soil more, so high ridges are rarely chosen for them.
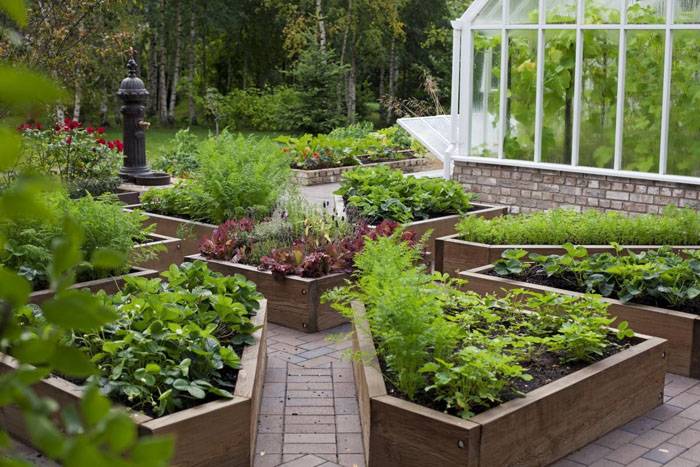
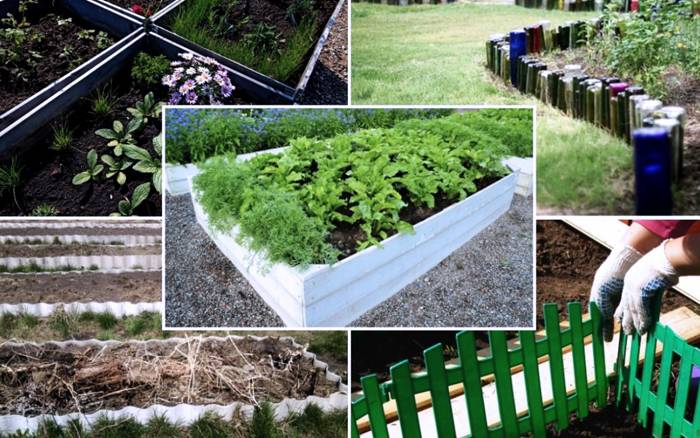
How to equip the beds in the country with your own hands with photo examples
To equip your garden, it is worth considering not only the shape and subtype of the garden itself, but choosing the material for its framing, as well as equipping the paths.Why do fences around the landing site? There are several reasons for this:
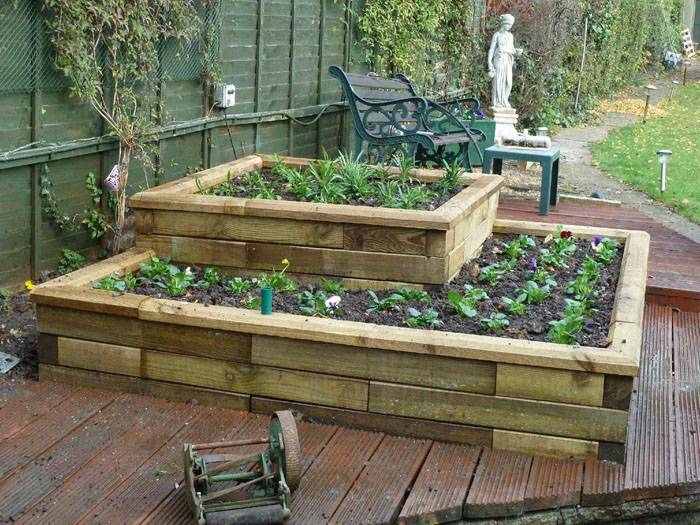
Convenient multi-level option
Good options come from:

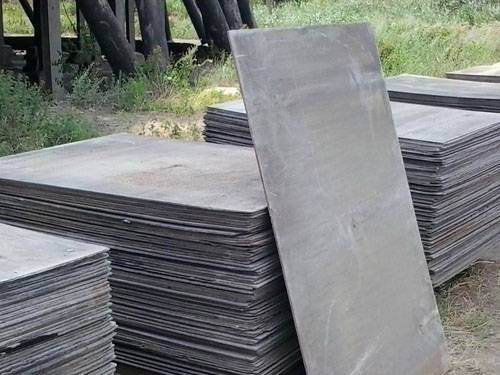
Application of flat slate
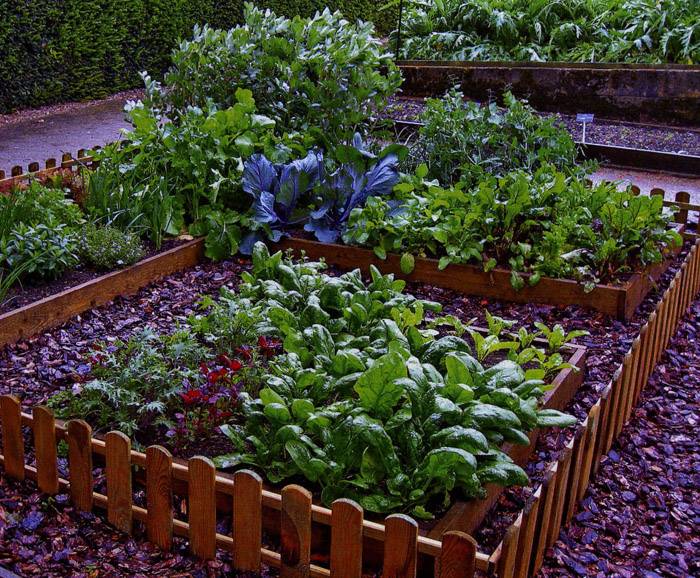
Beautiful wooden version
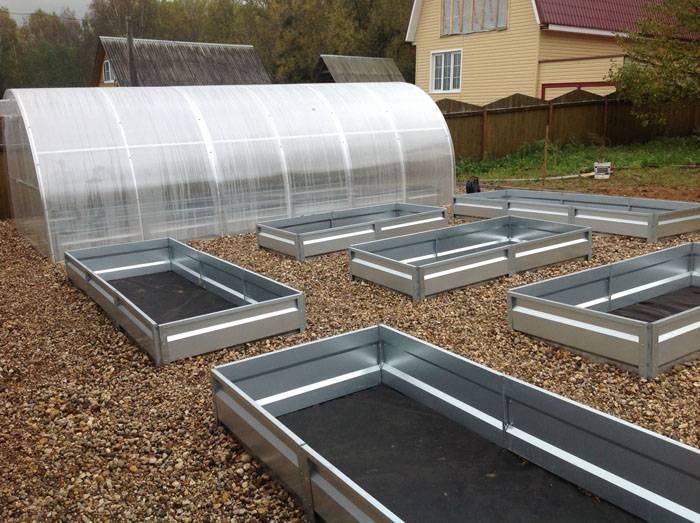
Metal structures before filling the soil
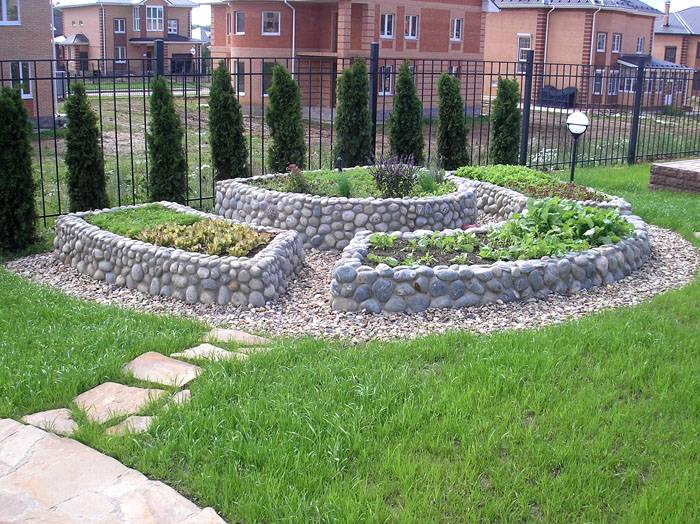
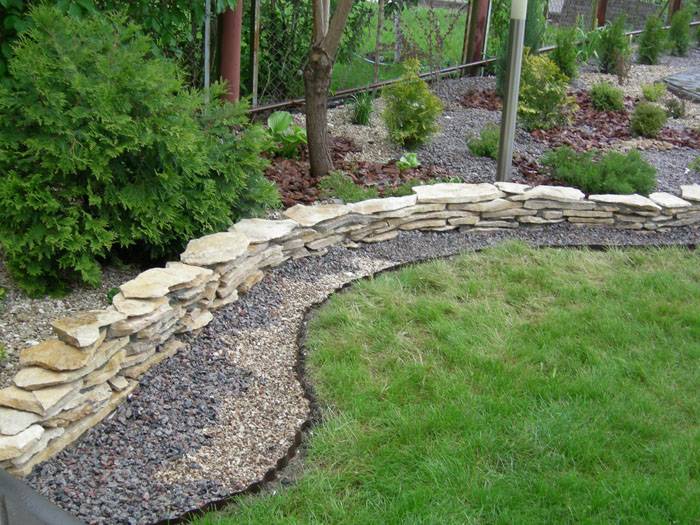
Decorative method of fencing made of stone
The beauty and convenience of border tape
The paths between the beds can be left as they are, sprinkled with small stones or covered with paving slabs. It depends on the choice of garden decor you choose.
How to make a fence for the beds with your own hands
The simplest options for fences that do not require a lot of time and have an affordable price: flat slate and curb tape. In the second way, you can create any forms for planting fruit crops.
Accuracy is the key to beauty
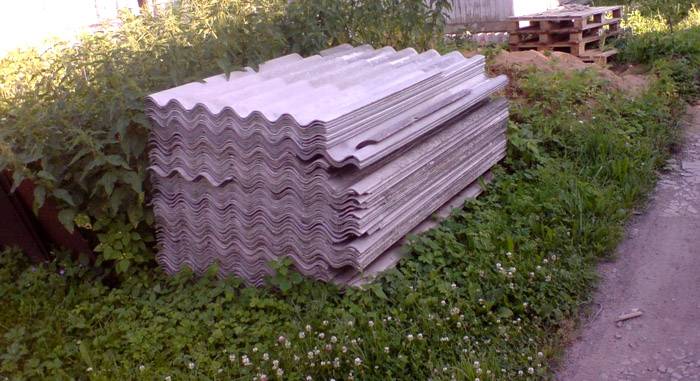
To make an interesting decor on your site, you first need to buy a flat slate for the garden bed. The average cost is from 300 to 500 rubles. depending on the thickness of the material. The classic size of one element: 100 x 150 cm.
The installation of flat slate itself will be reduced to several simple steps:
| Photo example | What to do |
|---|---|
 | After choosing a place and size for planting vegetables, cut the material to the desired height and length. Dig a trench half the depth of the purchased slate around the perimeter of the flat ridge. |
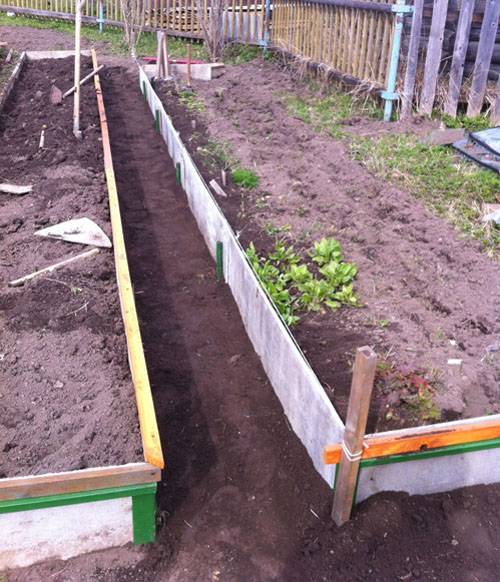 | Place the blanks in the prepared trenches and backfill them with soil. Be sure to tamp the soil to keep the structure stable. |
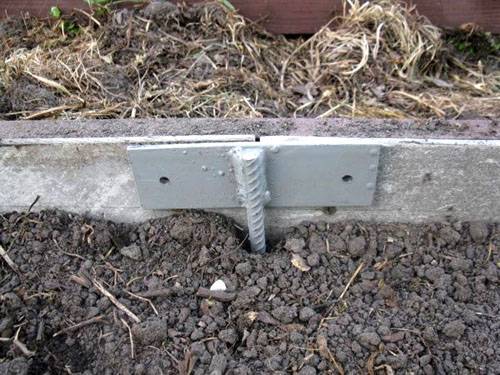 | Use metal pegs to secure the structure. And pour the fertile soil inside. Everything is ready. |
To make it easier to work, watch the video on the topic:

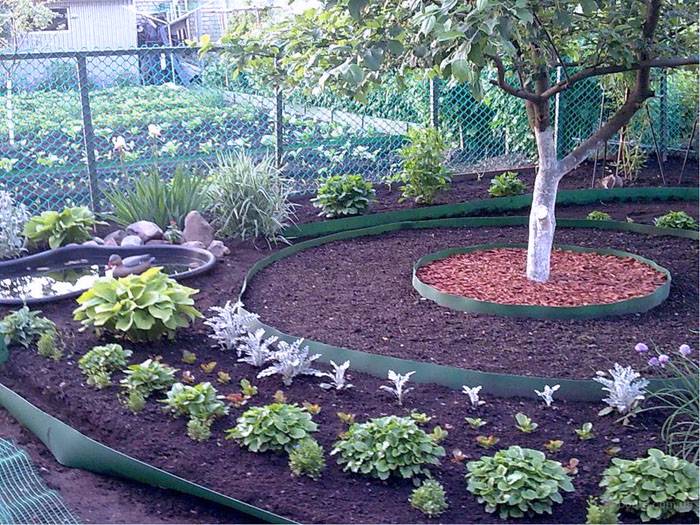
It is hardly easier to use the borders for the beds with your own hands. The softness of the material allows you to make any shape, and for strength, the material is not only dripped into the trench, but also plastic pegs are used. Here are some interesting photo examples of finished works:

Installing a plastic curb
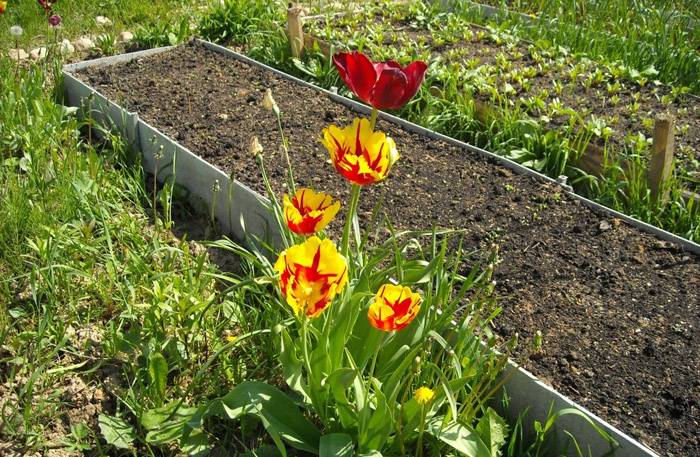
Application in landscape design
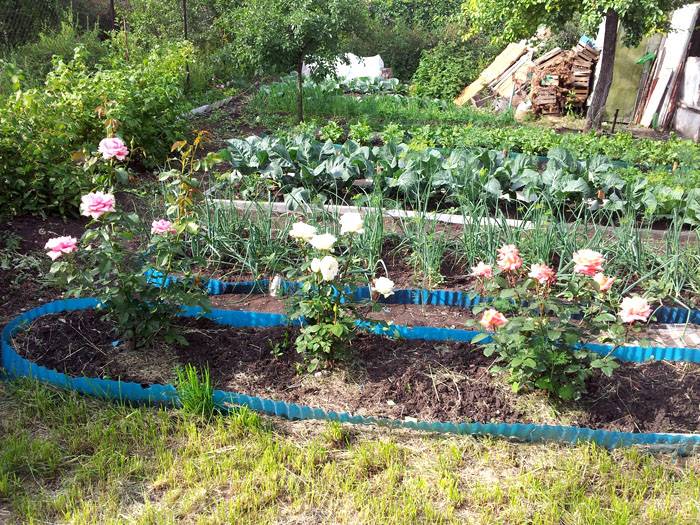
Flower garden fence
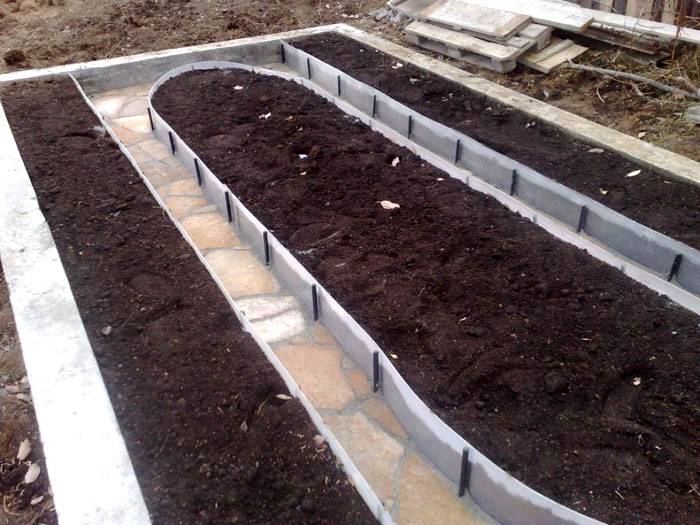
Oval ridges
Related article:

Diy photos of unusual beds in the country
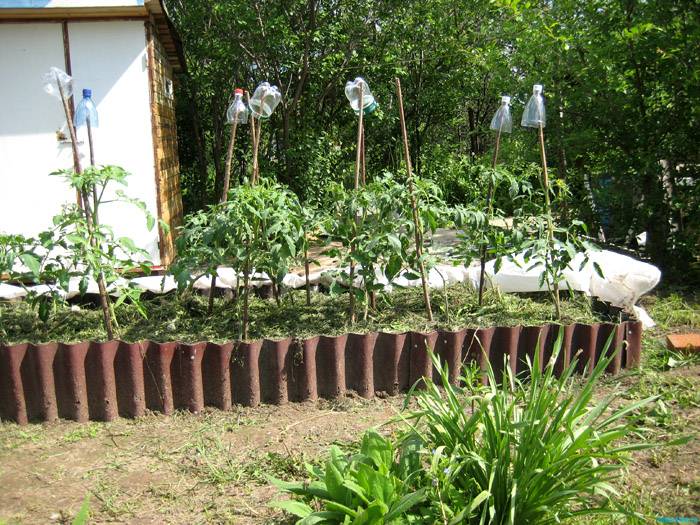
It is not at all necessary to spend a lot of money on fencing for planting fruit crops; you can use the simplest and most affordable materials that you have left from construction or other work. Often, scraps from boards, bricks or pieces of corrugated slate are used.
Decorative design with a fence
Lovers to do everything on their own, as well as to decorate the garden with bizarre shapes, often make do-it-yourself beds from scrap materials. Photos of some of the works are presented below:
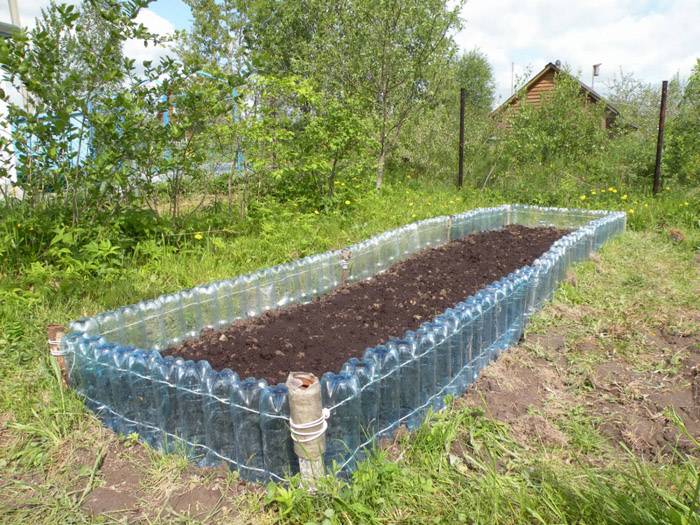
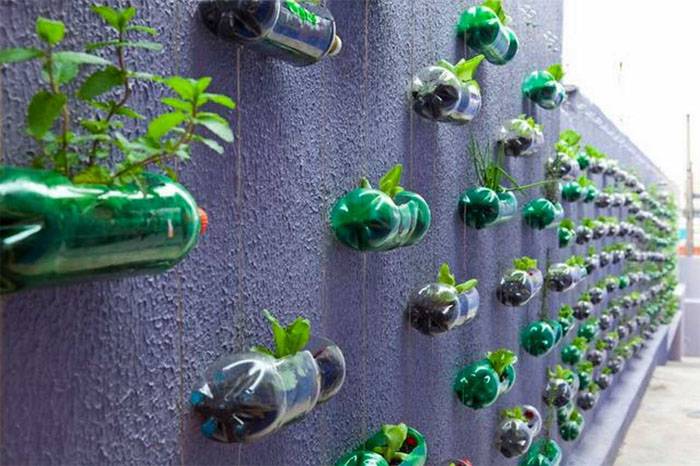
From plastic bottles - practical and affordable
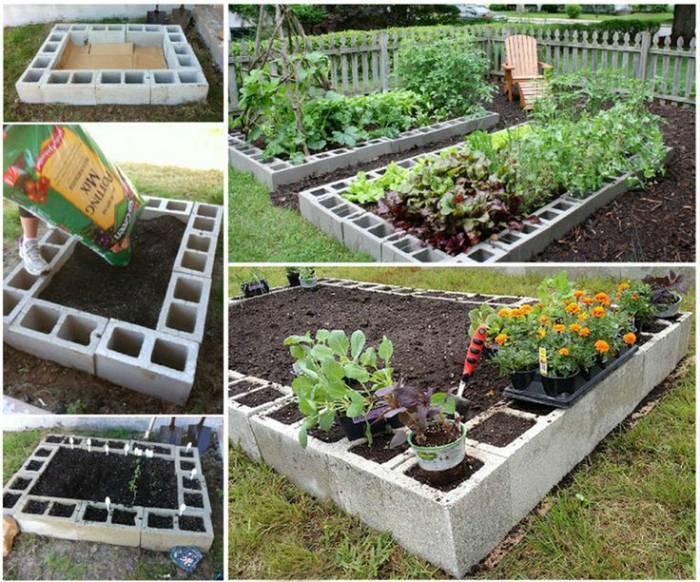
Making a ridge of foam blocks
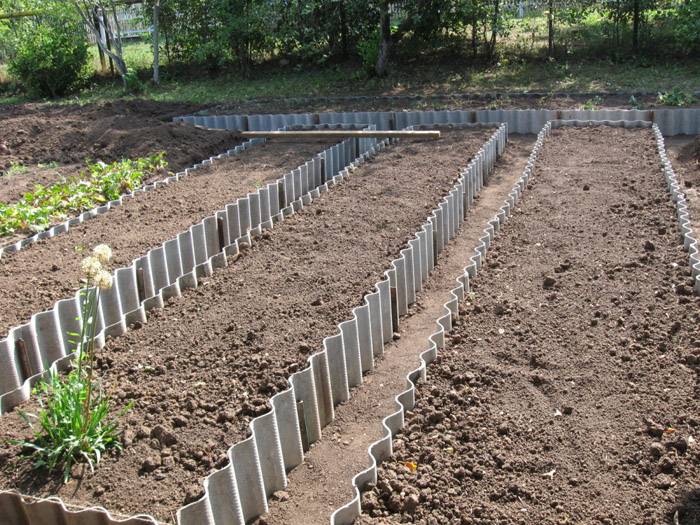
Application of corrugated slate
Separate houses for greenery
Related article:
Diy photo of strawberry beds: features and examples of creation
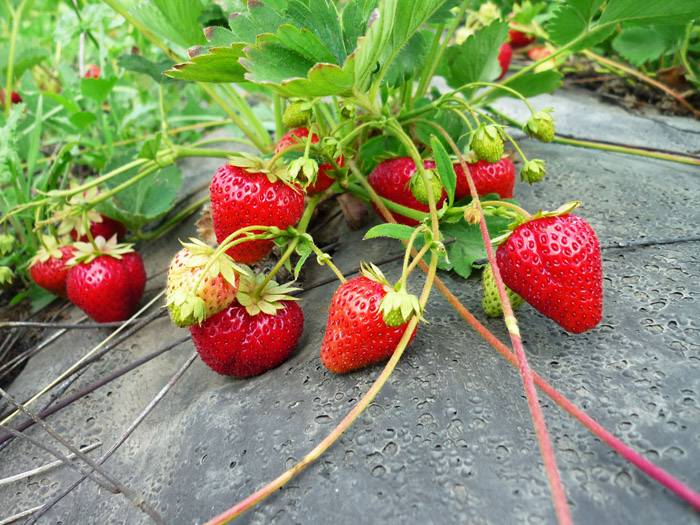
Strawberries are planted in almost every vegetable garden. Juicy and unpretentious berry is a favorite delicacy of adults and children. But in order for it to really turn out delicious, you need to properly prepare the garden.
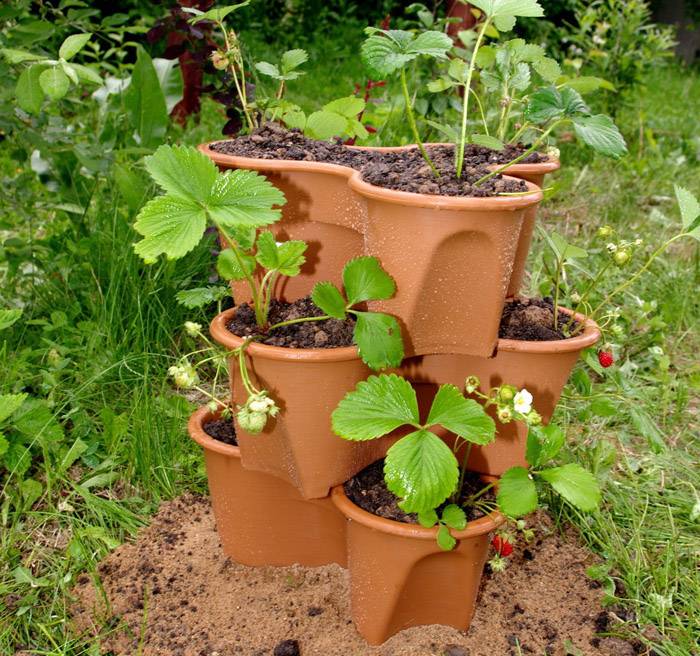
Street pots for your favorite berries
Today there is a wide choice of material that allows you to accelerate the growth and productivity of bushes. For example, the price per meter for a spanbond is only about 100 rubles, and such a canvas has many advantages:
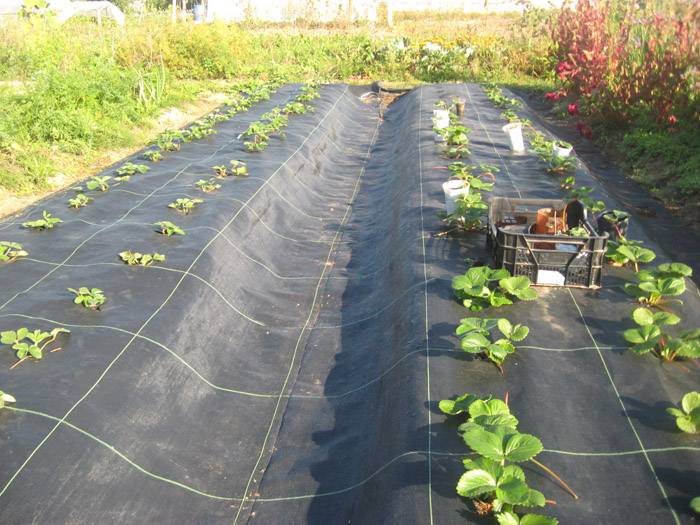
Strawberries under spunbond look neat and grow better
Productivity grows and harvesting is easier
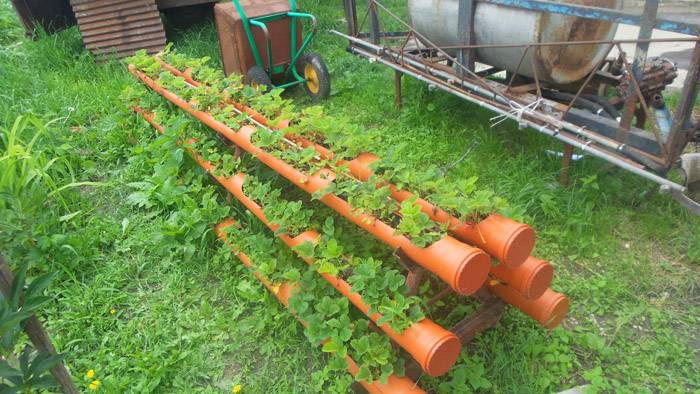
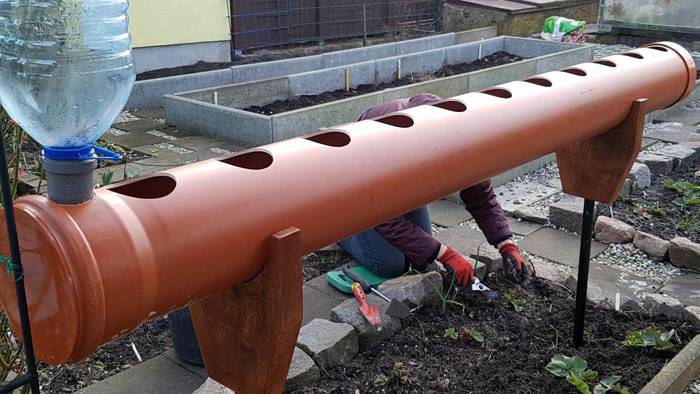
If you do not want to spend money even on such a simple and convenient material, you can make beds from plastic pipes. Here are some interesting photo examples:
An interesting option for plot decoration
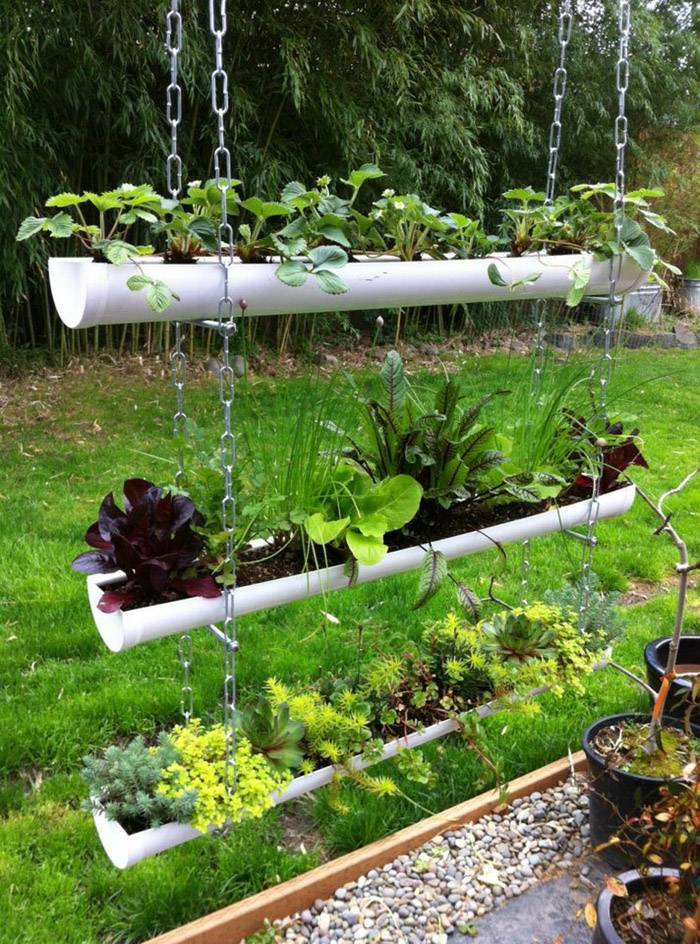
Vertical arrangement of pipe cuttings

Preparation for disembarkation
Greenhouse without dirt
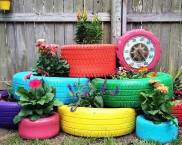
Interesting DIY strawberry beds from car tires
When coming up with an option suitable for planting a delicious berry, various materials at hand come to mind. Including tire beds for strawberries. Moreover, you can create a unique vertical structure that takes up little space in the garden and gives a large harvest.
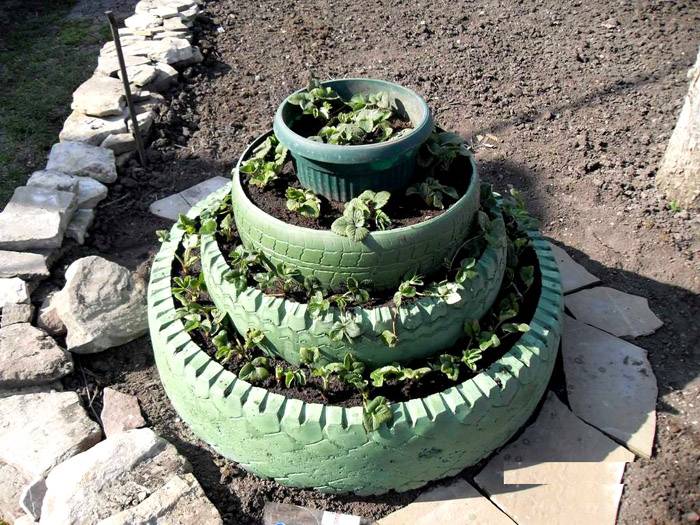
Vertical creation
For work, the tires of the right size themselves, a chisel, a wooden block and soil with seedlings will be useful. Additional casing is not required, as the tires have a metal cord that provides proper structural strength.
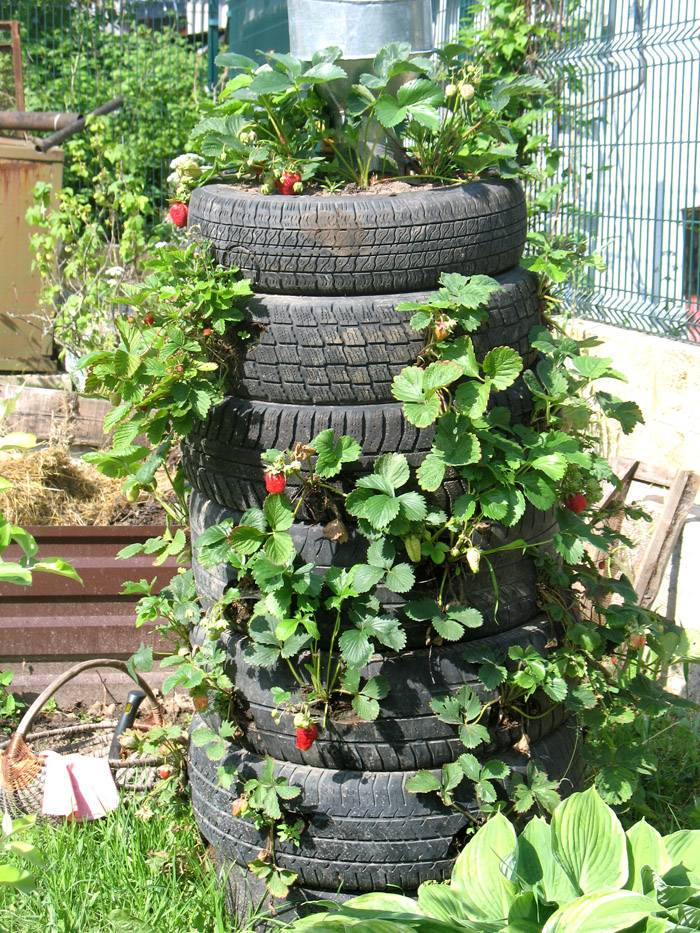
Another example of a pyramid
The seedling holes are made with a chisel, and the tire itself can be put on the block. Make a few holes and the simplest design is ready. Here is a video on one of the ways to create.
Video: we grow strawberries in tires

Instructions on how to make a strawberry bed from a pipe with photo examples
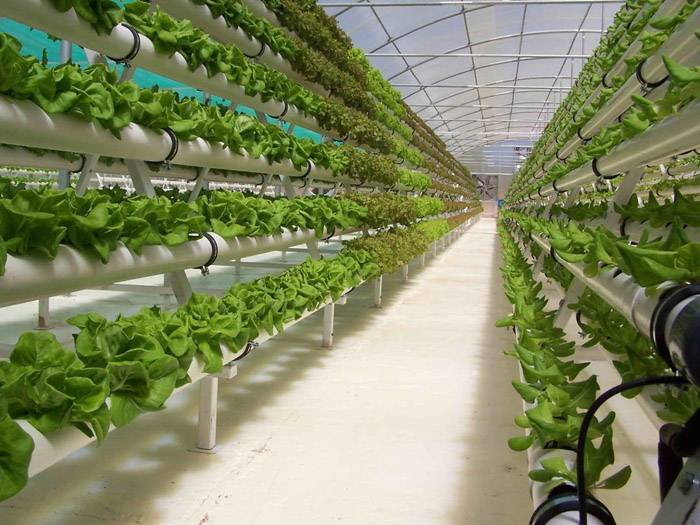
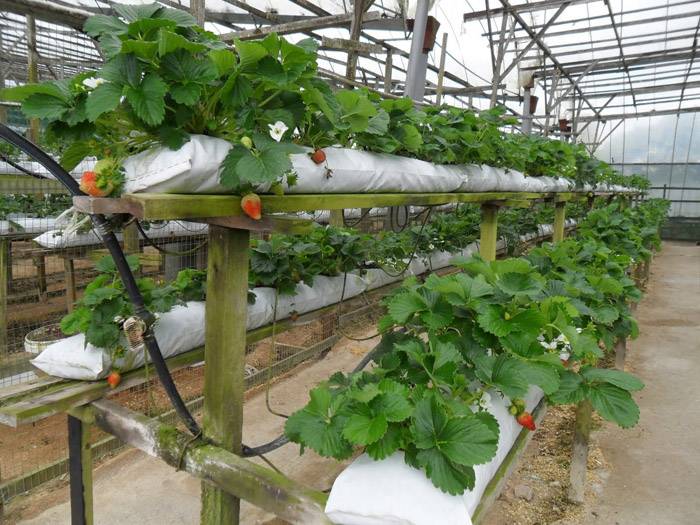
Planting strawberries in a tube (horizontally) is a common option in areas with little free space. Moreover, the material itself can be both metal and PVC. Here are some fun examples:
Six beds in the place of one
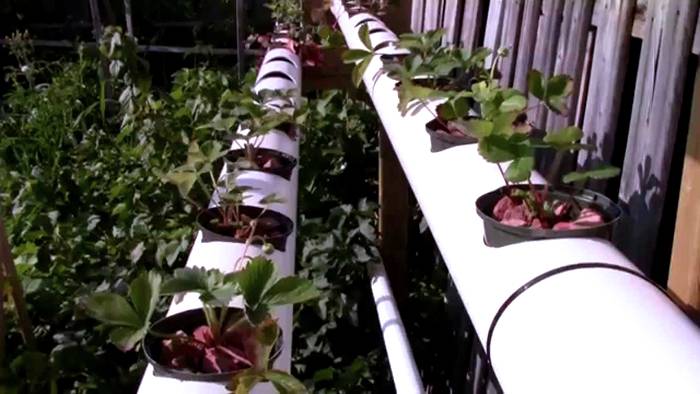
Location along the fence
Such a garden can even be located in an apartment.
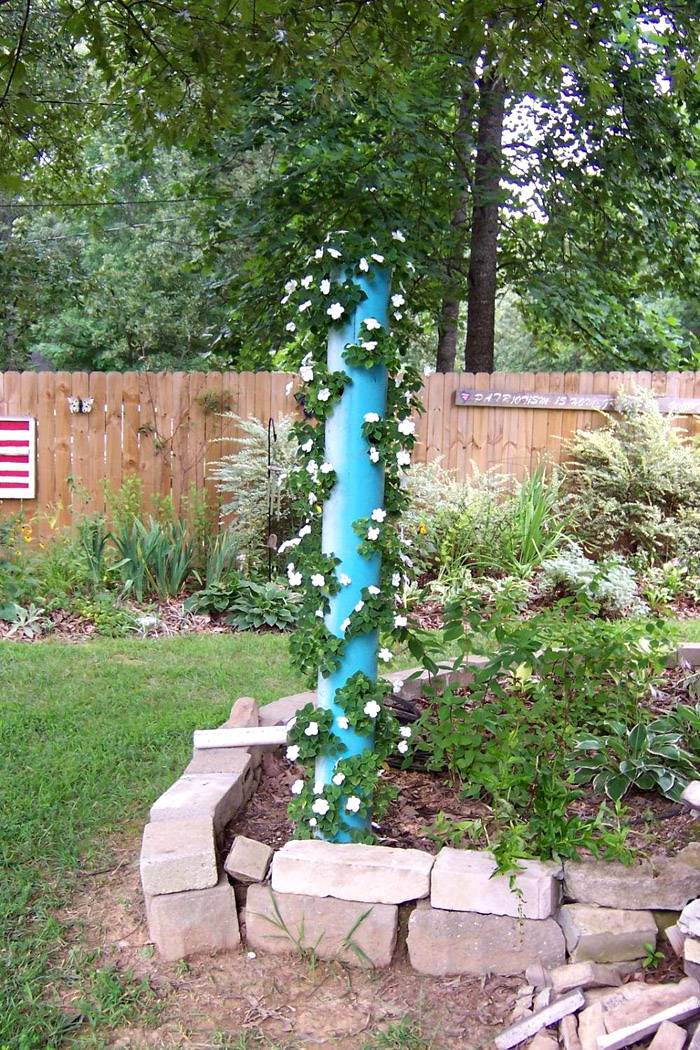
Vertical option
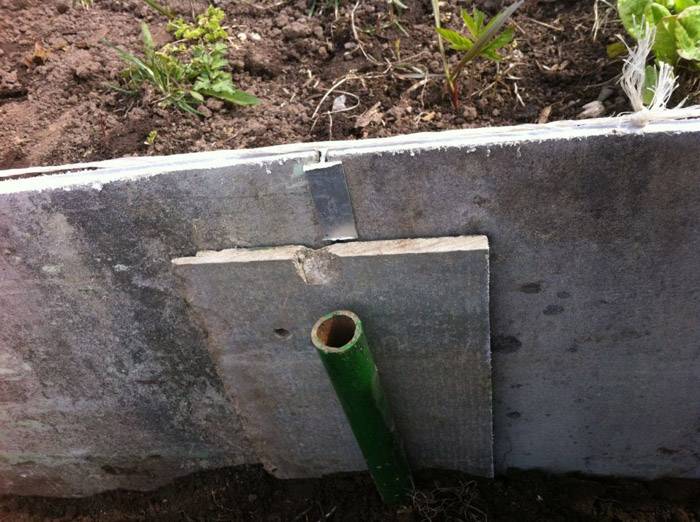
You can even use a sewer pipe for your strawberry bed. Let's take a closer look at how to make a design for a delicious berry:
Ready-made version in the garden
When the preparatory work is completed, assemble the structure. To do this, place plugs on the pipes. You deepen the thick one into the ground, and a small irrigation pipe is attached to it in the center. The soil is filled up, and bushes are planted. To make it clear, watch the video on the topic:

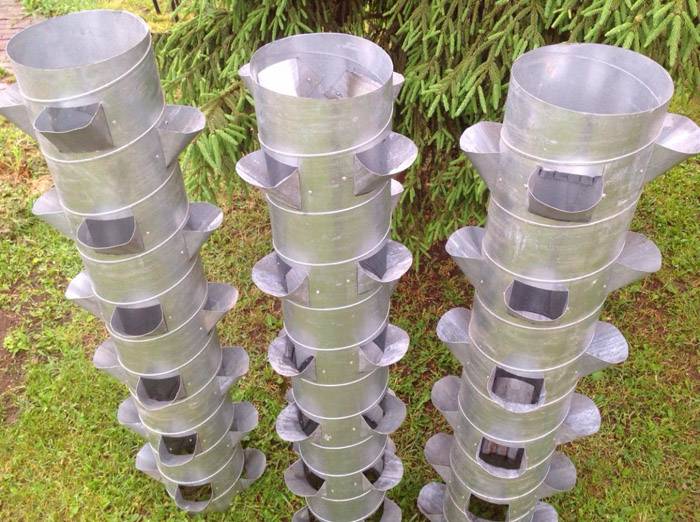
Interesting designs of vertical beds for strawberries from plastic pipes. Here are some photo examples:
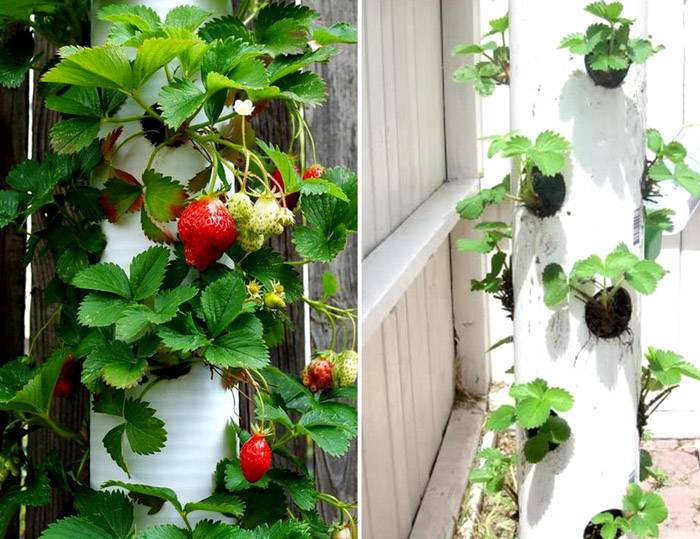
Unusual and practical
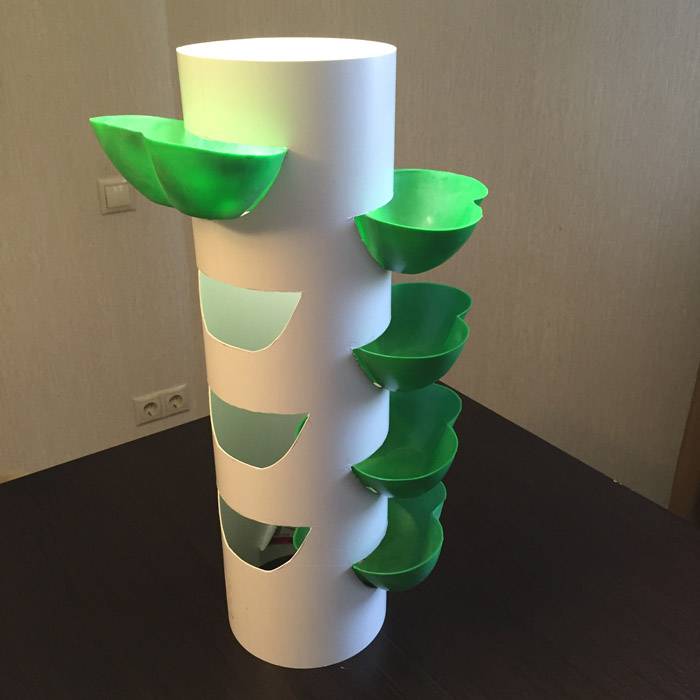
Ready-made design available from the store
Planting strawberries in pipes vertically can look like a decorative element
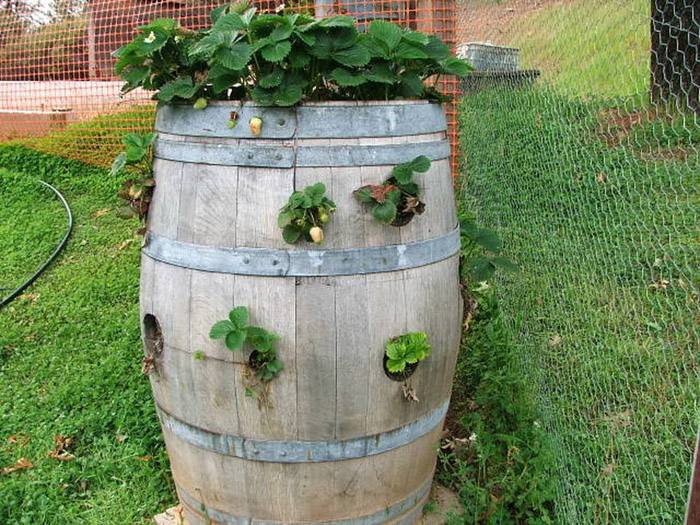
And you can put it in a barrel
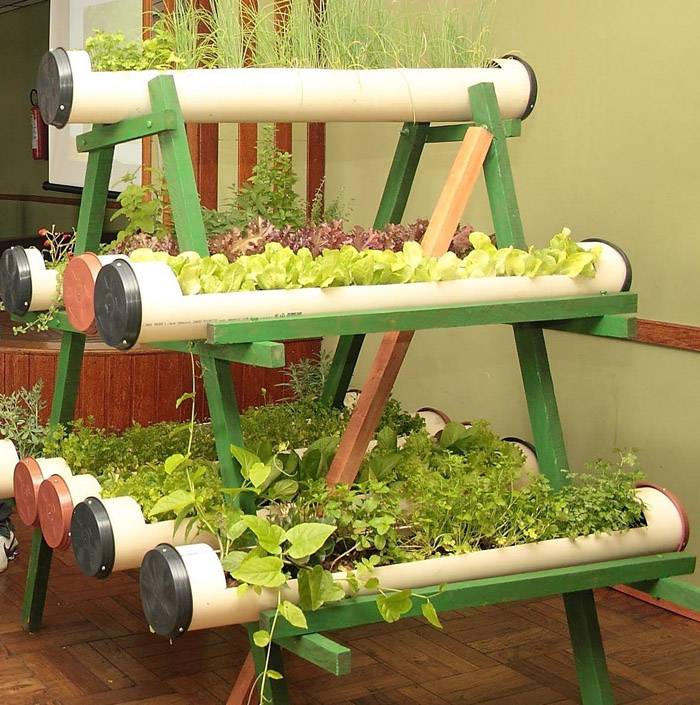
How to make multi-tiered designs for strawberry beds with your own hands
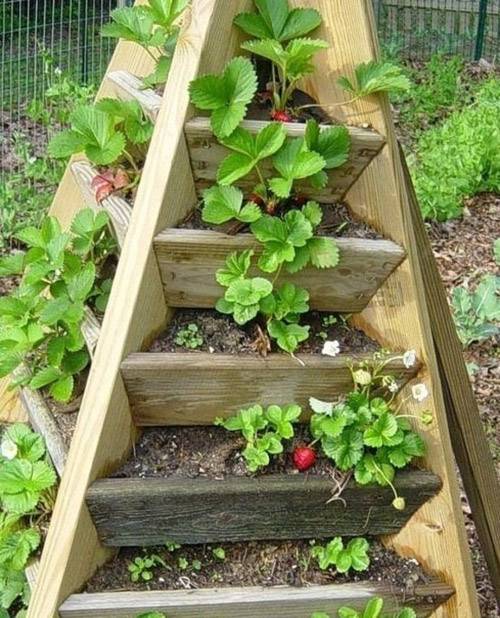
Modern materials, as well as improvised means, allow not only making high beds in the country do it yourself, but from the photo recreate real pyramids with beautiful bright bunches of strawberries. And also to make multi-level "houses" for flowers.
Multilevel version of irregular shape
Making a pyramid for growing strawberries on your own is not so difficult. You can use various materials for the fence: wood, metal, plastic. And also all kinds of improvised means:
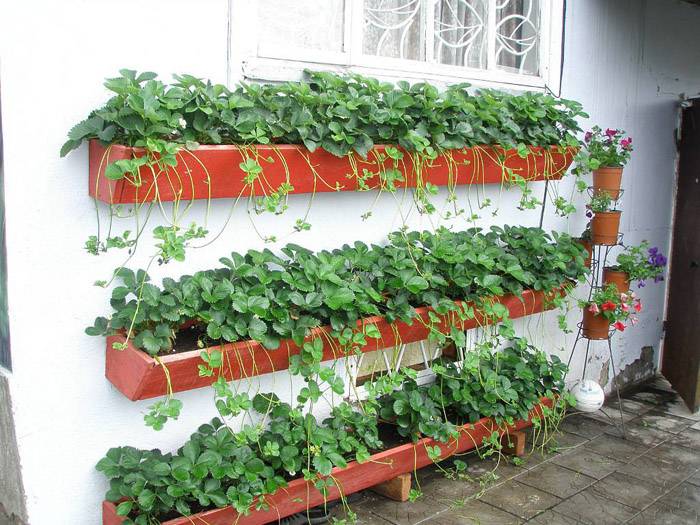
An interesting option for wall decoration
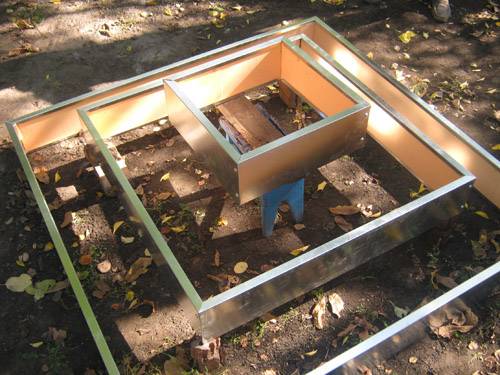
There are no exact criteria for the shape of the base. You can make it round, square, rectangular, polygonal, and even wavy. Consider an easy way to make a multi-tiered strawberry bed:
| Photo example | Work sequence |
|---|---|
 | Let's take a classic pyramid as a basis, but with a sharp top. We will assemble from wood, as it is easier to fasten it. |
 | Collect the first tier. It should be the largest. The width of the strawberry ridge should be 40 cm. A stainless steel mesh can be laid down, it will keep the roots from pests and prevent waterlogging. |
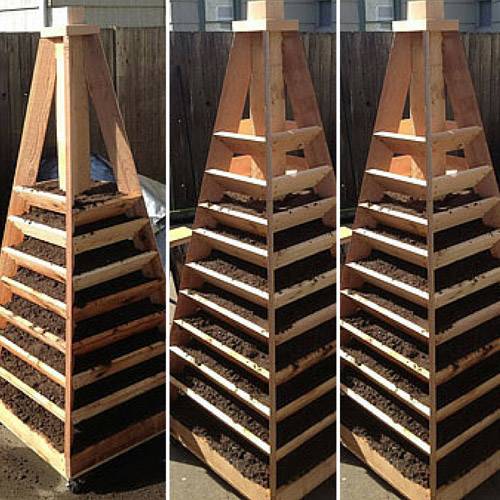 | At the bottom of each tier, pour sawdust and shavings, as well as dry grass. That is, you get a mesh - sawdust - grass. Then a layer of earth. It is advisable to leave the total height of the pyramid at the level of one meter, otherwise it will be inconvenient to care for the berries. |
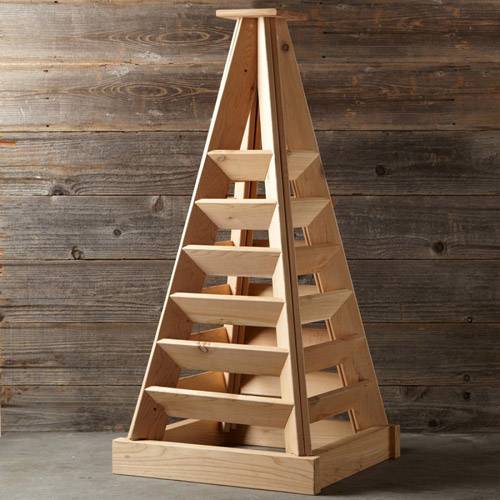 | It is better to make the sides of the levels at an angle, and before planting, treat the entire structure with varnish or paint to protect it from decay and increase its service life. |
To make it easier and faster to work, watch the video on the topic:

Photo of beds for strawberries from bags
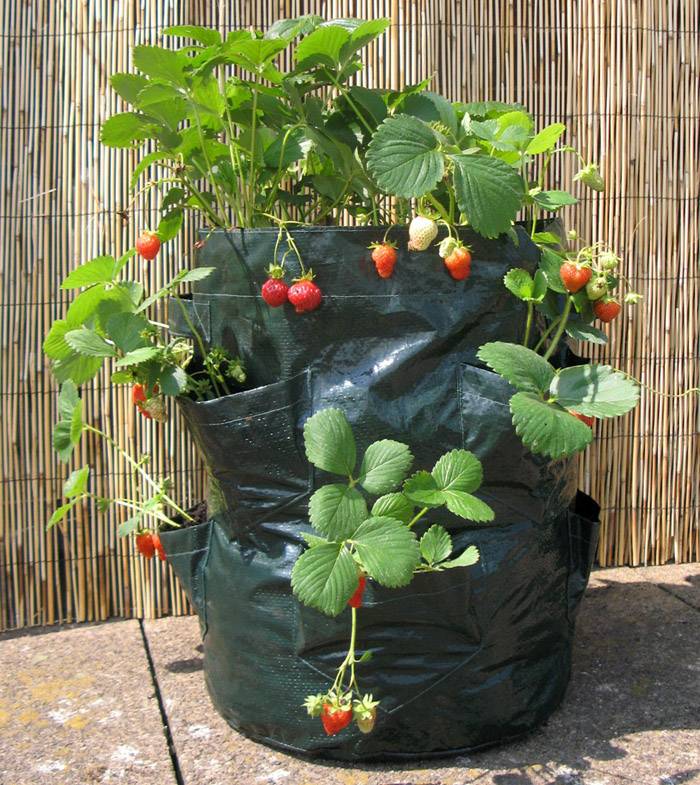
Vertical strawberry beds are ideal for small areas. They can be purchased ready-made in the store or made yourself. And the second way is a real flight of fantasy. In addition to the considered methods of erecting beds from pipes, tires and wood, you can make a unique decor with fruitful bushes from bags.
Can be used in greenhouses and greenhouses
The process of growing strawberries in bags is no different from a classic or vertical bed, but very interesting options for creating beds are not like everyone else's.

High ridges of big bags
Juicy and clean berries are easier to pick
Vertical landing method

Suspended models
The advantages of do-it-yourself slate beds with photo examples
The use of flat slate for beds has been known for a long time. Every gardener has seen such designs at least once. The material for the sides has a number of advantages:
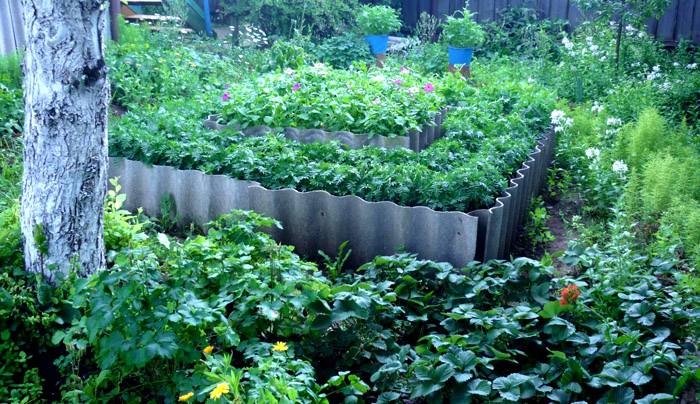
Classic corrugated slate fencing
Despite the ease of installation and undemanding additional processing, slate has negative aspects that must be taken into account when choosing fences for planting strawberries:
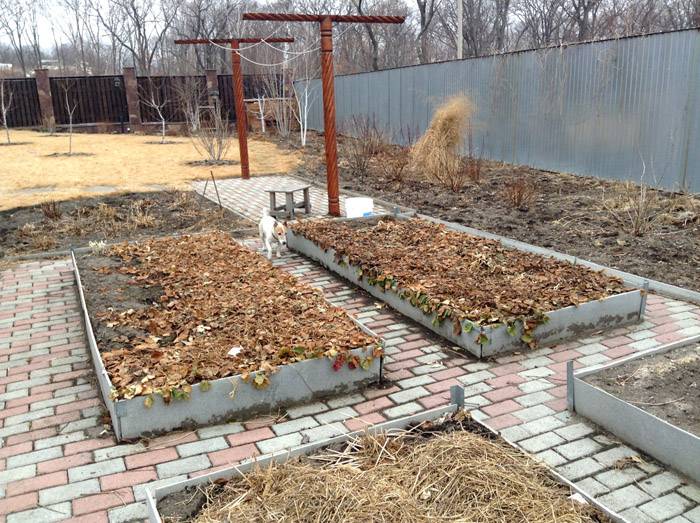
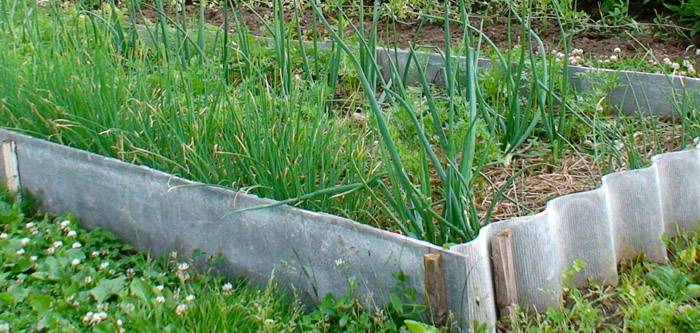
Flat slate looks very nice in any garden
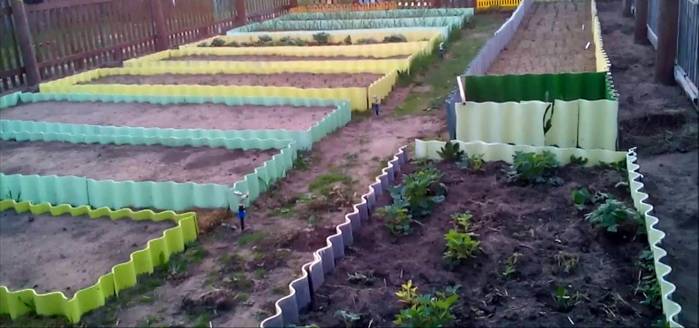
But from the wavy material, very neat and beautiful beds are obtained:
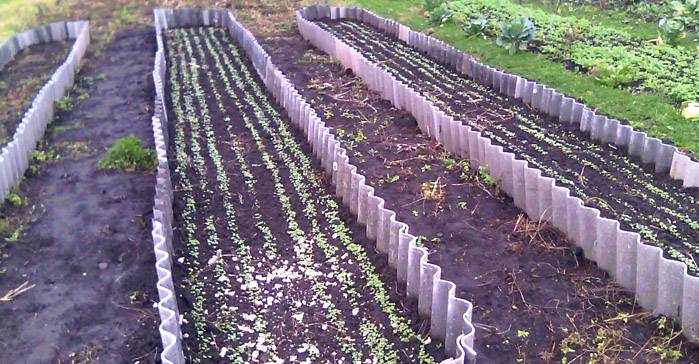
The simplest homemade beds
Two-tier design
The combination of beds with a slate fence and simple options
Interesting shape with an acute angle
How to make wavy slate beds with your own hands
From the photo above, it can be seen that creating a bed of corrugated slate is not necessarily even and rectangular. You can make structures in several levels or bevel corners, choosing the best option for your site.
Prepared material
Sometimes slate scraps left after the roof are used. This is the cheapest option for arranging a garden, since it does not bear additional costs, but there are inconveniences of working with different pieces.The easiest way is to buy corrugated slate sheets of the same thickness and length. Moreover, the average price for them varies between 200-300 rubles. for 7-8 waves. Average dimensions: length - 1.75 m, width - 1.13 m.
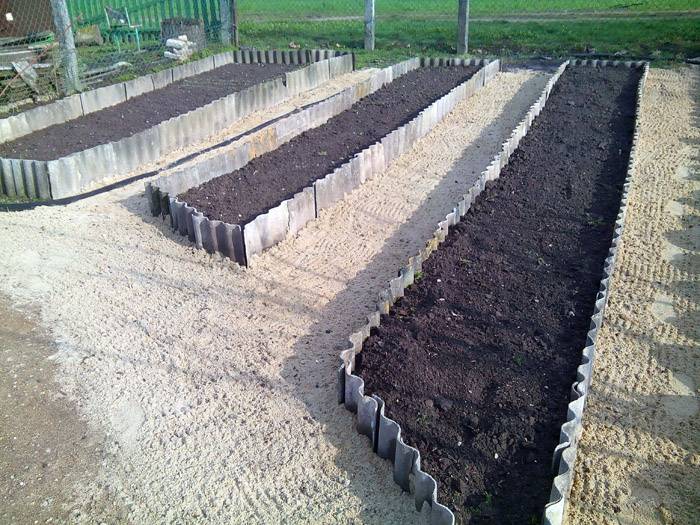
Colorful vegetable garden
To lay such a fence in the ground, it is enough to dig a small trench along the perimeter of the future ridge. Put the slate in straight lines in this hole, about half the total height, and dig in with earth. To understand the sequence of actions, watch the video on the topic:

Features of do-it-yourself flat slate beds
Many summer residents prefer to make the fencing of the beds with slate, as it is affordable and simple. And also no specific skills and abilities are required, as is the case with laying a stone curb.
Tall structures in a greenhouse
At the same time, such a practical and harmless material has several recommendations for installation as a fence for flower beds or beds:
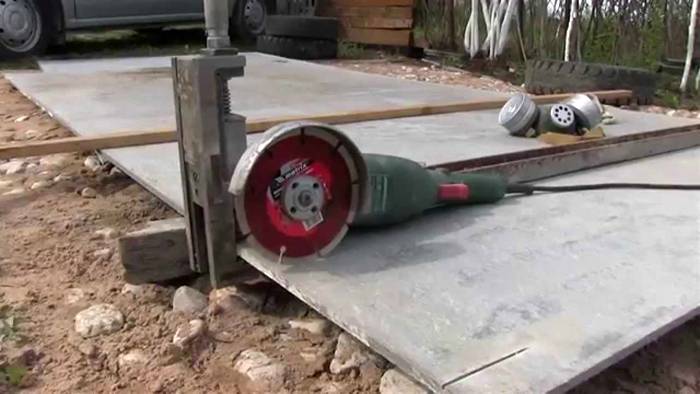
Sheet cutting
Along the length of the bed, you can make the structure stronger using pegs
And also observe safety precautions and carry out the installation with construction gloves so as not to injure your hands on sharp corners or screws. As a result, you can get a beautiful vegetable garden that stands out against the background of neighboring beds:
A neat vegetable garden with paved paths
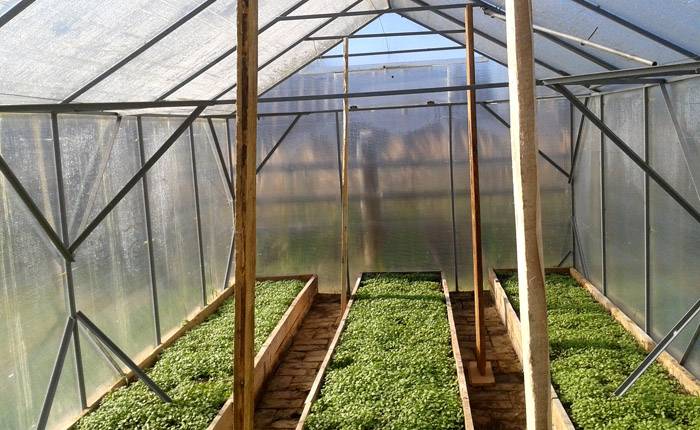
The cleanest greenhouse
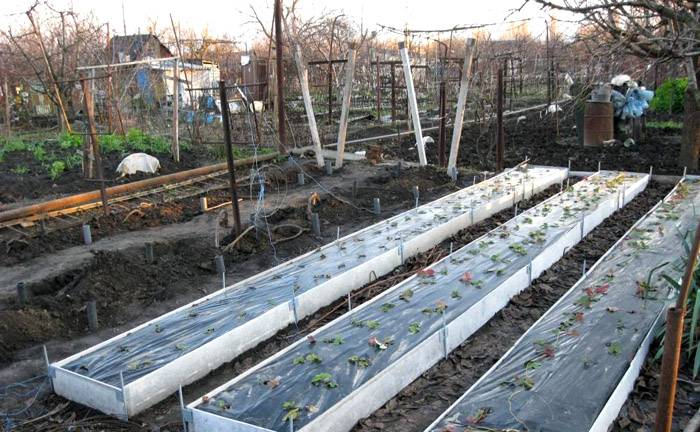
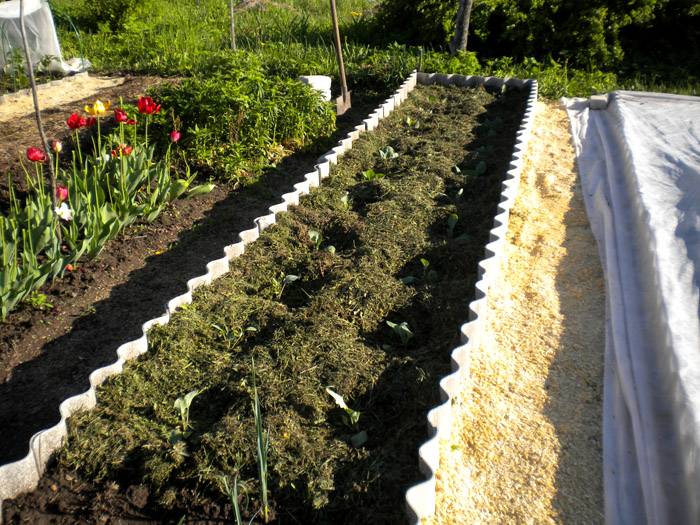
Spring seedlings of strawberries under spunbond
Narrow slate ridges
Price for slate for beds
If you don't have any pieces left over from your roof repair, you can buy slate strips for your garden beds. The price for them is different, depending on the thickness of the material:
Pre-cut strips are easier to work with as they eliminate the need for cutting. At the same time, you can find very cheap options with and without delivery, as well as order a kit through online stores.
Combination of flat and wave slate
To calculate the required amount, decide in advance how many and which beds you plan to make. It is better to take material with a margin, in case of breakdown during transportation or installation.
The installation of flat slate for the beds itself does not take much time. Watch the video instructions to understand all the stages of work:

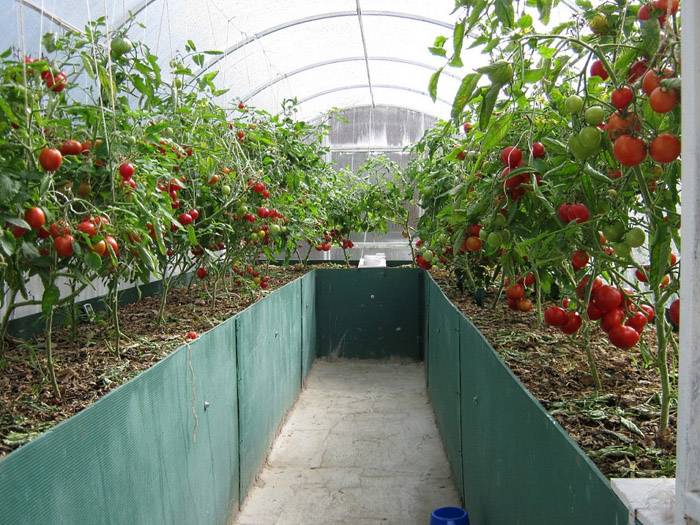
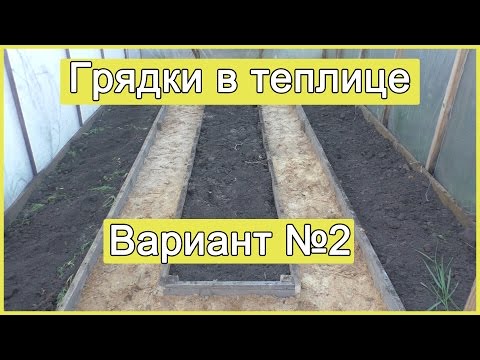
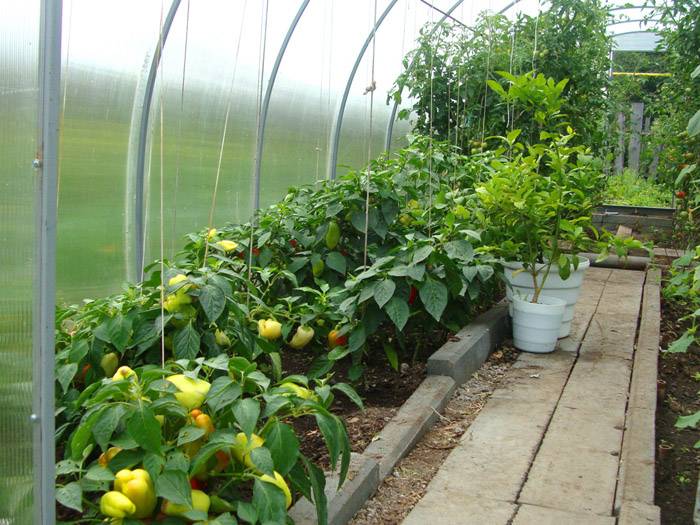
How to make beds in a greenhouse: photos of interesting works
The greenhouse is the place where summer residents like to plant heat-loving fruit-bearing plants. In them you can see peppers, tomatoes, cucumbers and much more. Some equip the area for a greenhouse or insulate the structure so as to get a harvest all year round.
Neat framing of wide beds
For whatever purpose the greenhouse is used, this is a small space, if you do not take into account the commercial options, where you need to arrange several beds.
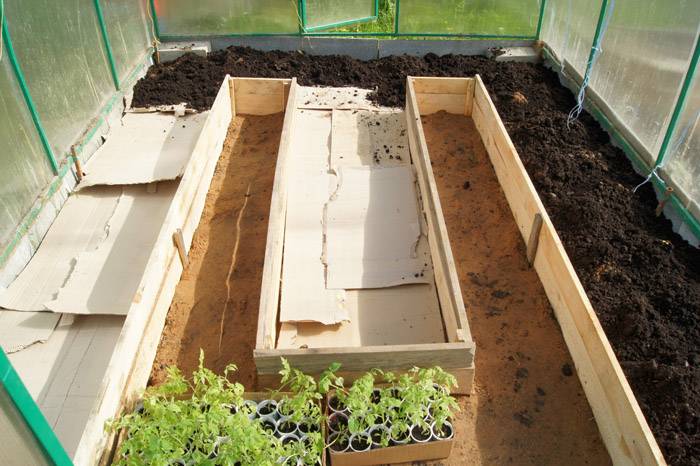
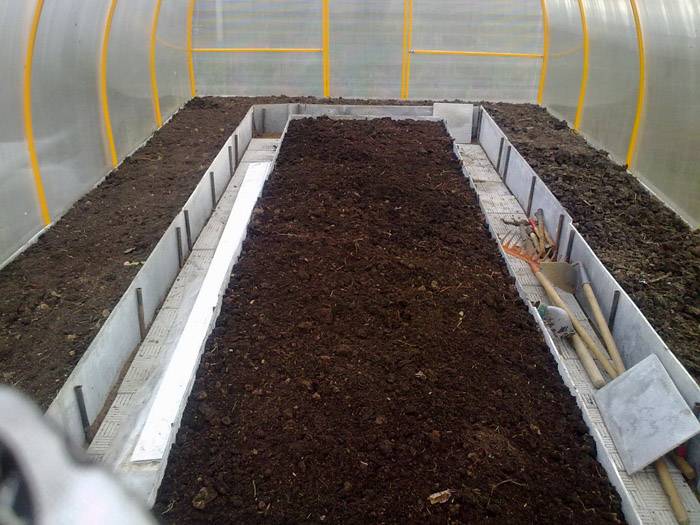
Filling with earth a structure with wood curbs
Curbs that protect fertile land from creeping are collected from a wide variety of materials. There are beautiful creations made of wood or neat metal structures, and curb tape and improvised means are also applicable. Here are several options for arranging a greenhouse:
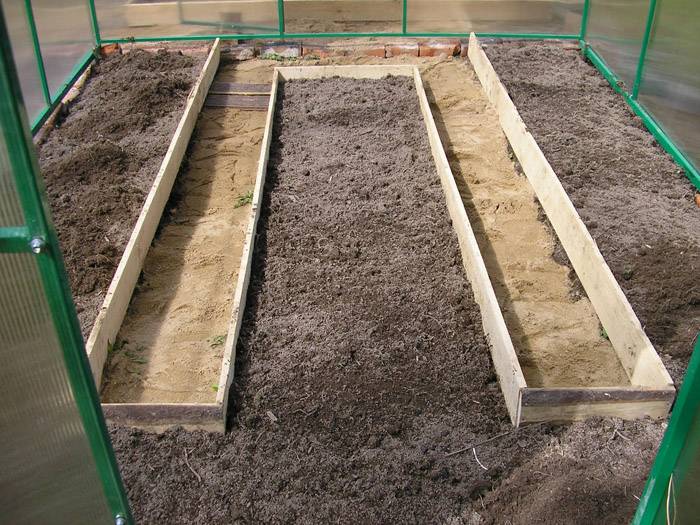
Wooden formwork
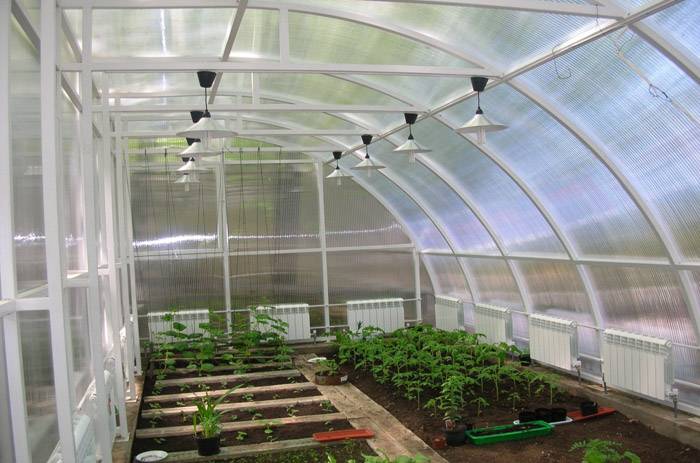
Combination of different beds depending on the plants

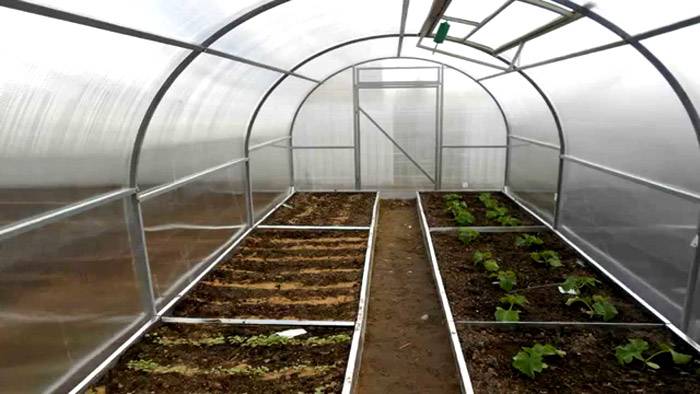
Classic version in three rows with metal railing
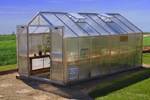
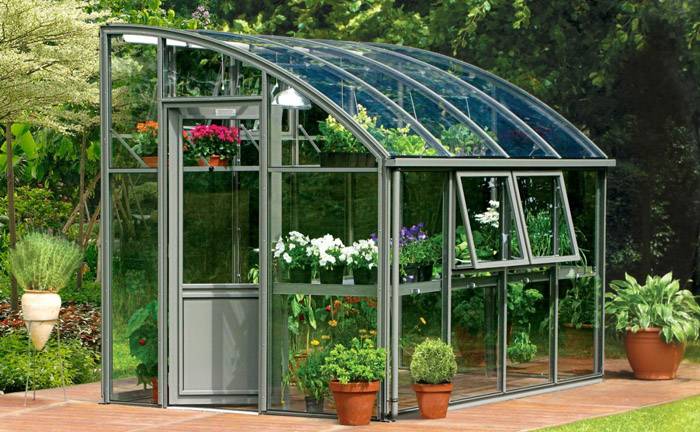
Option for a small but neat greenhouse
Related article:
A variant of the successful arrangement of the beds in the greenhouse 6x3 with a photo
There are many design options, one of the most common is 3x6 greenhouses. How to arrange the beds in a long and narrow space is a question that worries many. There are several general options for the location of landing sites in a greenhouse:
Two wide stripes
Option with three equal ridges
Wider in the middle than on the sides
When choosing the location of planting sites in greenhouses, keep in mind that the beds near the walls should not be more than 1 m wide. And the dimensions of the central one cannot exceed 3 m. This is due to the need for free weeding and loosening of the soil.
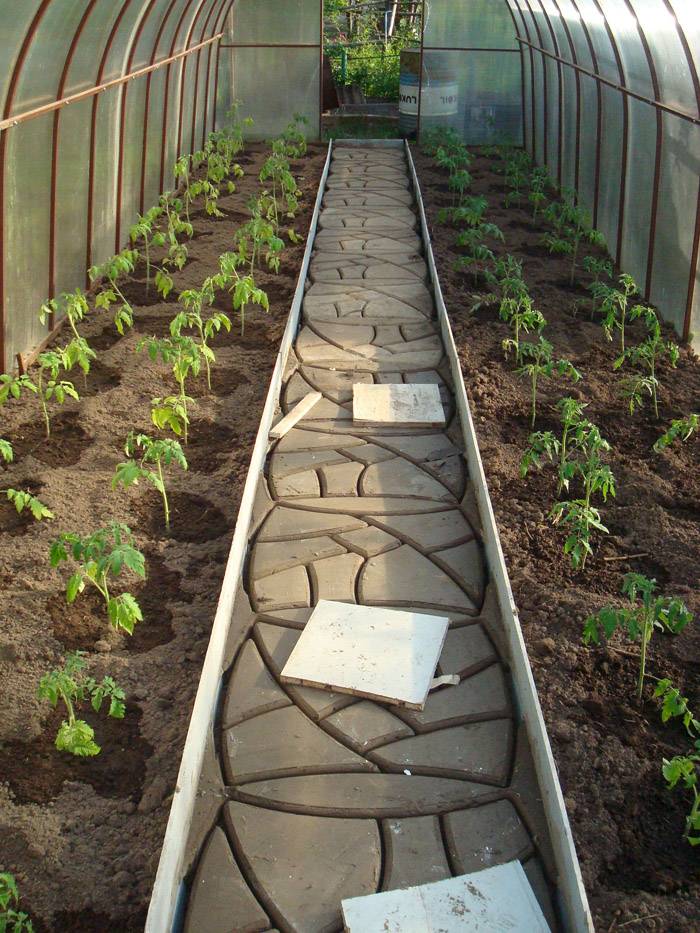
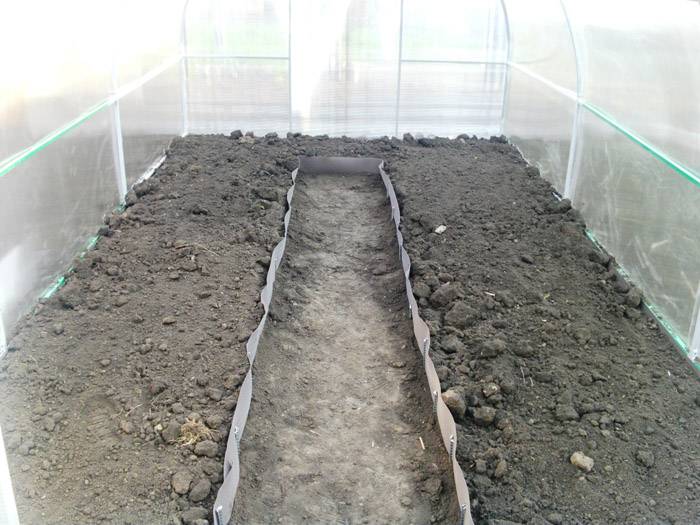
How to make a garden bed in a greenhouse 3x6: a photo of practical ways
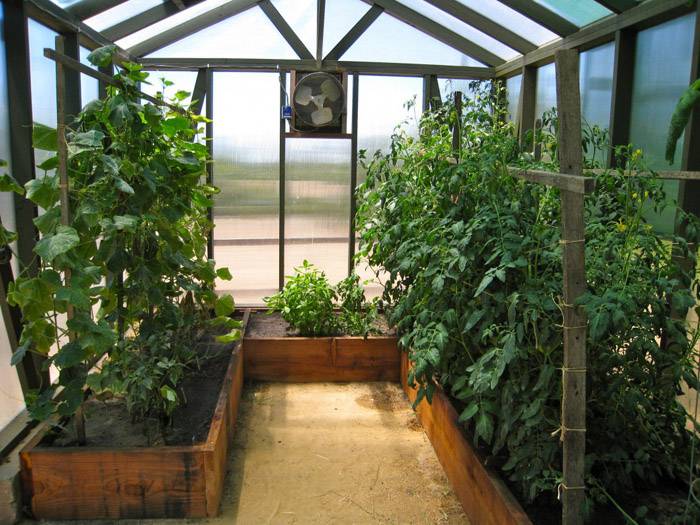
Most often, gardeners opt for a large ridge in the middle and small small ones on the sides. This is the best way to plant several varieties of plants in one greenhouse so that they do not interfere with each other's growth and fruiting.

An example of arrangement with a large ridge
If you opted for a 3-meter-wide bed in the greenhouse, then place it exactly in the center, leaving enough space for passage. The path can be covered with small pebbles or covered with foil so that unnecessary weeds do not germinate.
It is not difficult to make a bed with a width of 3 meters on your own. First, you need to decide on the material of manufacture. And then dig a small trench around the perimeter and deepen the structure of the tour. Be sure to tamp the soil from above.
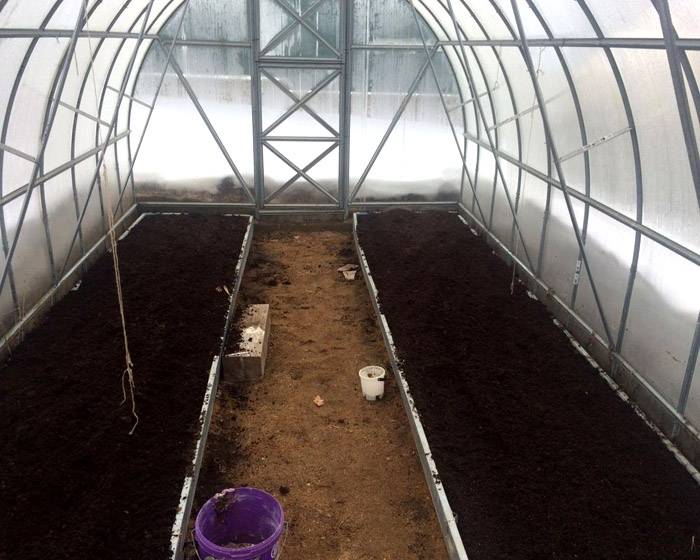
You can arrange two wide ridges on the sides, but this is inconvenient for weeding
It is worth making a layer of organic fertilizers under the soil and laying drainage to prevent waterlogging of the soil. Here is a video example of how to redo the beds and make 3 narrow identical stripes:
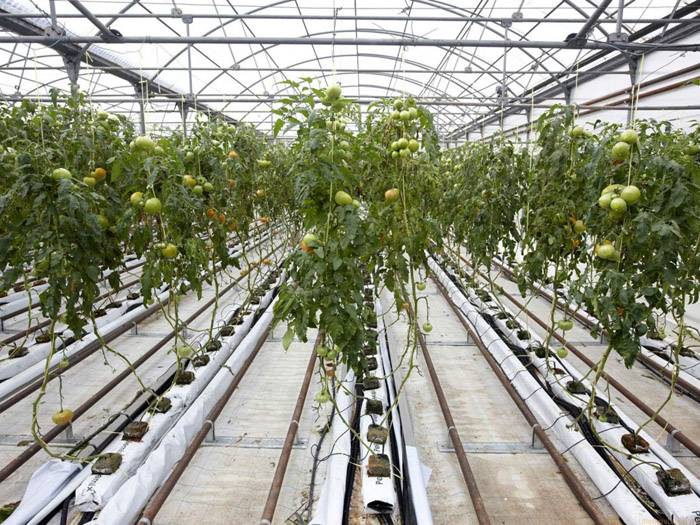
Do-it-yourself non-standard garden beds in the greenhouse
Traditional designs are not suitable for all regions. For example, in the northern regions, where snow can fall even at the beginning of summer, it is necessary to mount a warm bed in the greenhouse. It's easy to make it with your own hands, the main thing is to choose the appropriate option:

Heating circuit
For large areas
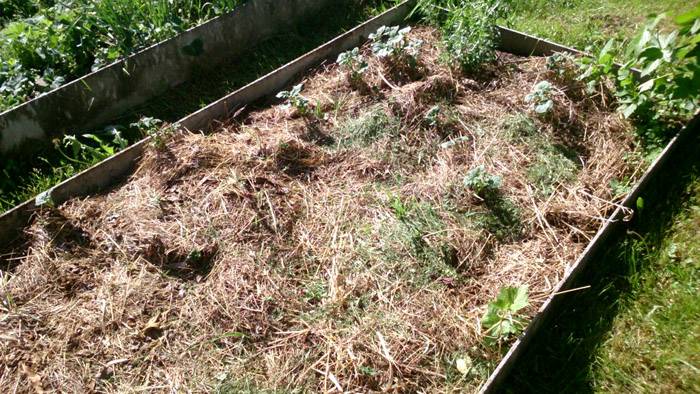
Natural warmth
When there is no need for heating, since the greenhouse is located in a warm or temperate climatic zone, other unusual options for planting plants are used. For example, you can arrange vertical placement of beds in a greenhouse. In this case, it all depends on the imagination of the author and the crops for planting.
Rational use of space
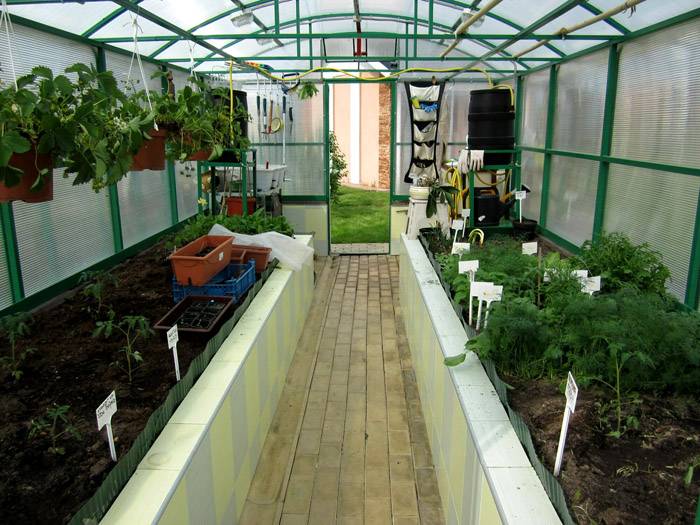
Below are beautiful photos of the beds in the greenhouse, which you can recreate on your own:

Unusual solution with paved paths
Border pieces and flower pots work well for homemade greenhouses
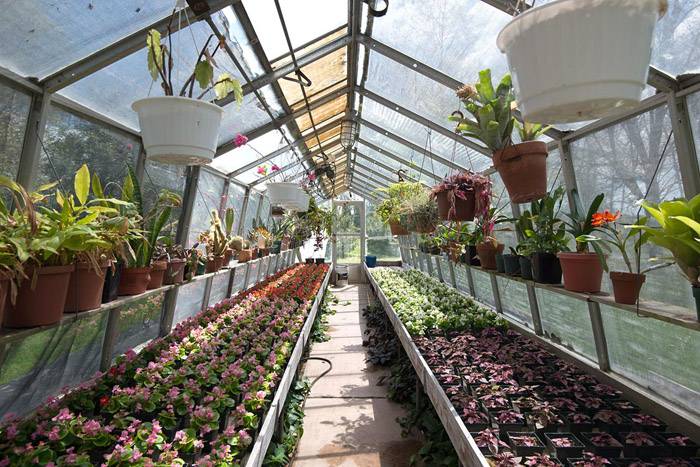
Flower garden in several tiers
Unusual form and content
Autumn and spring preparation of the beds: how to make the yield higher
Professional gardeners know about the need to prepare any soil in fall and spring. Such prevention prevents large weed growth and increases yields.
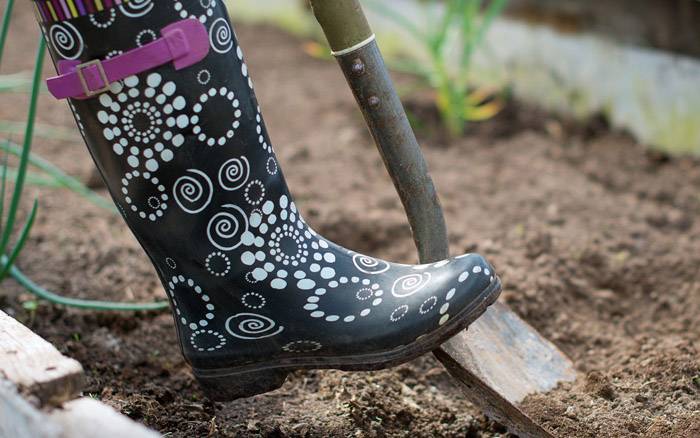
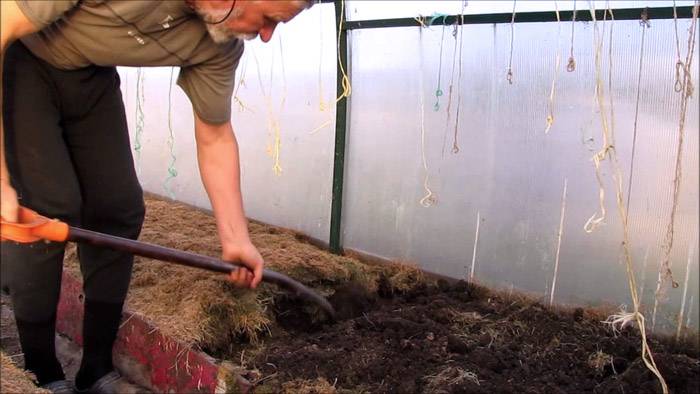
Be sure to dig up the soil
First of all, the area for planting plants is dug up. Moreover, in the fall, this is done as late as possible: almost before the onset of frost, and large clods of earth are left to freeze the roots of weeds and pests. And in the spring, on the contrary, they are loosened to enrich the soil with oxygen and quickly dry out after a snowy pore.If there are perennial fruitful shrubs on the site, then the need for wrapping for the winter depends on the planted variety. For example, girlish grapes do not need insulation.
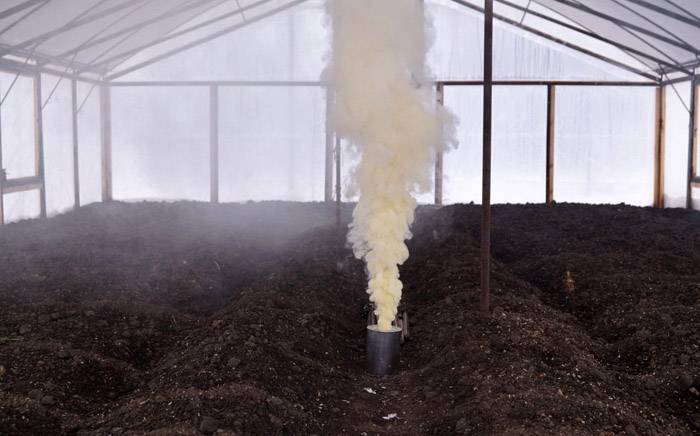
Disinfection of soil in the greenhouse
Let us consider in more detail the features of soil preparation for winter and spring planting.
Spring preparation of beds for planting: basic recommendations
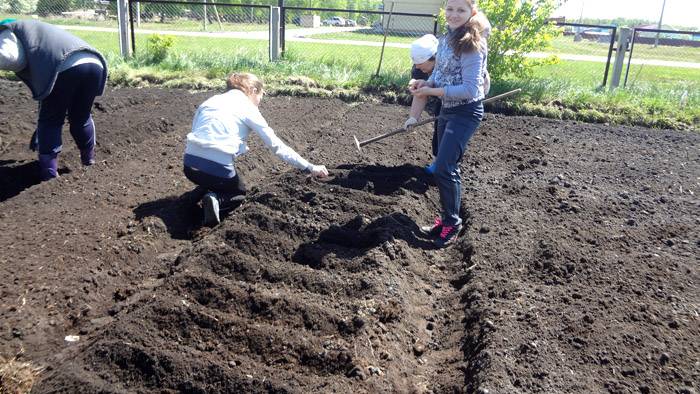
Spring is the most active period in the life of any summer resident and owner of a vegetable garden near the house. Seedlings are already growing on the window, which very soon should be transferred to open ground or a greenhouse. But you cannot simply "poke" the plants into the ground, otherwise they will die or not bring the desired harvest. That is why a lot of time is allotted to spring soil preparation.
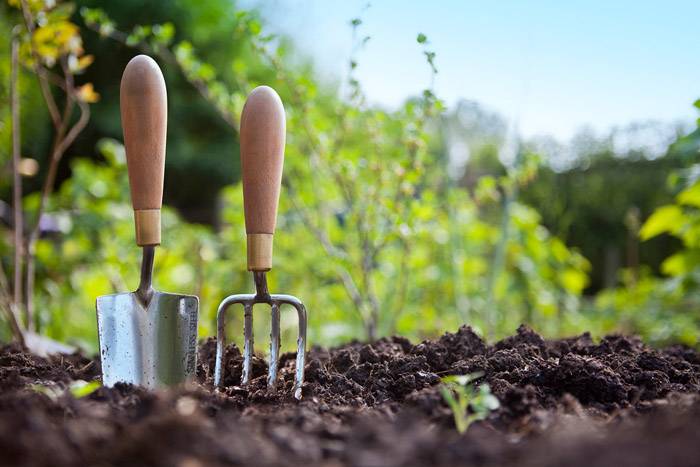
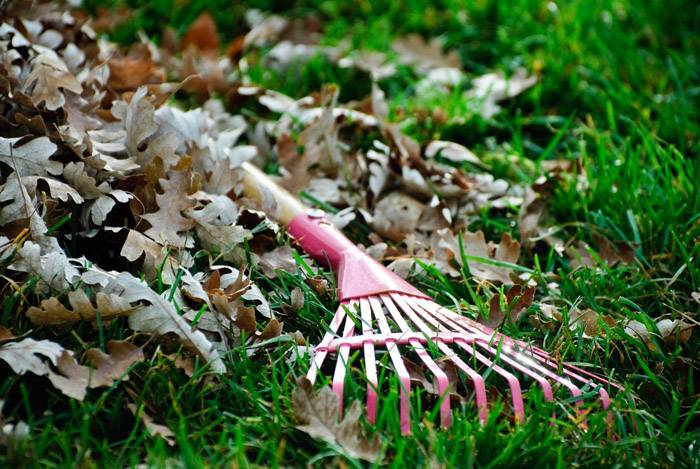
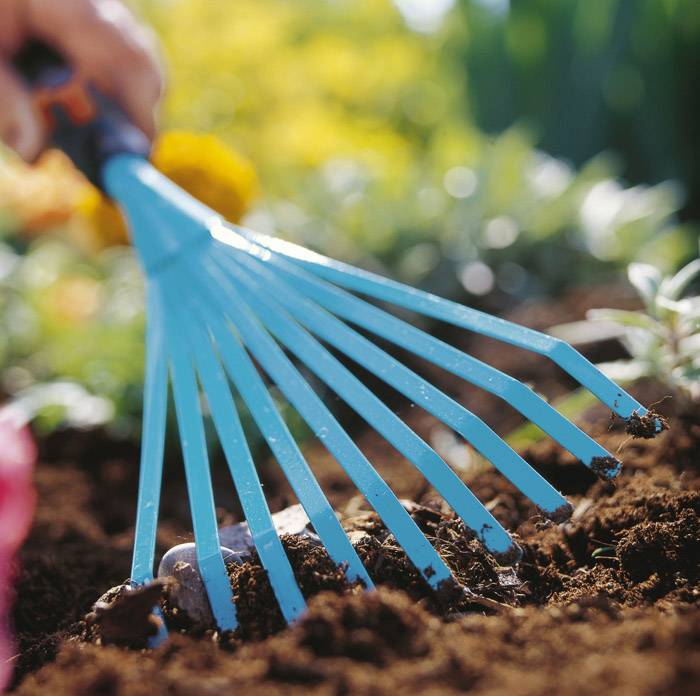
In the spring, the necessary tools are taken out of the barns
There are general guidelines that are suitable for all crops:
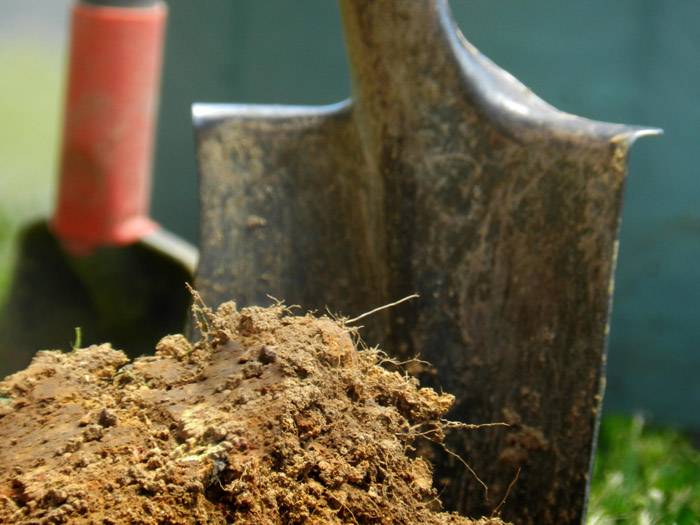
Nobody forgot about the shovel
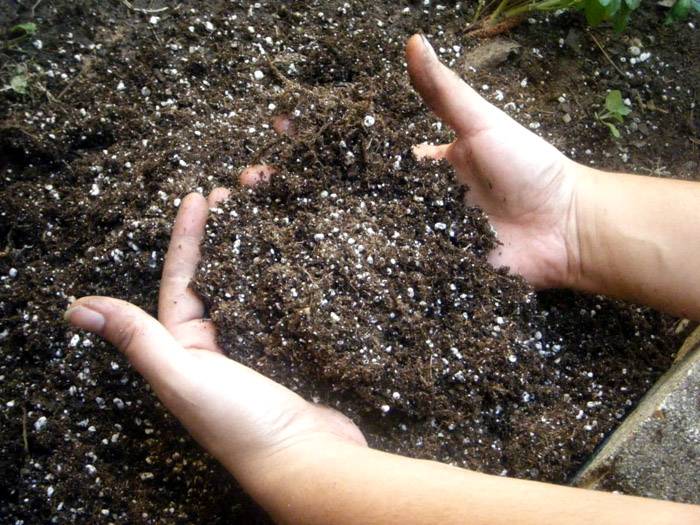
Introduction of drugs into the soil
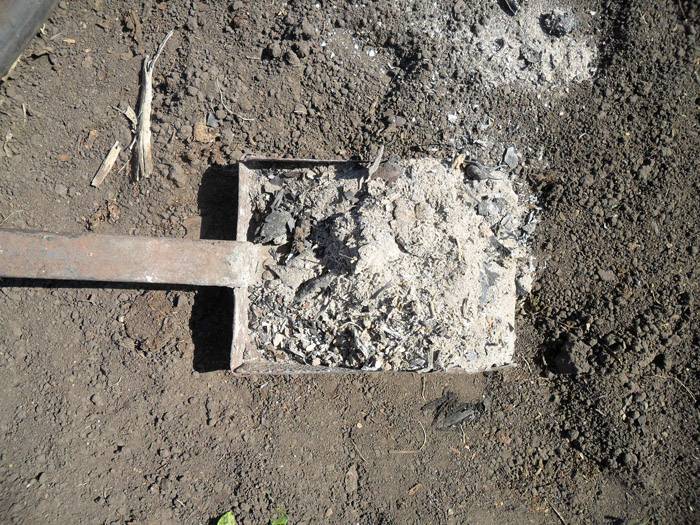
Fertilizer addition
It is worth considering the peculiarities of the culture that you will sow in the selected area. For example, preparing a garden for carrots in spring includes several stages:
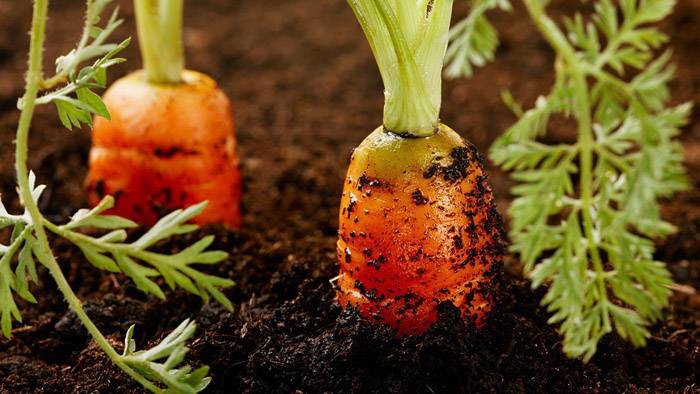
To get this beauty, take care of the soil in the spring
Preparing a bed for carrots
Following these recommendations, the harvest of the orange vegetable will be at its best. Less requirements in preparing the onion bed in spring. The main criterion for getting a good harvest is choosing a place for planting. The vegetable grows best in the sun or partial shade, but bulbs should not be planted in swampy areas of the site.
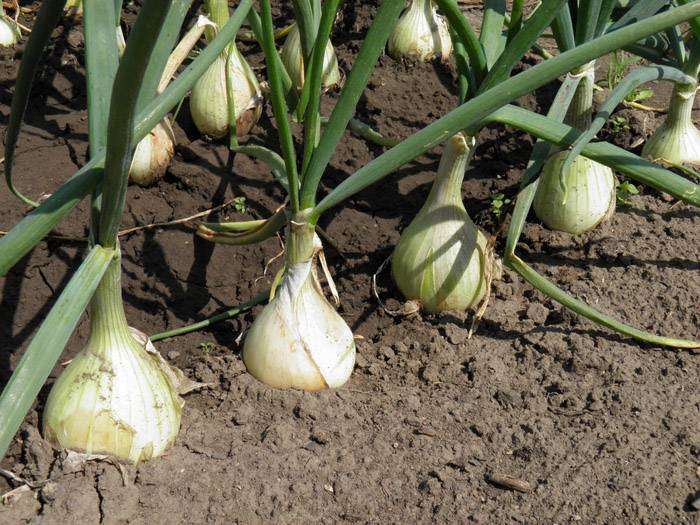
Very useful and unpretentious root vegetable
See all the nuances of growing onions in the video:

Autumn preparation of beds for winter: features and rules for planting garlic
Autumn is not only a pleasant time for harvesting, but also the process of preparing the soil for the next season, as well as wrapping up frost-resistant plants and removing dried branches in anticipation of winter.
Beauty of autumn
General recommendations for all types of soil boil down to several points:
Shallow loosening
Autumn digging
By following the proposed three tips, it will be easier to dig the ground in the spring, and the first shoots will appear much earlier.
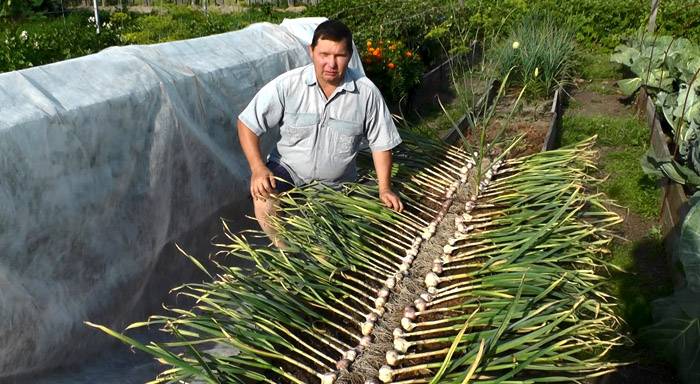
Garlic harvest
But the work in the garden before the onset of cold weather is reduced not only to digging and removing old plants, but also to planting some crops. For example, to prepare beds for garlic in the fall, you should adhere to certain rules:
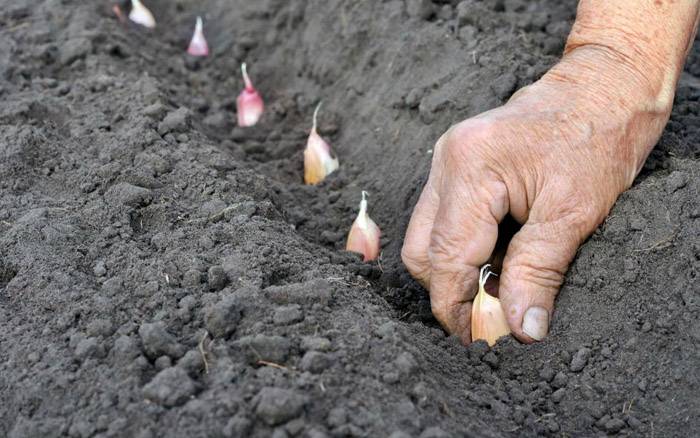
Planting teeth
To make it easier to grow garlic on your site, watch the video on the topic:

Few recommendations
Taking care of your garden is essential for a high yield. The soil should be fertilized not only before planting various crops, but also before wintering. In this case, do not forget to take into account the peculiarities of caring for each selected plant.
A variety of designs and materials for making beds
The beds themselves can have the most bizarre and unusual shapes. And for framing, not only purchased sheets of metal or slate are suitable, but also many improvised things, including empty plastic bottles.
When planning your garden and setting up a greenhouse, do not be afraid to fantasize to make a truly convenient and interesting site for planting plants and flowers. Here are some examples to take note of:
Everything is neat and beautiful in the yard
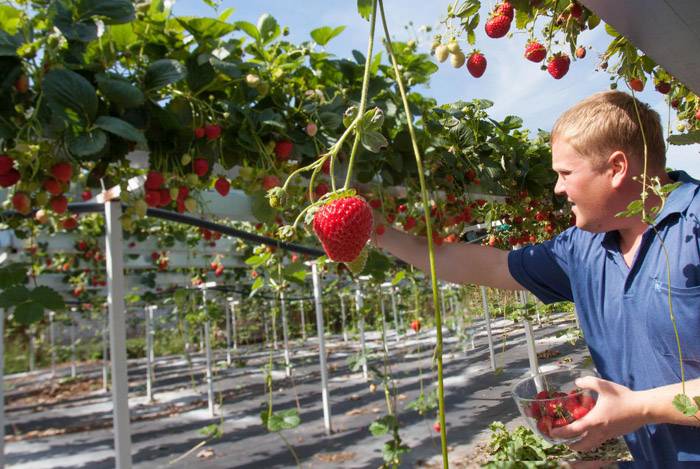
Rich strawberry harvest in vertical beds
Simple and tasteful

It looks like you can't say that this is a vegetable garden


See also:
 Do-it-yourself flower beds and flower beds from scrap materials: photos and step-by-step instructions
  Do-it-yourself landscape design of a summer cottage of 10 acres: photos, original ideas and advice
  Diy alpine slide: step by step photo, diagrams and installation steps
 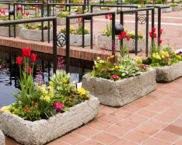 Concrete outdoor flowerpots: how to make, install and maintain
  DIY crafts for the garden: all the novelties of landscape design
  From manufacturing to installation: DIY paving slabs


