
Do-it-yourself shed roof step by step - competent implementation of all stages of work
When choosing a simple structure for the roof of a residential, utility or any other object, as well as annexes to the main building the most advantageous is the one-pitched one. It is built quite simply, it is undemanding to the type of foundation due to its low load, and it will also easily fit into the estimate of any budget project. A single-pitched roof with their own hands is erected step by step in the shortest possible time even by one person without the involvement of additional equipment or people. The design has increased functionality and reliability.
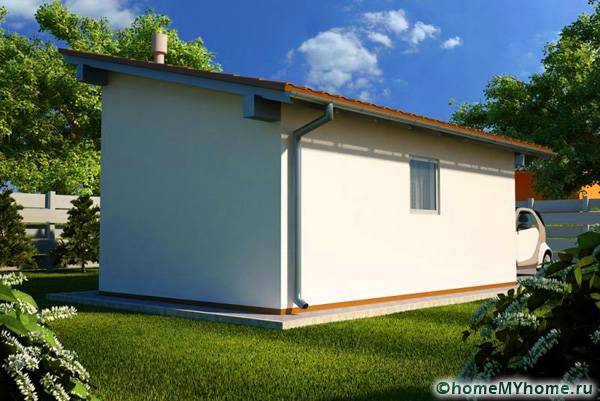
The most common area of application of pitched roofs is baths and outbuildings.
The content of the article [Hide]
Pros and cons of a lean-to construction
In order to understand whether it is worth making a choice in favor of a pitched roof, it is worth evaluating what advantages will be obtained and minimizing the effect of disadvantages. The benefits include the following criteria:

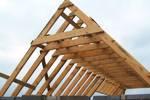
Even an inexperienced craftsman can build a shed structure
A do-it-yourself single-pitched roof constructed step by step also has a number of disadvantages: it does not withstand significant loads during heavy snowfalls, has a not entirely aesthetic appearance, and also does not hold the roofing material in case of strong gusts of wind from the side opposite to the slope angle. In fact, for competent designers, these disadvantages are not so significant and, if necessary, they can be easily turned into advantages. So, for example, so that the roof does not break off, it is enough to plant trees on the site or build a building next to it higher. To improve the aesthetics of the perception of a pitched roof, it is enough to go for a trick and implement a project with multi-level slopes of the slopes on two opposite sides of the house.
Preparatory work
A do-it-yourself shed roof is erected step by step only after preparatory work. The service life of the structure completely depends on their thoughtfulness. First of all, this concerns the correct planning of the roof and the selection of materials.
How to make a pitched roof?
For a pitched roof, the angle of inclination is the main criterion for its reliability. On the one hand, the larger the angle, the more efficiently precipitation is removed, and on the other, it is the main element that must withstand gusts of wind. During severe winters with significant rainfall, a thick layer of ice and snow forms on the roof, which can create loads that exceed the permissible ones, as a result of which the roof can deform and break. That is, the angle of inclination of the slope according to this criterion should be based on the characteristics of the climate.
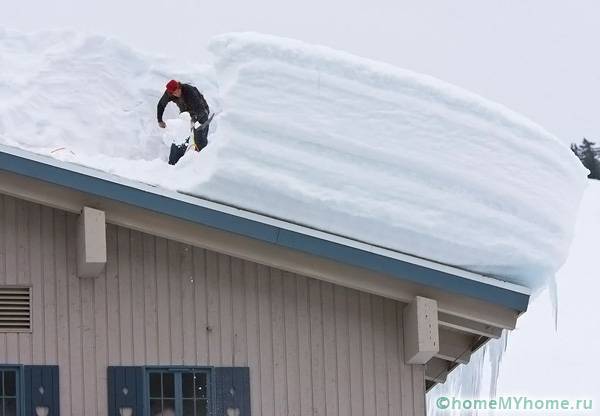
The use of a pitched roof will not be advisable in all regions.
Another factor affecting the slope of a roof is the roofing material, which can vary in roughness or strength. Qualitatively, its applicability for the roof can be divided according to the angles of inclination:
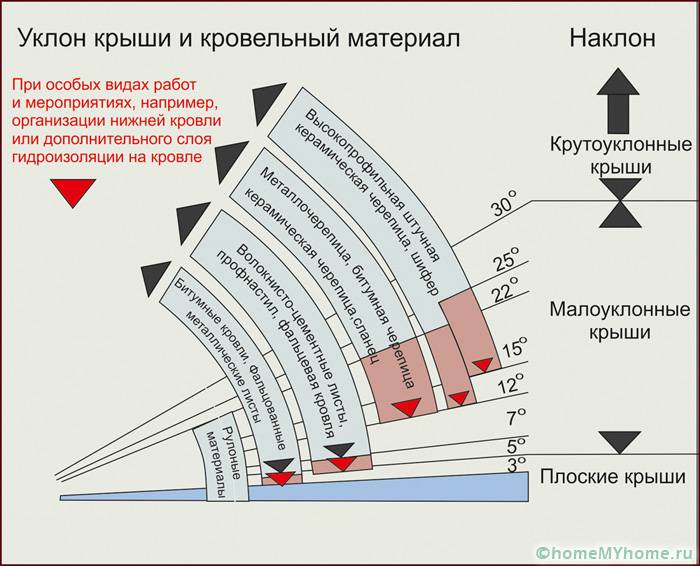
Determination of the angle of inclination of the slope in percentage and the choice of roofing
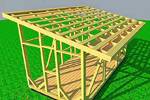
Device and structure of a pitched roof
The device of single-pitched roofs is quite simple and includes the following units:

Types of shed roof structures
Related article:
Types of roof supports
The roof support is selected based on the weight of the structure and the characteristics of the roofing material. There are the following types of supports:
Reclining type of roof
House exterior with hanging poles
Sliding support example
Is it necessary to provide ventilation of the roof space?
In some structures, the requirements of the roofing material and the object being erected itself, due to the peculiarities of its operating conditions, create the need to provide ventilation of the roof. A prime example is bathwhere the temperature difference between indoor and outdoor environments is more than 100 ° C. The main goal is to get rid of the formation of condensation and damage to the main elements. For implementation of ventilation roofs, it is necessary to provide a gap on the gables between the covering, the roof and the rafter system.
The option of ensuring high-quality ventilation of the under-roof space when laying metal tiles
Drawing creation
Before creating a drawing, it is necessary to measure the wall trim, if this has not been done earlier. After that, taking into account the specific features of the object, as well as the selected design parameters, the optimal parameters of the slope angle should be calculated.
The optimal distance between the rafters should be 1-1.5 m. The sheathing step is selected based on the requirements for laying the roofing material. Taking into account all the data, a drawing is created, and then the amount of building materials that will need to be purchased is calculated. Additionally, it is recommended to make a stock of materials in the amount of 10-15% of the total.
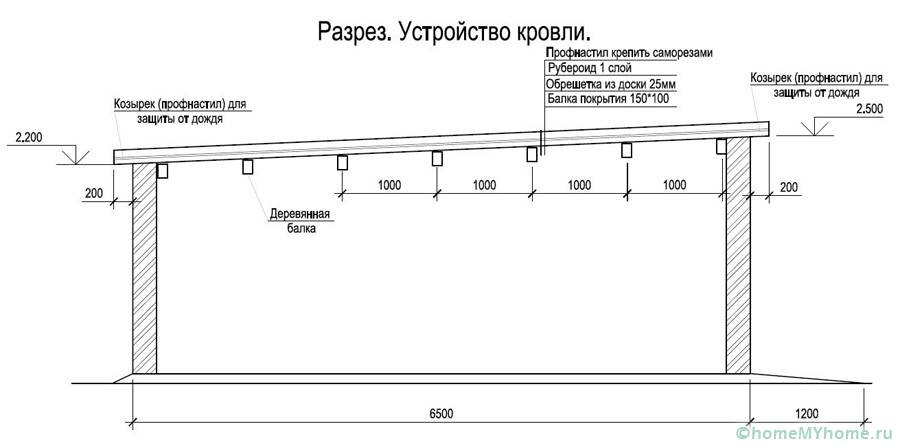
Hanging pitched roof drawing
List of required tools
Carrying out construction work will require the use of a number of tools that must be prepared in advance so as not to interrupt the installation. Therefore, before making the main structural elements and building a pitched roof, you need to prepare the following tools:
Do-it-yourself shed roof step by step - description of the stages of work
After carrying out a number of preparatory work, you need to start installation. The installation steps are as follows: installation of rafters, laying of battens, flooring of insulating materials and the main roof. Each stage must be thought out in advance: all the necessary tools and some of the materials are raised to the roof for easy access to them. With this approach, there will be no downtime and delays, which will guarantee the completion of the work on time.
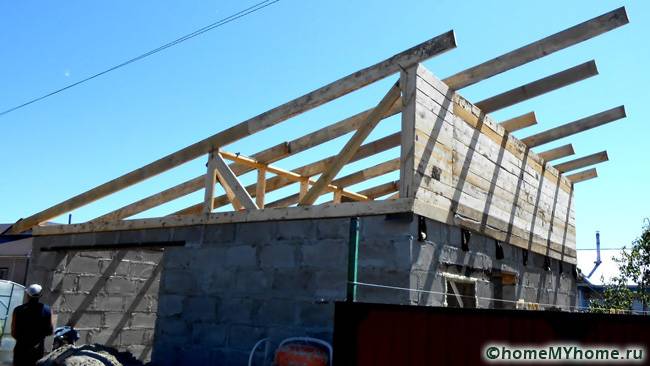
Installing the rafter system
The device of the shed roof rafter system is relatively simple and does not require experience in this type of work or special knowledge. However, it is important to follow the sequence of installation steps.
In accordance with the drawing, on the ground we cut wooden beams 150x150 mm to the required dimensions before lifting them to the roof. Then, be sure to treat them with antiseptics and apply a protective layer. If this is not done, then insects or other pests may start in the wood, which will destroy the strength of the structure and will have to be replaced.
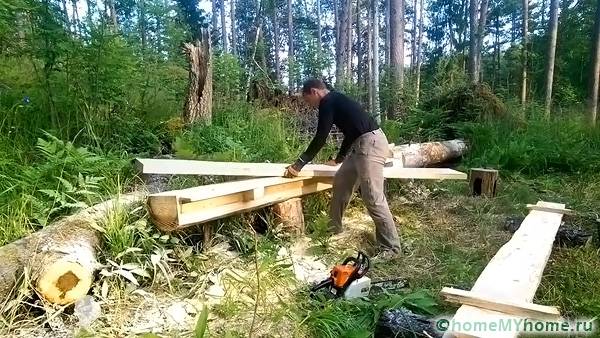
Sawing wooden beams
On the side opposite to the angle of inclination of the slope, we install support posts, which are otherwise called pediment. At the same stage, additional supports should be installed, if they are provided for by the design. They are in most cases ordinary spacers. The interval between them for the installation of tiles is more than 3 m, and for profile sheets - more than 6 m.
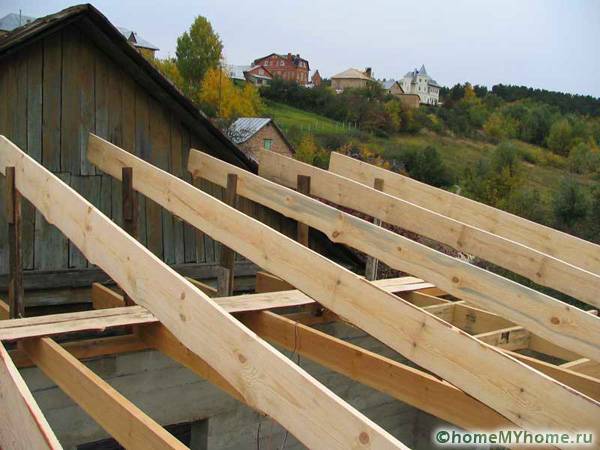
Installation of rafters
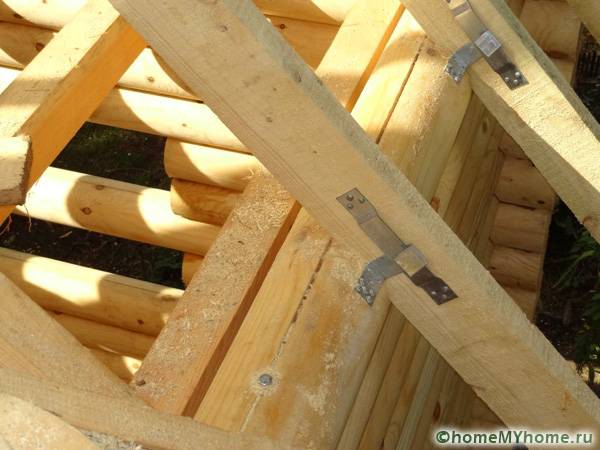
We install the prepared beams on a wooden strapping or Mauerlat with fastening "in a paw", "in a bowl" or on steel pins. For the first two options, you will need to make the appropriate cuts of the Mauerlat and rafters at their points of contact. To do this, mark the point of contact with a marker, and then saw off the corner with a saw to a depth of no more than 30% of the height of the rafter. Additionally, it is necessary to install special steel brackets to increase the strength of the rafters or anchor.
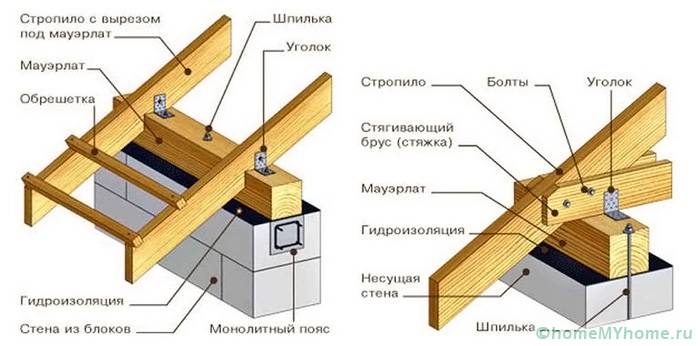
Methods for attaching rafters to Mauerlat
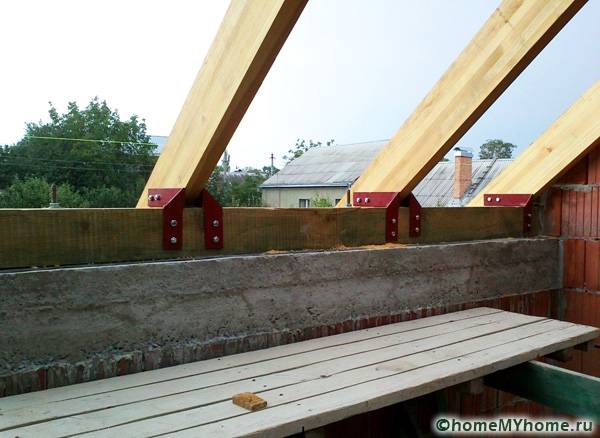
Reinforcement of fastening to steel brackets
The installation interval of the rafters is determined by the weight of the roofing material. You should focus on the following values:
Related article:
Laying insulating layers
Do-it-yourself installation of insulation during the installation of a pitched roof is mandatory step by step for those buildings that are planned to be operated in the winter, in order to increase their energy efficiency. To fix the thermal insulation from the side of the premises, you will have to cover the rafters with MDF boards or boards with a thickness of 10 mm butt. In some cases, laying is allowed drywall sheets with decking vapor barrier film to protect it from condensation.

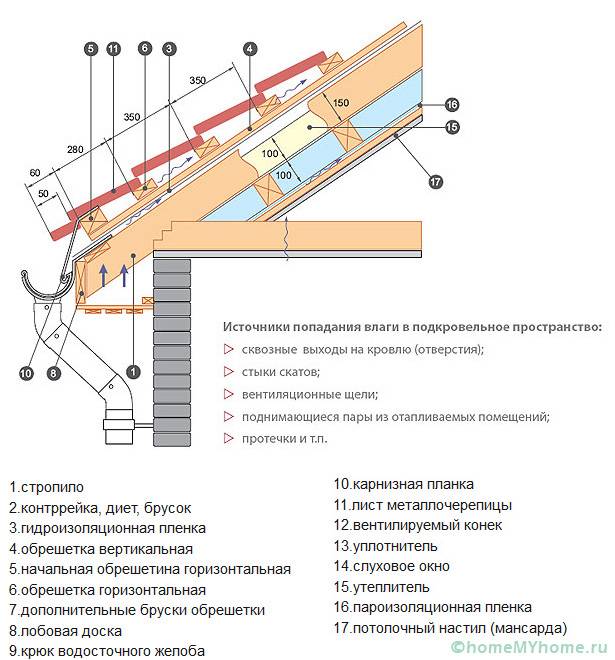
Roofing cake structure
The vapor barrier layer is laid with an overlap at a distance of 15-20 cm with the obligatory gluing of the joint seams with special tape. In the places where they are adjacent to the extreme rafters, they are laid on a vertical surface to ensure maximum protection against moisture.
At the next stage, the insulation material is laid. Step by step, performing the installation of a shed roof with your own hands, it is recommended to use mineral wool materials, expanded polystyrene or polystyrene as insulation. An important point when laying them is to ensure tight contact with the rafters without the slightest gap.A slit with dimensions of 1 mm and a length of 10 cm is capable of providing heat loss of several kilowatts, depending on the ambient temperature.
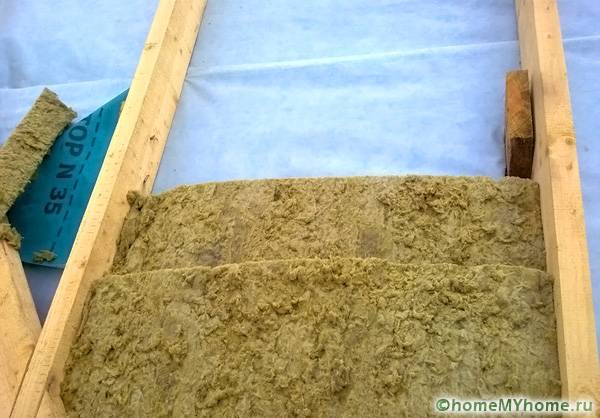
Laying mineral wool insulation in two layers on top of a vapor barrier film
Laying a waterproofing film is required on top of the insulation. The way of its installation is similar to the installation of a vapor barrier. However, there is a significant nuance - the joining seams must necessarily fall on the rafters, and fastening is carried out on steel brackets using a construction stapler with a step of 10-15 cm.
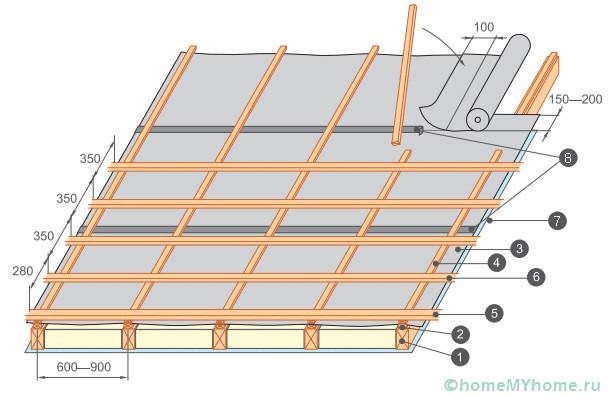
1 - rafter; 2 - counter rail; 3 - waterproofing film; 4 - vertical crate; 5 - horizontal purlins; 7 - vapor barrier film; 8 - waterproofing seam.
Installation of battens and roofing material
When performing a step-by-step installation of a shed roof with your own hands under soft and roll roofing materials, the sheathing should be installed in the form of a continuous layer. In all other cases, boards are laid under the crate with an interval of 50-80 cm. The thickness of the boards should be more than 20 mm, and the width from 10 cm. Fastening is carried out on nails or screws to the rafter system. Then, wind boards are installed, which will serve as a guide when laying the roofing material in terms of its leveling. However, this does not mean that you do not need to control the laying of the row using a level. For convenience, two bars are stuffed from the two end parts of the slope at a distance of about 0.5 m from the wall and the thread is pulled over them. This will be the zero level at which you need to level the row.

Installation of lathing under metal tiles
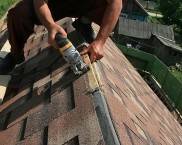
The roofing material is laid according to the appropriate technology. Installation begins from one of the slope corners and the entire roof is laid in order. The fastening method is determined by the selected material.
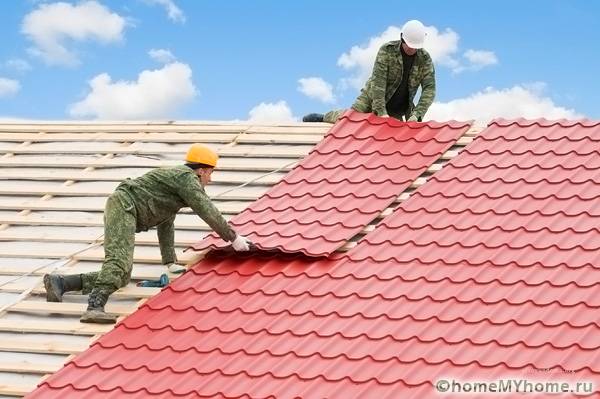
Laying of metal tiles
At the final stage, the end parts of the roof are sheathed at the slopes of the slope.
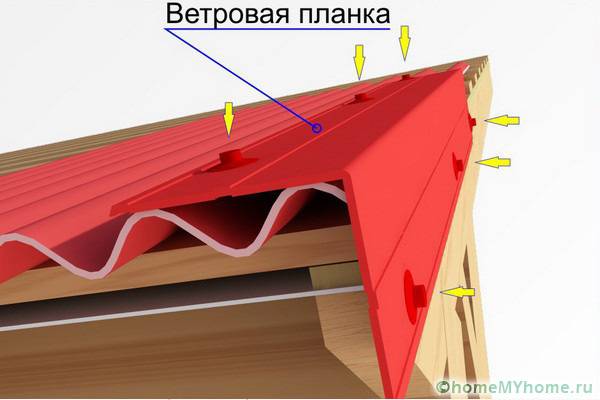
Installation of the wind bar
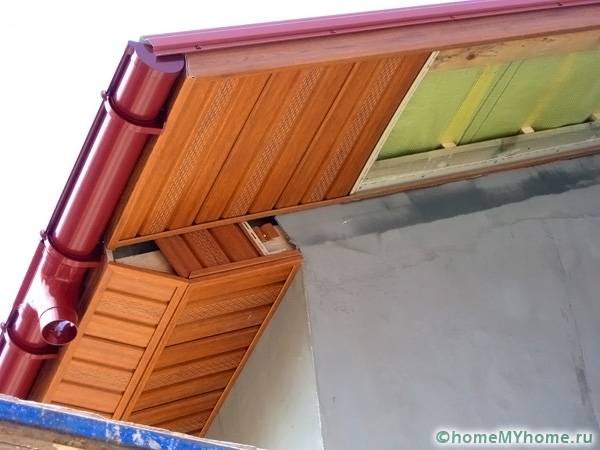
Eaves cladding with siding panels
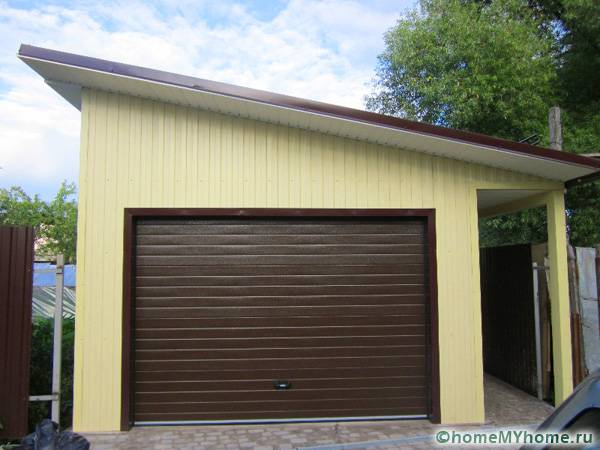
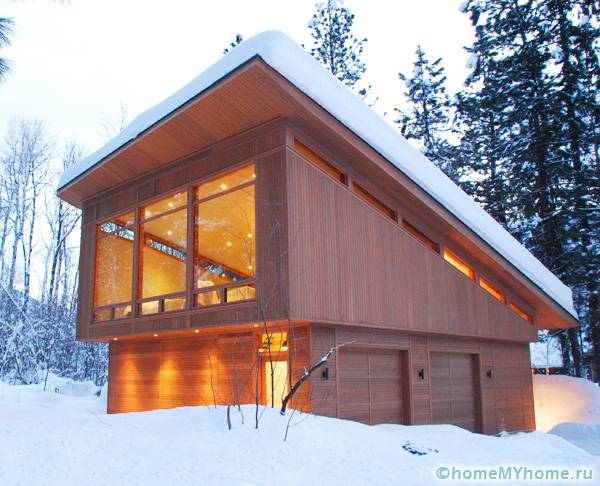
Appearance of the finished single-pitched roof
Conclusion
Before you build a gable roof with your own hands, you need to think over all the work in stages and clearly plan costs. The main nuances of installation were described in detail, as well as recommendations were given to avoid many standard mistakes.
Video: construction of a shed structure


See also:
 Flexible shingles: DIY installation with step by step photos
 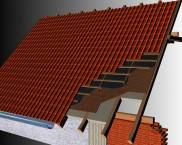 Do-it-yourself shed roof: drawings and photos, choice of material and angle of inclination
 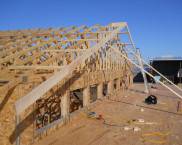 Do-it-yourself rafters for a gable roof: design and installation
 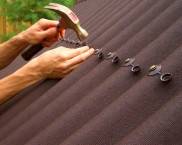 How to choose the right ondulin: price per sheet, dimensions and nuances of installation
 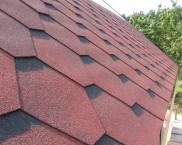 Soft roof: types and prices, photos of the best options and installation methods
 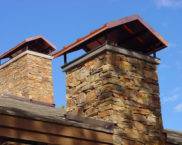 Chimney cap: how to do it yourself or choose a ready-made


