Canopies attached to the house: photos, varieties, stages of installation and design features
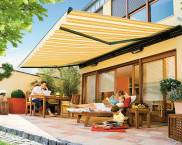
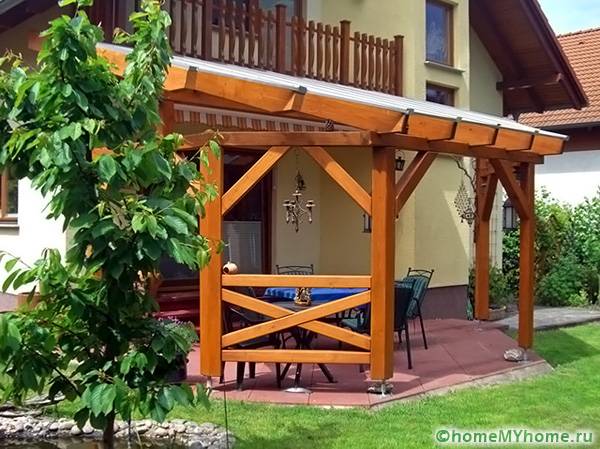
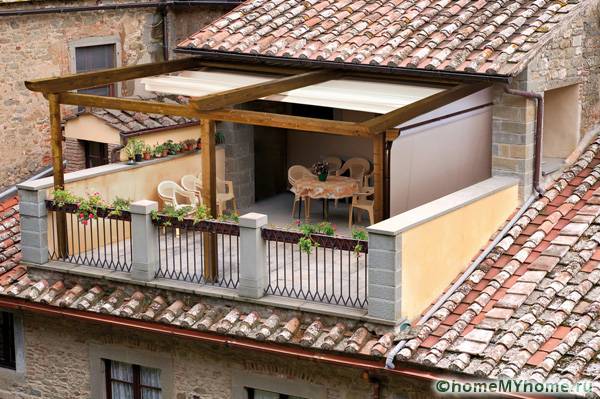
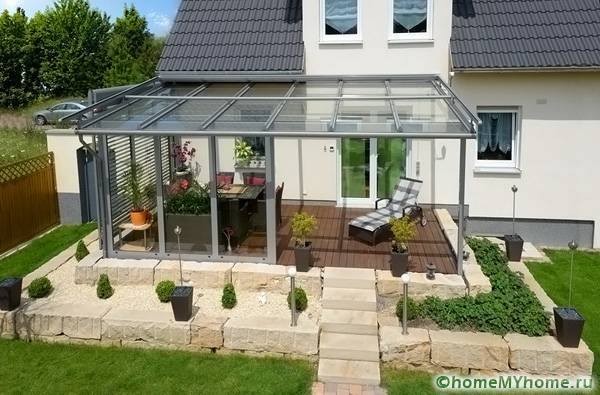
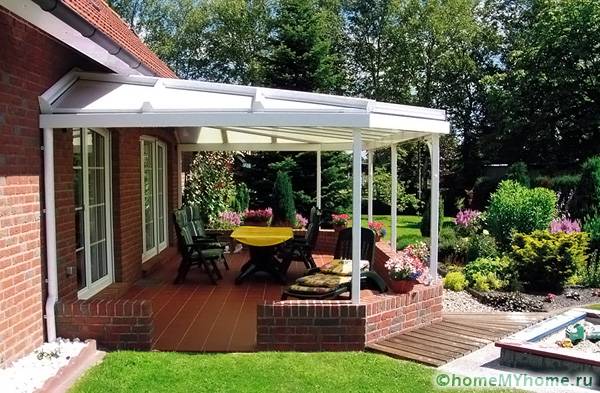
An important part of the exterior of a country house is a canopy. It is designed to protect part of the yard from precipitation and ultraviolet rays, and also performs a decorative function. A small area, closed on top with material, are awnings attached to the house. Photos of such structures can be seen in this review. In this case, the structure supports are brought to the required height. Joining to the main structure means fixing one side of the structure to the wall of the house.
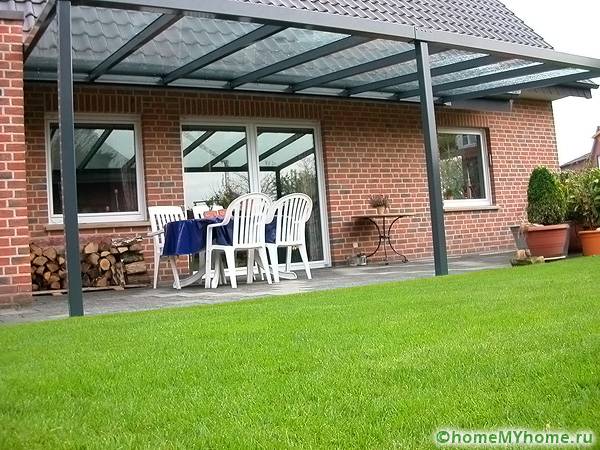
Hinged design allows for a great outdoor seating area
The content of the article [Hide]
The choice of materials for the construction of awnings
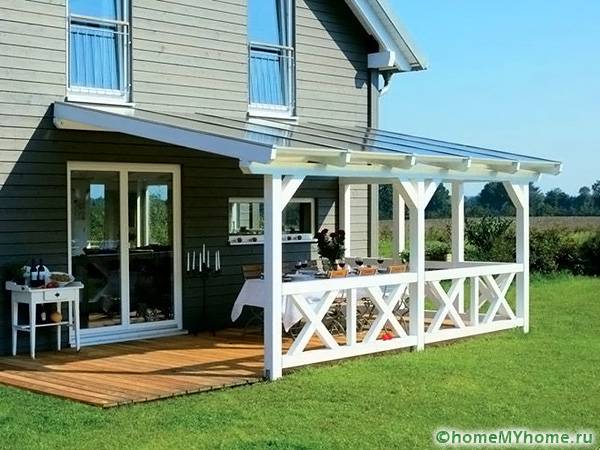
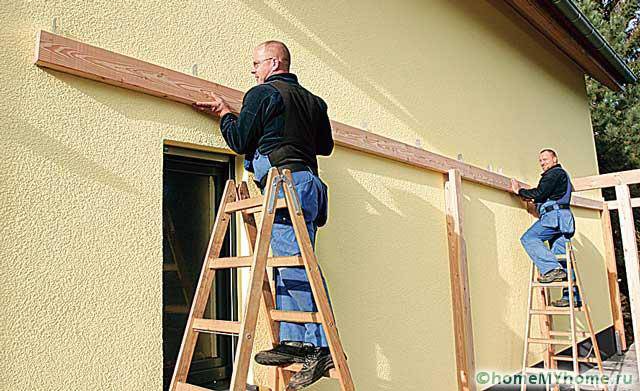
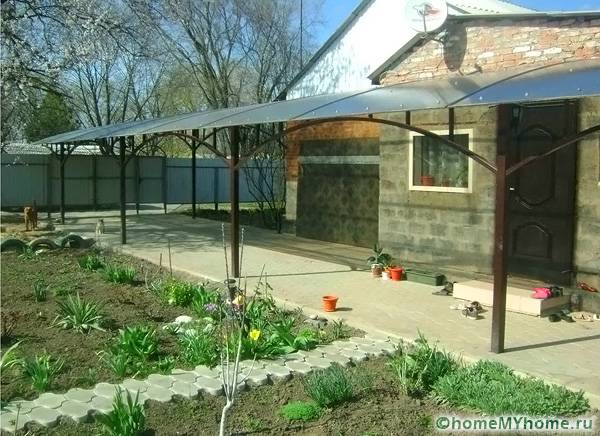
Canopies attached to the house can be made by hand. The photo shows the main stages of installation. The frame of the structure is often made of a profiled pipe or timber. Such a structure adjoins the wall and takes the load from the snow accumulated on the roof.
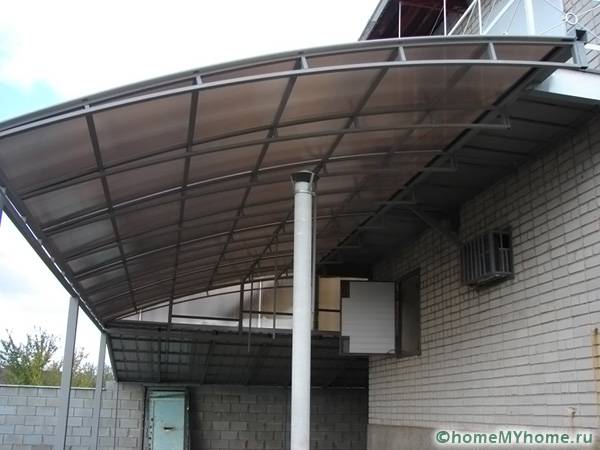
The attached structure can be made of very strong and massive materials
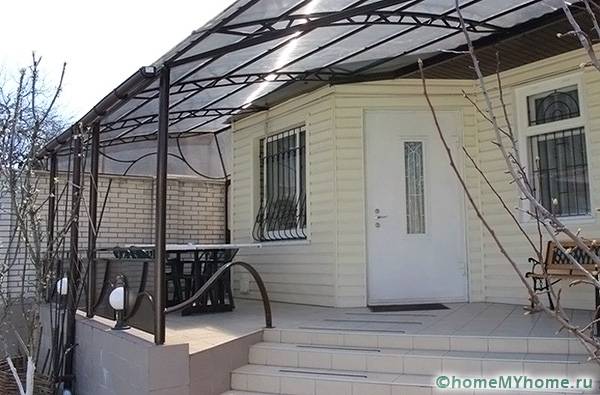
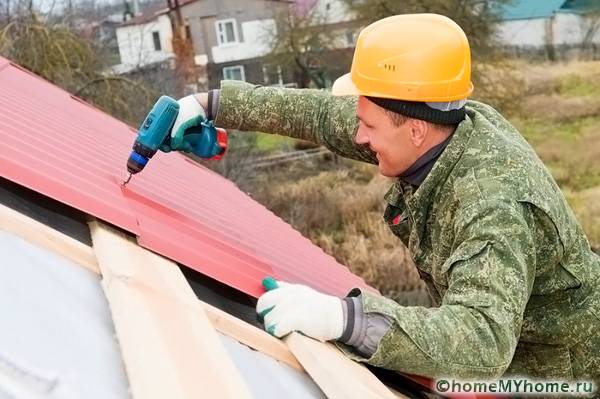
The roof is usually covered with corrugated sheet, slate or galvanized material. Metal for frame structure possesses plasticity and strength. It is suitable for different styles of decoration. Such structures can be erected by hand.
The annexes are distinguished by their original design
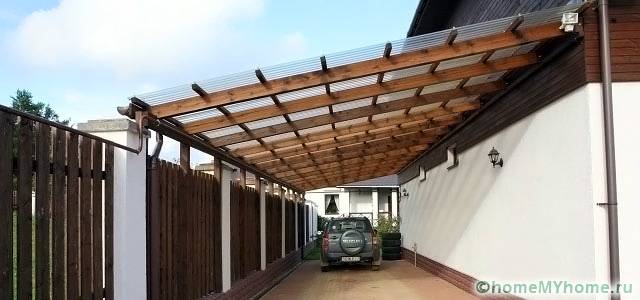
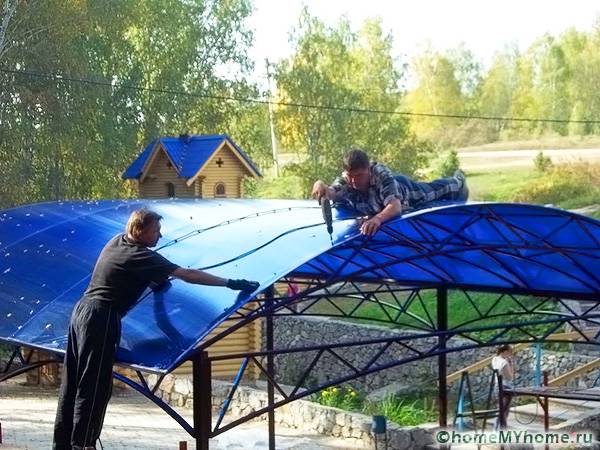
The frame system made of wood is perfectly combined with other materials. Wood is suitable for most architectural solutions. This material should be treated with protective agents before use. Are increasingly popular polycarbonate awnings attached to the house, photos of which can be viewed on the Internet.
Polycarbonate is characterized by ease of assembly and a variety of colors.
Polycarbonate benefits from the following:

Convenient structures made of this material can improve the appearance of the main structure and protect the area from prying eyes.
Canopies attached to the house: photos and design features
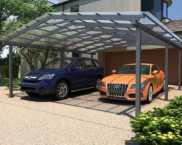
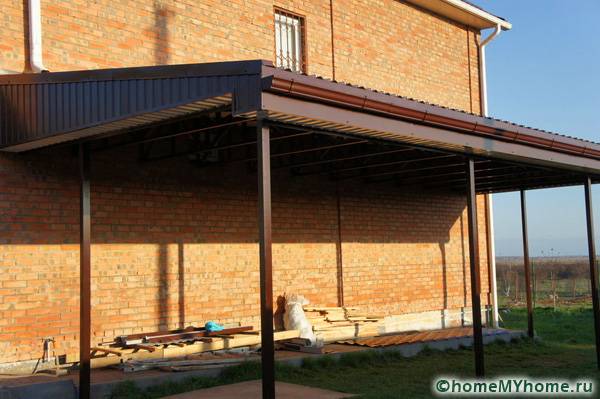
The awnings attached to the house, as shown in the photo, can be of two types. These are console models and canopies on supports. The console version can be of any length, but its width should not be more than two meters. Support structures can be used for a variety of purposes.
Awnings on supports are highly durable
Sheds can have different purposes:
The veranda is especially appreciated in open areas where there are no trees
The terrace can be much more spacious than the veranda and have an unusual shape
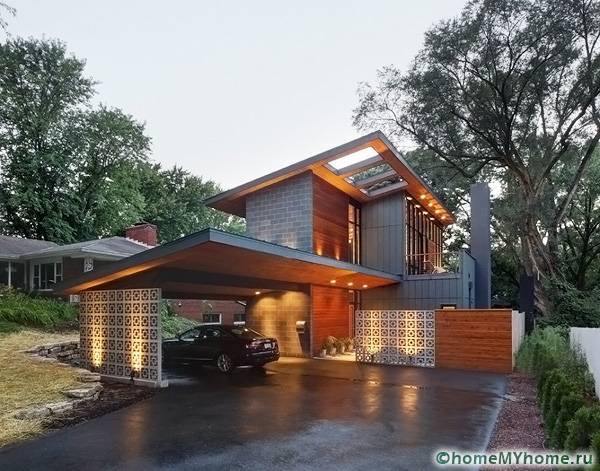
An extension for a car can cover most of the yard
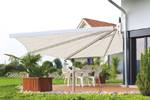
Features a folding awning
Related article:
Features of wooden awnings attached to the house: photo and design solutions
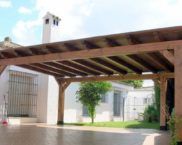
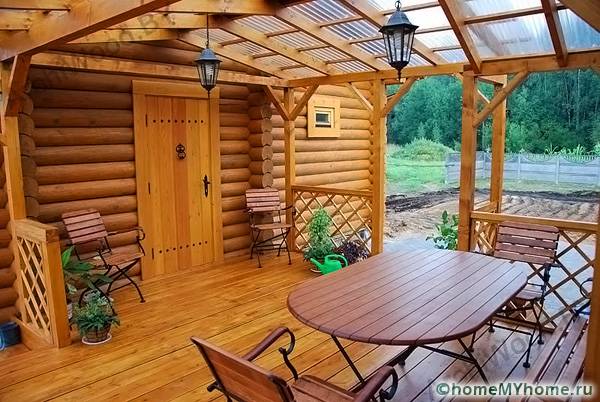
Often homeowners opt for timber awnings. Such structures have an excellent set of characteristics:
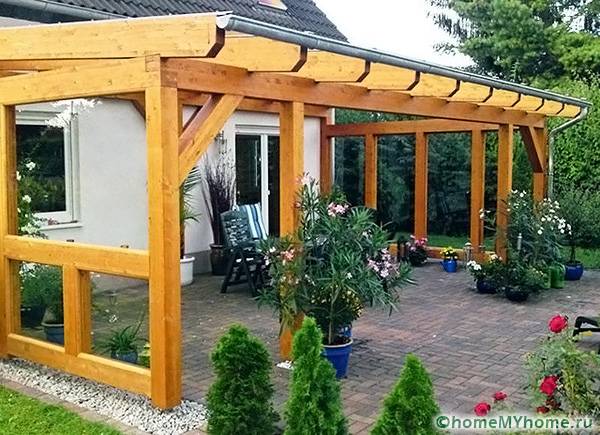
Wooden structures convey a rural flavor and are massive
Options for awnings attached to the house from corrugated board: photos and design features
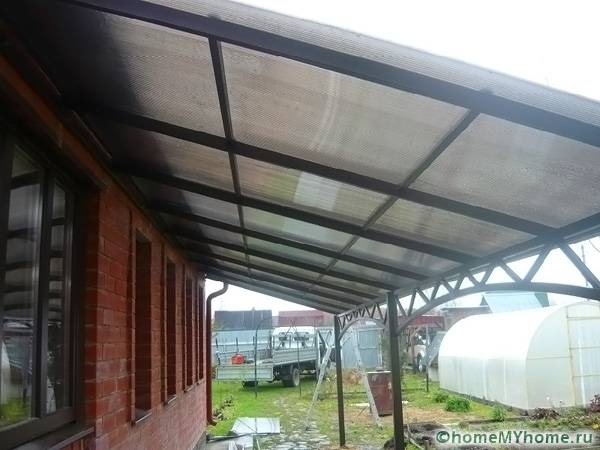
Awning made of corrugated board can be made in various configurations. Single-pitch, gable and arched structures are created from corrugated board. In addition, a structure made of this material has the following features:
Decking made of corrugated board have reliability and durability
Project creation
When choosing a construction project, it is worth deciding on the following parameters:
A project created in advance allows you to choose the best solution and select high-quality material
Before installation work, a drawing must be performed. Based on the size of the building, the required amount of material is determined.
Preparatory work
Before the planned awnings attached to the house are created, the photos of which can be viewed on the site, it is necessary to carry out preparatory work. For this, a suitable site is marked out, and trees are uprooted on it. The clean area is leveled. At the same time, sand and gravel are poured.
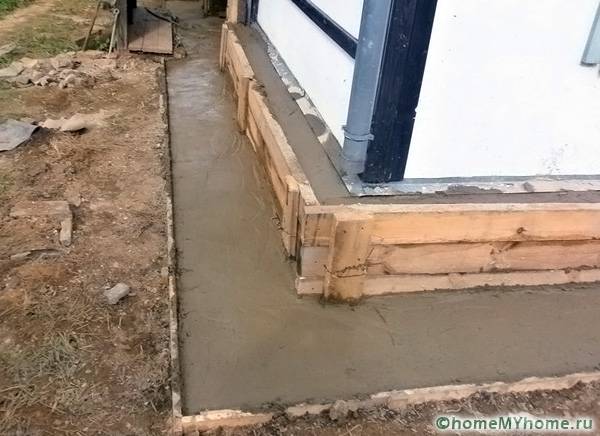
Some sturdy canopies require a foundation
Recesses are drilled under the supports of the canopies.And at this stage, it is worth considering laying a cable for lighting sources. A certain step of placing supports is selected. It depends on the severity of the roof and the frame.
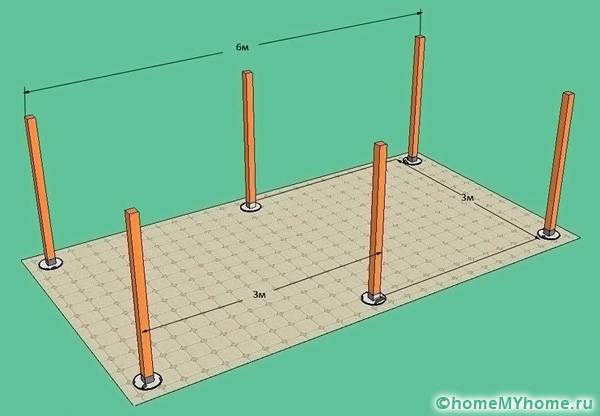
The number and placement of racks must be calculated in advance
Racks are lowered into the prepared pits, which are poured with concrete. The pillars are leveled.
How to make a polycarbonate canopy attached to the house: photos and installation steps
12-15 days after the concrete has completely hardened, you can start assembling the structure. Brackets are mounted on the wall, and then on top of the transverse beam.
Assembly of the structure requires the preparation of special tools
Creating the lathing
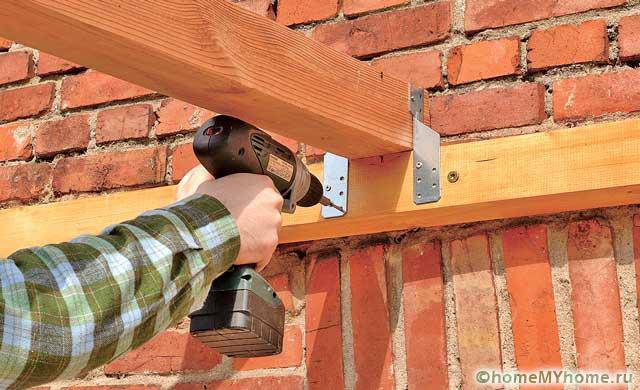
Top strapping in progress. The end parts of the struts are connected by means of a cross beam and to each other. In this case, parallel-laid profiles are used. The metal frame system is welded to each other, and the wooden one is pulled together by steel corners.
The lathing is attached to the main beam
Welding points are cleaned, primed and painted. The rafters are mounted with transverse parts with a step of 600 mm. The structure is attached to the supporting beam with steel corners. The lathing is laid across the rafters and mounted with self-tapping screws.
Roof installation
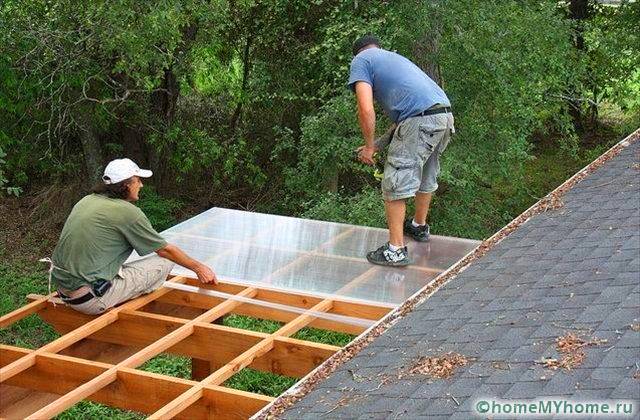
Roofing sheets are cut to size. Then they are attached to the crate. Pre-holes are made in polycarbonate for self-tapping screws.
Roof mounting may require special insurance
To facilitate the drainage of water, the cells should be directed downward. When working with plastic, do not forget to leave gaps between panels... The dimensions of the holes should be made with a margin of 2-3 mm. There are some features of installing roofs from other materials.
Roof elements are attached to the battens
Wooden beams can be used as beams. Over time, cracks may appear in the material, which will reduce the rigidity of the structure. After the installation of the beams, transverse boards are installed, and then the metal tiles are fastened. Installation of this material is made from the bottom sheets. It should be borne in mind that there should be an overlap of the upper sheets on the lower ones.
In some cases, it will be difficult to install the roof alone
Useful Tips
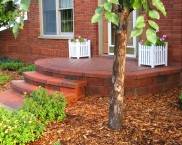
After installation, the main annexes you can make a platform. The easiest way is to cover the area with gravel. For this, the sod is removed, the border is dug in and crushed stone is poured. Then it needs to be tamped well.
Stylish and durable coating increases the comfort of use of the structure
You can also make a platform paved paving stones or paving slabs... It will be inexpensive to equip the site with concrete.
A high-quality site allows you to increase the usable area of the courtyard area
With the help of improvised material and tools, you can create a beautiful canopy with your own hands. Such designs will make it possible to build a wonderful place for a family vacation or reliable protection for a car and garden tools.
A beautiful canopy can be part of the exterior of a building
Video: do-it-yourself canopy


See also: