
The basics of repair for new settlers: how to properly glue wallpaper
Rarely any apartment renovation is complete without wallpapering. This universal type of decorative coating is suitable for any interior, it is loved for its ease of installation and perfect look. Today, together with the editors of homemaster.techinfus.com/en/, we will learn how to glue wallpaper correctly. In this article we will tell you how to correctly build an algorithm for working with wallpaper: from preparing the walls and choosing a tool to finishing the seams.
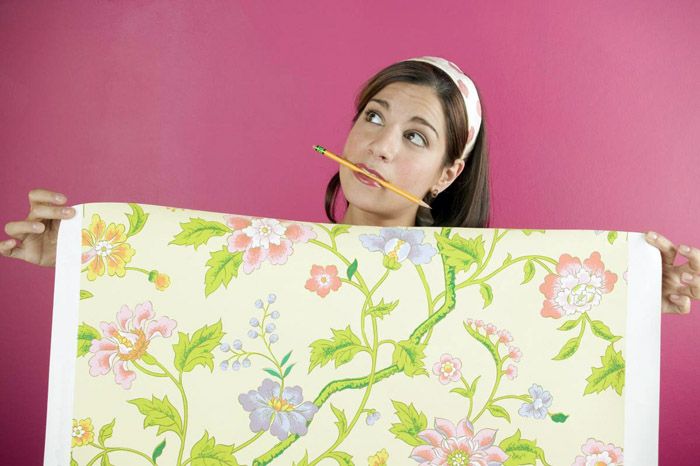
Wallpaper is a coating that is found in every second modern apartment
The content of the article [Hide]
- 1 What you need to prepare in advance for gluing wallpaper
- 2 Preparatory stage before sticking wallpaper on the wall with your own hands
- 3 How to glue wallpaper correctly - basic techniques
- 3.1 Where to start glueing wallpaper and how to adjust the picture
- 3.2 Video: gluing wallpaper with a large pattern
- 3.3 Adhesive on the wallpaper or on the wall - how to apply correctly
- 3.4 How to glue wallpaper in the corners of a room
- 3.5 How to glue wallpaper near windows, doors and behind the battery
- 3.6 How to make joints invisible
- 4 How to properly stick wallpaper of different types
- 5 Wallpaper gluing technology on the ceiling - nuances
- 6 How to glue wallpaper on wallpaper and is it worth doing
What you need to prepare in advance for gluing wallpaper
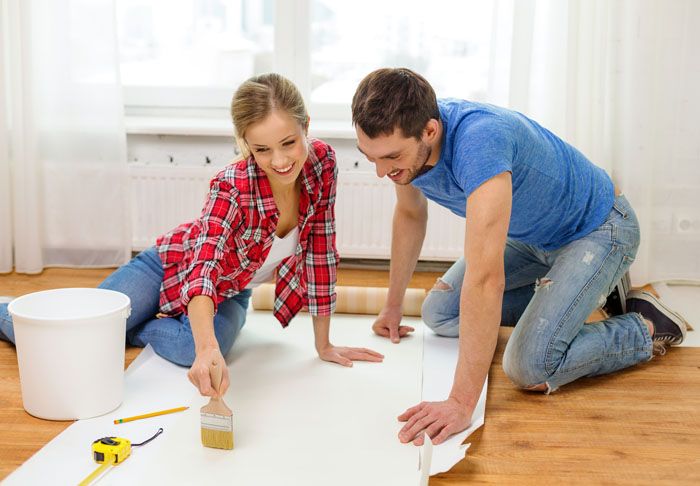
Wallpaper sticker on the wall do it yourself - a simple task, especially if you have all the necessary tools. Experienced people get by with a brush and roller, but other tools may come in handy for a beginner:
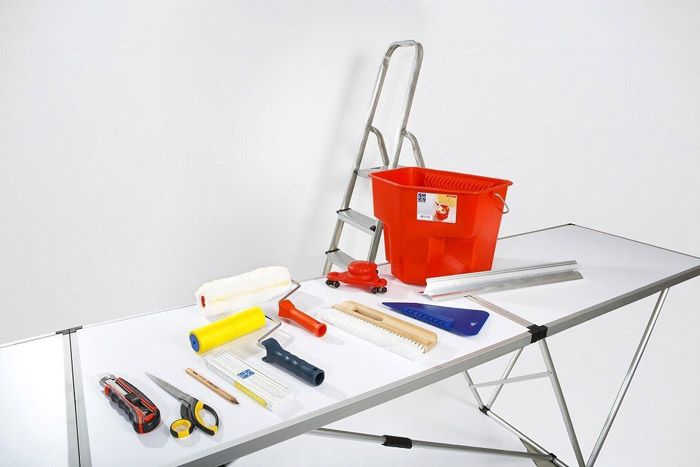
All these tools will be useful to you more than once, because the wallpaper needs to be re-glued every three to five years.
In addition to the wallpaper itself, you need to prepare glue. The composition is selected in accordance with the type of coating. You can buy glue from a store and dilute it according to the instructions.
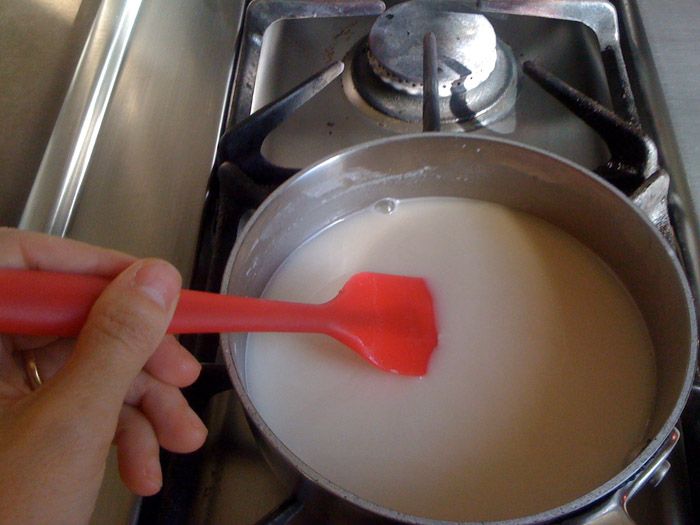
For simple paper canvases, you can make your own glue from flour or starch.
Preparatory stage before sticking wallpaper on the wall with your own hands
Do not rush to immediately start gluing wallpaper. It is not enough just to purchase tools and materials, you still need to carry out preparatory work. Examine the condition of the walls, remove the old coating and prime the surface thoroughly.
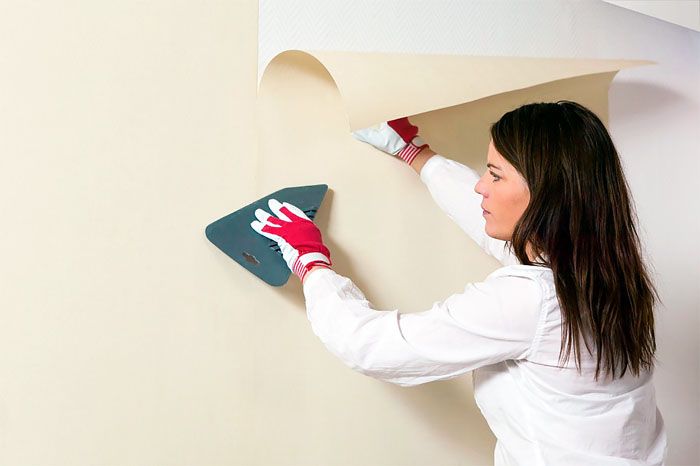
How to remove old coating from walls
If the walls were previously decorated with wallpaper, they need to be removed. In most cases, the material comes off easily, but if you have pieces or whole strips that cannot be torn off, you will have to use special equipment. Compositions for removing old wallpaper can be bought at the store, but it is cheaper and easier to make such a mixture yourself. The recipe is simple: add dishwashing detergent and some wallpaper glue to warm water. Using a sponge, the agent is applied to the wallpaper and left for half an hour until the coating softens.
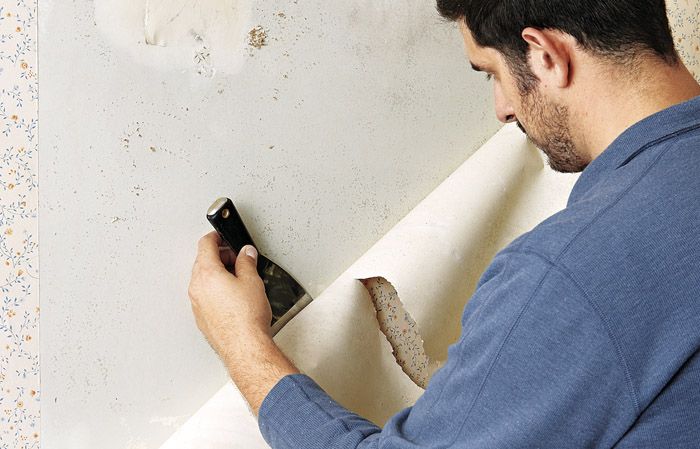
After soaking, the old coating can be easily removed with a wide spatula
If the old wallpaper is very thick or has a corrugated surface, you need to cut it with a knife before soaking so that the moisture penetrates deeper. It is more difficult if the wall covering is paint that you absolutely must remove. A simple water emulsion can be easily removed with the same soap composition and a spatula. But oil or alkyd enamel will have to be cleaned off with a drill with a nozzle - a brush or sandpaper by hand.
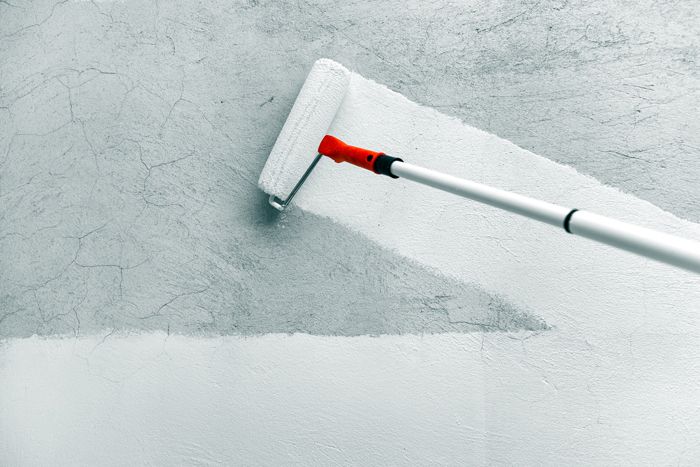
How to level walls and sand surfaces
Preparation for pasting continues with the process wall alignment... Old wallpaper could fall off along with pieces of plaster, this often happens. We'll have to re-plaster these areas. Sometimes the surface after removing the paint becomes uneven, with potholes and other defects.

It should be sanded with sandpaper and, if necessary, putty all irregularities.

Wall priming
Do not neglect the priming of the walls. If you skip this preparation stage, you risk getting an extremely unpleasant result - the wallpaper will simply peel off. In addition, the primer will even out the color of the wall and the gray concrete will not show through under the thin coating. The primer mix will fill the voids in the porous surface, you use less glue.
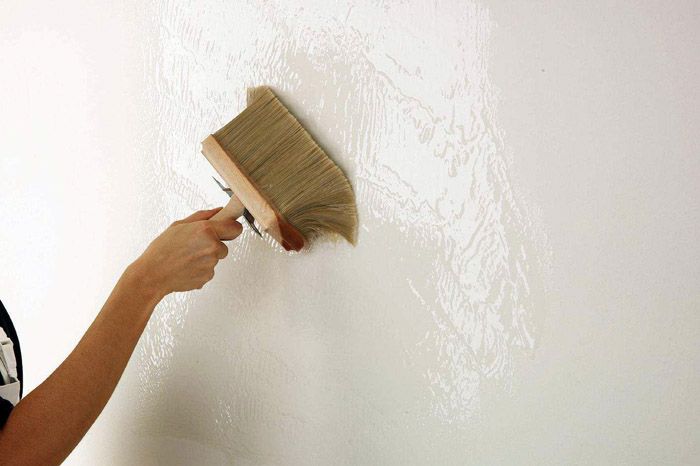
The easiest and most affordable option is to prime the walls with wallpaper glue. This method is suitable if the surface is perfect: smooth and non-porous
For walls made of bricks, plywood, concrete and wood use a universal acrylic primer. It is easy to apply, diluted with plain water and dries fairly quickly.
For walls made of wood, plywood or OSB alkyd primer can be used. It dries for a long time - almost a day, but provides excellent adhesion even for heavy wallpapers. Metal walls are treated with an enamel-like glyphthal primer. Only she guarantees you a quality coverage. The same primer can be used for plastic as well. This coating will dry overnight. Another option for a mixture for metal is perchlorovinyl soil, but it is not recommended for use in residential premises due to its high toxicity.
A mineral primer is applied to concrete partitions and walls made of expanded clay concrete. It contains gypsum and lime. A thin layer dries in a matter of hours
How to glue wallpaper correctly - basic techniques
After you have well prepared the walls before the main stage of work, you need to solve several important issues: where to start gluing, how to properly cut the wallpaper and glue them in difficult and hard-to-reach places.
Related article:
Where to start glueing wallpaper and how to adjust the picture
Elder relatives wise by their own experience will tell you that you need to glue the wallpaper from the window. Indeed, the old paper sheets were glued in this way for one simple reason: the joints were made with an overlap, and so that in natural light the seams were not striking, they had to be directed away from the window. Modern manufacturers finishing materials offer panels that are glued end-to-end. These seams are less noticeable, but they require a perfectly flat base. So the question of where to start work becomes less relevant: start on any side on which it is convenient for you to display the vertical, and glue in a circle.
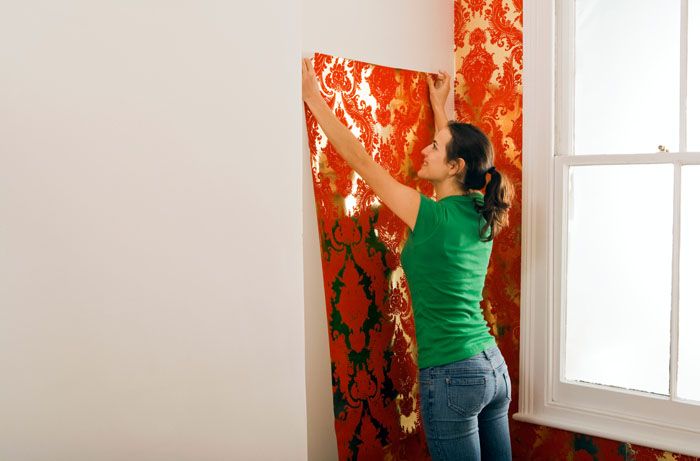
It is better to start from the corner - this way, at least one corner will have less docking problems
Pay attention to several important nuances:
The first canvas is the hardest task. It is important to place it strictly vertically so that the slightest skew then does not spoil the whole work.
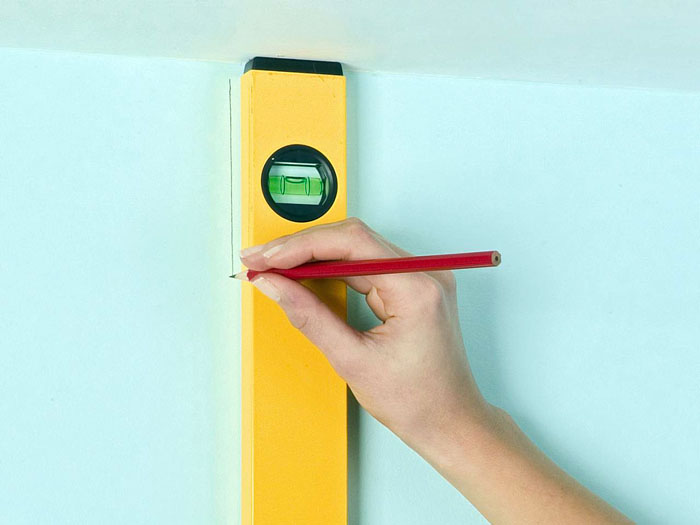
Use a plumb line or a building level to create a line from which to start working
Most often, rooms in apartments have imperfect corners. Therefore, it is better to mark the vertical on each wall. Wallpaper gluing technology requires pattern adjustment. The fashionable finishes are characterized by intricate patterns and striking images. You should be aware that on the packaging of wallpaper, manufacturers indicate the offset distance for fitting the pattern. But in practice, it is easier to do manual adjustments by visually matching the pattern. And this should be done not only at the stage of cutting the canvases, but also in the process of gluing them.
Video: gluing wallpaper with a large pattern

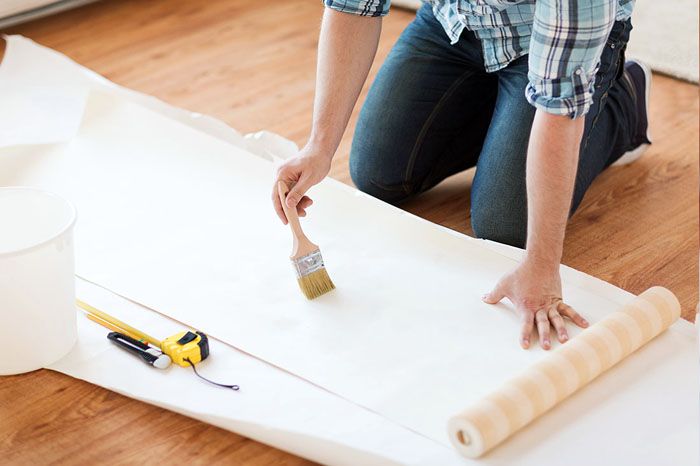
Adhesive on the wallpaper or on the wall - how to apply correctly
The answer to this question depends on what type of wallpaper you have chosen for your renovation. If you have paper wallpaper, the glue is applied directly to the canvas. For secure adhesion of thick vinyl or non-woven coverings, the adhesive is applied to both the wallpaper and the wall.Non-woven wallpaper can be glued without applying the composition to the canvases, limited only by processing the wall.
How to glue wallpaper in the corners of a room
Most often, in the process of work, you have to deal with internal corners. Here you should make sure that the strip covers the corner and a few centimeters behind it. Even if the canvases are glued end-to-end, an overlap must be made in the corners. This is the only way to get an even corner. Use a level or plumb line as a guide. So that the overlap is not noticeable on thick wallpaper, after the sticker, cut both layers along a ruler with a sharp knife, and until the wallpaper is dry, remove excess stripes on one side and the other. If necessary, add glue with a small brush.
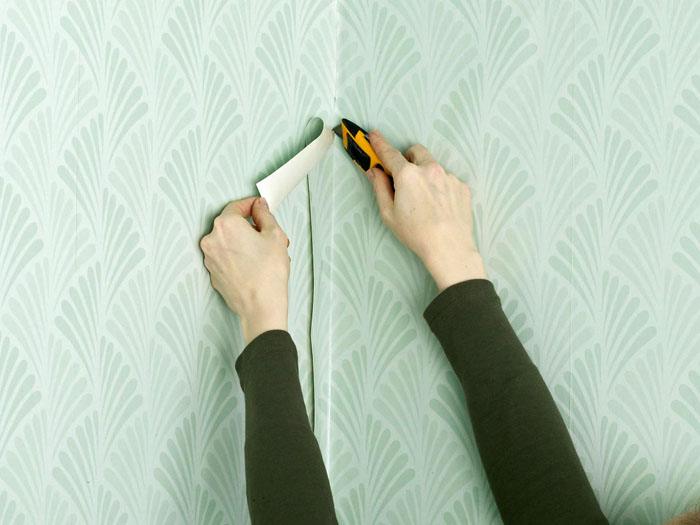
If everything is done correctly, the docking point will be invisible
You also have to tinker with the outer corners. They are rarely perfectly straight, so here you also need to use an overlap of 3 centimeters. After the first sheet is glued, you need to cut it, leaving a thin edge at the corner. The second strip is aligned vertically on the other wall and fixed so that the minimum overlap on the first panel is obtained. How to properly glue wallpaper in the corners in a small video course.

How to glue wallpaper near windows, doors and behind the battery
So, you glue the wallpaper with your own hands, and you come to window opening... Feel free to fix the new canvas so that an entrance to the window is formed. If you need to glue the slopes, make two horizontal cuts and fold the panel over. If it does not reach the frame, you will have to make another cut, preferably docking it at the corner (see the technology for gluing the outer corners, described above).
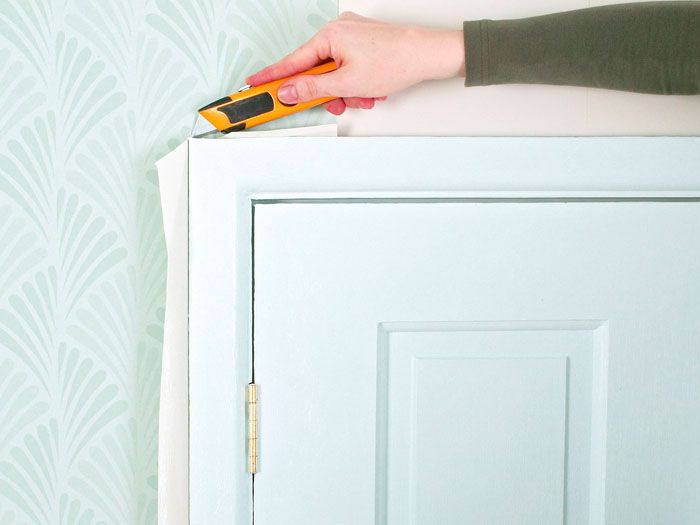
Do the same with the door: cut off the already fixed panel around the perimeter
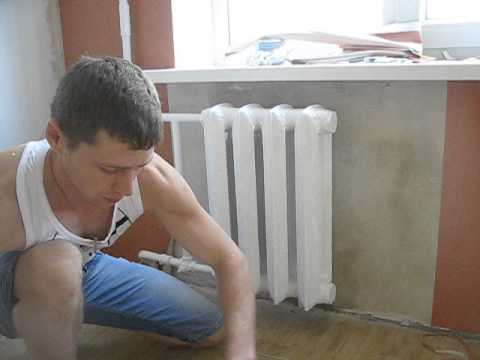
Heating radiators Is a serious obstacle. You won't be able to place wallpapers behind them, so you have to cut them off. This must be done so that it is not noticeable that there is a bare wall behind the battery. To do this, leave a part of the canvas so that it goes on the radiator by 10 centimeters, and then fill it behind the device, pressing and smoothing with a spatula. How to properly glue the wallpaper behind the battery in the video.
How to make joints invisible
Why can the seams between the panels remain visible? There are several reasons for this effect:
The simple truth is that the wider the canvas, the easier it is to glue. Indeed, meter-high wallpaper has much fewer seams, which means there are fewer problems with them.
It so happens that you notice the marriage too late, what to do? There are several ways to mask a seam to make it invisible. If you get an unplanned overlap, you just need to cut through both canvases as when working with inner corners, and remove the extra strips.
Notice the uneven paint on the edge? It is best to return such wallpaper to the store, it is a defective product. If for some reason this is not possible, for example, you bought material in another city, then try cutting off the unpainted edge. It is difficult and new joint problems will inevitably arise. It is best to do this during the gluing process, specially making an overlap and trimming the edge already on the wall. An alternative to this method is the use of paint that matches the color. It is better to take a color half tone darker.
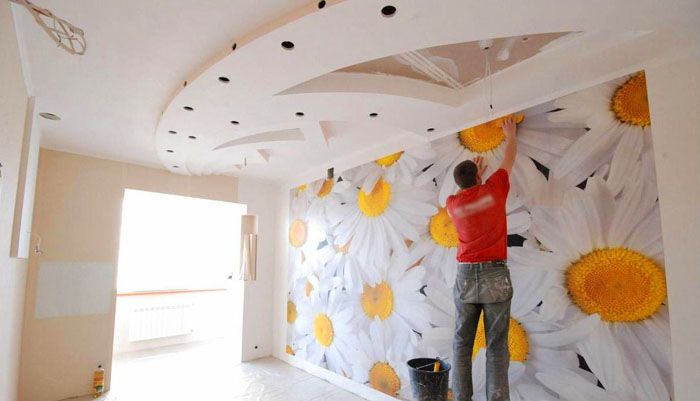
How to properly paste different types of wallpaper
A wide range of wallpapers in modern stores includes products not only for every taste, but also for every budget.You can limit yourself to buying cheap paper-backed wallpaper or purchase more expensive non-woven or vinyl versions. Is there a difference in gluing different types of wallpaper?
How to glue paper wallpaper
Paper is an inexpensive and environmentally friendly coating. Experts advise to apply glue to the panels when gluing paper trim. Keep in mind: the paper absorbs the glue quickly, so you have to work very quickly, otherwise the strip will get wet and tear when gluing.
It is permissible to overlap paper wallpapers, as they are rather thin
Do not be alarmed if even after careful leveling on the surface, after a few minutes, irregularities appear - after drying, the canvases will "tighten" and will be even again.
How to glue vinyl wallpaper
For vinyl wallpaper, be sure to purchase a special adhesive. This material is thick and should only be placed end to end. On the packaging of vinyl wallpaper, they usually write on what the glue needs to be applied: on the panel or on the wall. Unlike paper strips, vinyl strips should be saturated with glue for 10-15 minutes. The video below gives recommendations on how to glue vinyl wallpaper with your own hands:

Related article:

How to properly glue non-woven wallpaper
If your apartment has "problem" walls with slight irregularities and curvatures, it is better to use a non-woven backing. It is quite elastic due to the non-woven material.
The joints on such a coating never diverge, the finish does not shrink, and the material itself can be up to 140 centimeters wide.
How right glue non-woven vinyl wallpaper, you will be prompted by the instructions on the packaging. The glue can be applied both to the wall and to the panel, so you will achieve a durable, defect-free adhesive layer.
How to glue self-adhesive photo wallpaper
The principle of sticking photowall-paper is the same as for ordinary canvases, only you need to carefully monitor the joining of the picture. Now on sale there are wallpapers with a self-adhesive coating. It is more difficult to work with them, since this option does not allow mistakes and sloppy handling. After removing the protective paper layer, the canvas must be kept level, avoiding accidental curling.
Do not remove all protection at once, do it from the edge and then gradually remove it as it sticks to the wall
It is important to carefully mark where you want to start. The blade should be leveled in the direction of removal of the protection, avoiding the formation of bubbles. If there is no experience in this matter, it is better to entrust this work to professionals. The result will definitely please you.
Related article:

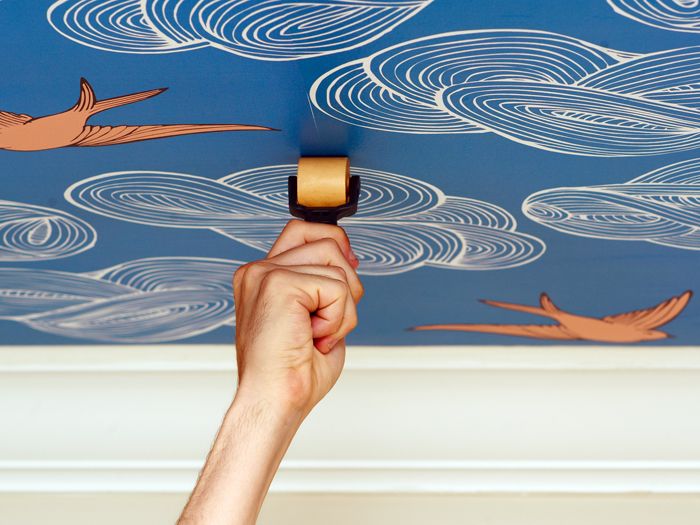
Wallpaper gluing technology on the ceiling - nuances
How to glue wallpaper to the ceiling? And why do that? The most common reason for this decision is uneven ceilings with cracks. If you close all this mess wallpaper for painting, the irregularities will disappear behind a slight relief. On the ceiling, you first need to glue the wallpaper, and then the plinth. After thorough priming of the surface and drying, glue is applied simultaneously to the ceiling and the canvas. The composition should dry slightly, and only then proceed with the installation of the coating.
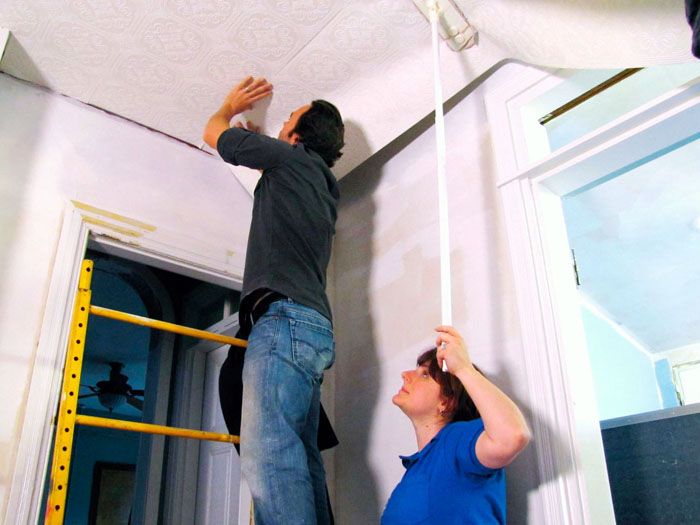
For such work, you need an assistant - if you do not support the panel, it will peel off under its own weight
For solo work, you can make a stand with a high crossbar that will support the strip. When working with a ceiling, it is very important to carefully level and press the material, including around the edges. Use a rubber roller for this.
How to glue wallpaper on wallpaper and is it worth doing
Many users ask how to properly glue the wallpaper on the wallpaper.It is better, of course, not to do this, because you run the risk of spoiling the new coating so hopelessly that it will be impossible to fix anything. But if there is a very good reason for such a decision - carefully check the basis. The slightest bubbles and irregularities must be removed.
In this case, the glue is applied exclusively to the strips of the new finish.
The main thing in the question of how to glue the wallpaper on the wallpaper is to choose the right glue and act quickly enough to prevent the bottom layer from getting too wet.
Related article:

That's the whole algorithm for working with wallpaper. If you have any additions or useful tips to it, share in the comments!

See also:
 MDF - what is it, sheet dimensions, thickness and price
  How to calculate the area of a room: professional advice and basic rules
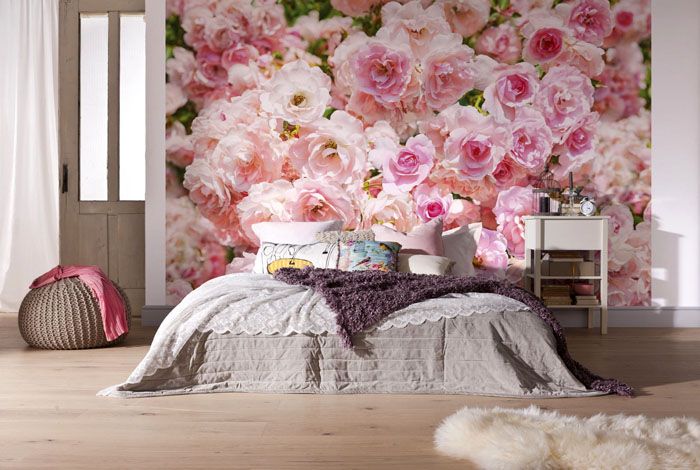
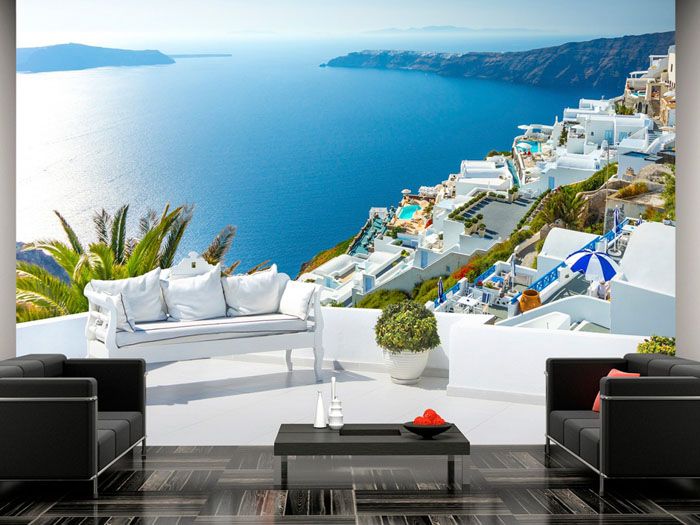
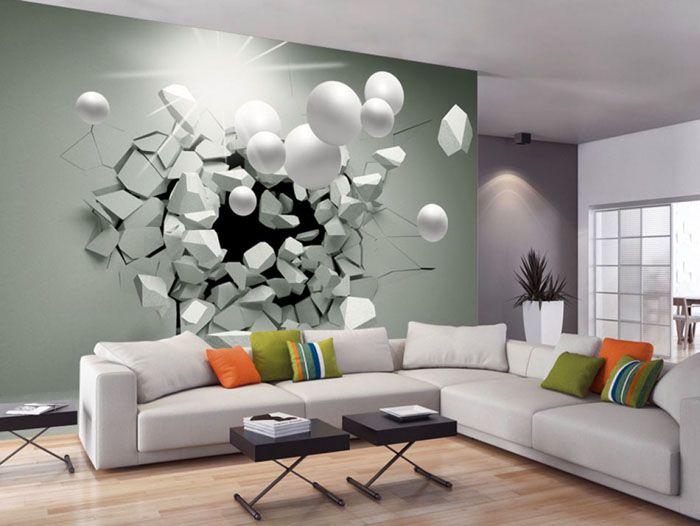
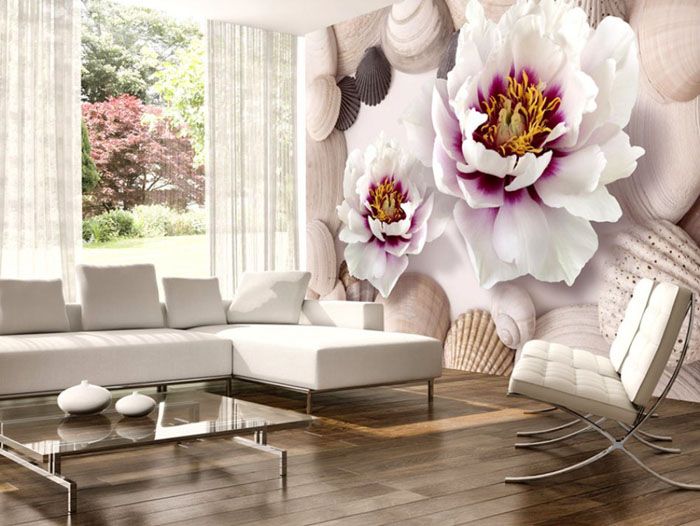
  Virtual reality on the wall: choosing stereoscopic wallpapers and studying prices
 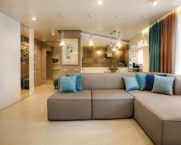 Subtleties of design or how to turn a two-room apartment into a stronghold of comfort, beauty and coziness
  3D panels for walls in the interior: original and embossed design
 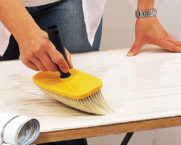 What is wallpaper glue: types, choosing the right composition, reviews


